Showing posts with label felt. Show all posts

Tuesday, January 15, 2013

DIY: Felt Bird Sachets

These are ridiculously cute!  We can see these being a year round craft - but why not bust them out for Valentine's Day since they are adorned with heart wings??  Check out Positively Splendid's blog for more DIY fun!


Supplies:
Bird Sachet Template {{click here to download}}
Felt in assorted colors (the brighter the better!)
Coordinating embroidery thread
Embroidery needle
Buttons
Cotton batting
Dryer sheets
To begin, print and cut out your templates and use them to cut out your felt pieces: 2 bird bodies and 1 heart wing for each sachet you are making.

Thursday, January 10, 2013

DIY: Felt Heart Garland

Oopsey Daisy is an absolutely adorable blog that helps us stay on track with our Valentine's Day themed crafts.  We are closing in with only 35 days to go until the big day filled with hearts, dinner, champagne, and stuffed animals.  Speaking of hearts - this felt heart garland couldn't be any sweeter. 


You can make your own with some scraps on hand!

Let's get started!


I started with the felt.   I secretly wanted to use all wool felt, but my frugal conscience got the best of me.  So I purchased the red and mustard wool felt, and I had the other colors on hand.  I LOVE the color scheme!  The mustard and turquoise were fun and unexpected pops of color.


Then I sat down and just started cutting out a whole lot of hearts!  I didn't use a pattern--just used the old traditional method of folding the fabric over to achieve a symmetrical heart.  I think I cut out about 90 hearts total.


It was 12:30 AM, and I couldn't thread the yearn through the needle for the life of me.  Finally I tried this trick of taping the end with masking tape. Duh!  It worked perfectly.


I knotted the end of the yarn to prevent fraying and then started stitching!


I made sure that I had plenty of excess yarn so I could sew as long of a garland as possible.  (I didn't want to have to thread that needle any more times than completely necessary!)


I wanted to be unpredictable, so I didn't repeat the colors in any certain pattern.  Crazy, I know!!


I just knotted the very end of the yarn, and started draping!

So what do you think?


Monday, December 17, 2012

DIY: Candy Cane Mice

mslkids_1003_xj1s_mice.jpgThank goodness for Martha Stewart around Christmas time!  I hope you love her crafts for the holidays as much as we do.  I think pretty much everything she has on her site is adorable and / or gorgeous.  

These are such fun little mice candy cane covers it is a touch ridiculous how much I love them.  I can't wait to give these a shot!  What do you think?  Can you see yourself making a dozen of these cuties and giving them to co-workers as a surprise on their desk for the holidays?

Click the link to get the full directions on making these!  Be sure to Pin It and Stumble It for others!

Thursday, November 29, 2012

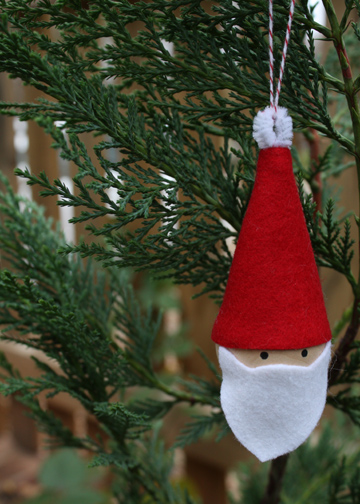
DIY: 10 Minute Santa Ornament

The Long Thread's blog is helping us keep to our overall theme of simple projects that are quick and wonderful!  Be sure to check out their blog.

santa-ornament
Ten minutes. Really. This is sort of a variation on the elf skittles that I posted about last week. But even easier. I think these would make cute additions to gifts for family, friends or teachers. The kids can help make these if you skip the glue gun and use regular school glue. You  could sign them on the back and add the year.  You could use even smaller wooden balls to make teeny tiny Santas. Or you can take it a step further and make a little body with chenille stems, a larger ball for the belly and beads for the arms and legs.
Supplies:
  • wooden ball (1 1/2″ diameter)
  • red and white felt scraps
  • black acrylic paint
  • white chenille stem (cut to 2″)
  • twine
  • glue gun
santa-ornament-instructions
  1. Cut out the hat and beard from felt according to this template.
  2. Bend the end of your chenille stem and cut to 2″.
  3. Insert the chenille stem in the top of the hat felt and sew, right sides together, using a scant 1/4″ seam allowance. Turn right sides out and poke out the tip with a blunt tool.
  4. Place a couple of drops of glue on the inside rim of the hat and fit onto the wooden ball. Glue the beard on as well, just meeting the hat at the corners.
  5. Draw eyes with a pencil and then paint them on with black acrylic paint.
  6. Loop twine through the chenille stem and tie in a knot. Trim off the ends and put a tiny drop of glue to hold the knot in place just at the chenille stem. All done!

Friday, November 2, 2012

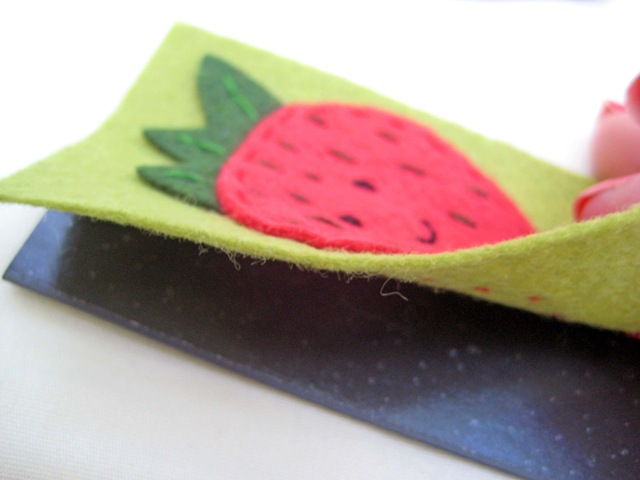
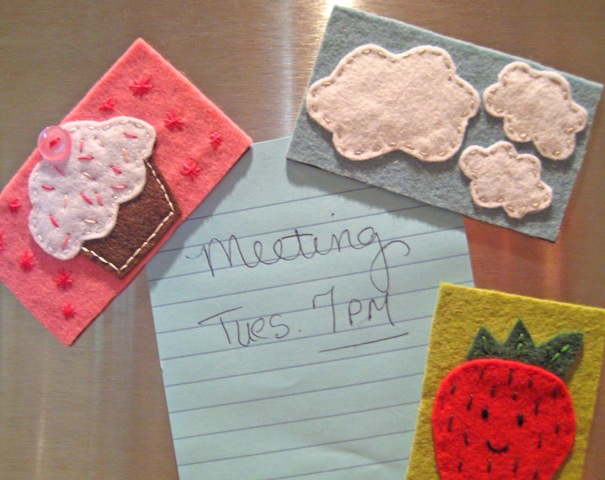
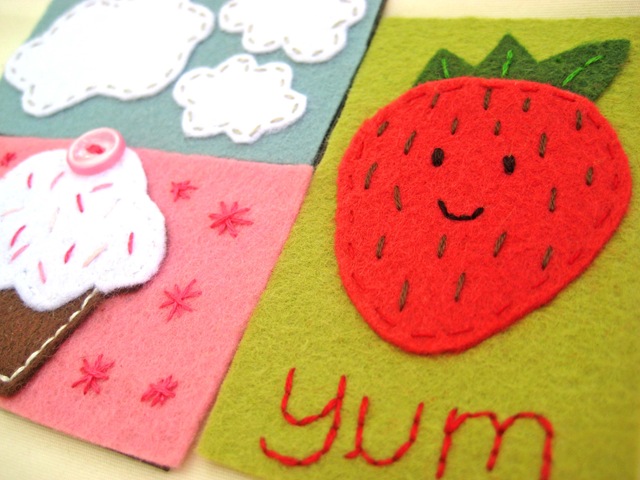
DIY: Quick and Easy Felt Magnets

Everything Etsy is a ridiculously cute blog with great DIY projects you need to see.  We especially love this one showing how to make quick and easy DIY magnets in a variety of designs.  Go grab some felt and start making (this would make some awesome stocking stuffers...)!

felt magnets 3
Felt Magnets are a sweet and simple project…perfect for Summer Camps and sleepovers, or while you’re enjoying a little afternoon coffee break.   It’s no surprise to see another felt project on my blog, I’m sure. I love felt!
Here’s how I put together these fun little magnets…
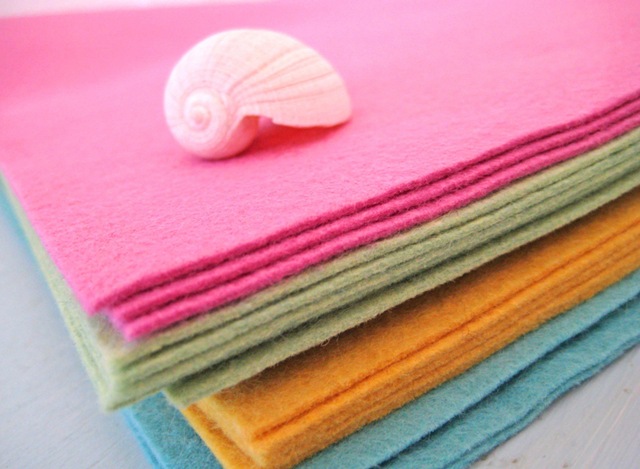
5263041100_e2180f1ccb_b
Gather up a selection of beautiful felt for inspiration.  This is all wool felt…I love the colors!
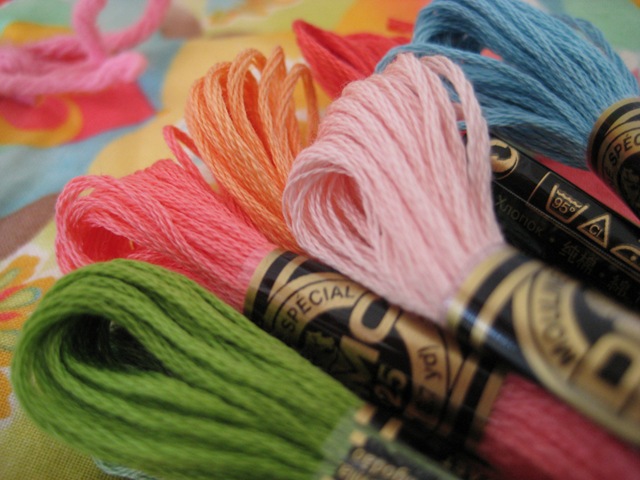
5185403041_1a5f0d157c_b (1)
Bring out you collection of embroidery floss…more pretty colors!
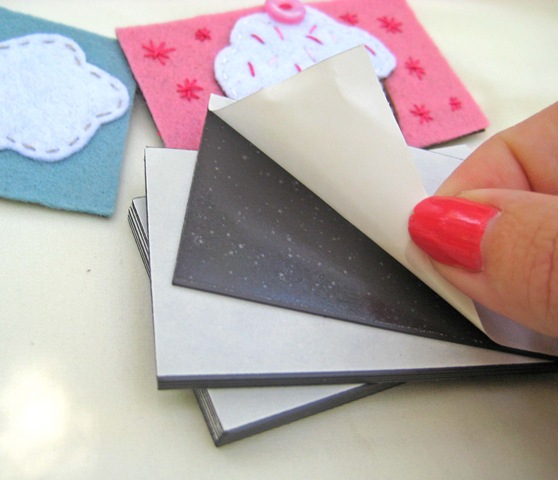
felt magnets 5
You can find these business card magnets at your local office supply or craft store.  Just peel off the back and use it as a template for your background felt.
felt magnets 4
Cut you rectangle out and stitch a sweet little something on it.  Then carefully line up your felt creation and stick it to your magnet.  How easy is that?
felt magnets 1
Quick and easy felt projects never fail to make me smile!
I’m planning to make a few more to keep on hand for gifts.  Tie a few together with some pretty ribbon and you’re sure to make someone’s day.
felt magnets 6

Friday, August 31, 2012

DIY: Felt Poinsettia Hair Clip

Projectville has a fantastic tutorial that we found just in time for the upcoming holiday season!  This stunning Poinsettia Hair Clip would be the perfect accessory for any wardrobe in the winter time and beyond.  Not to mention she is stunning herself...


Here's what you'll need:

• felt
• yarn
• scissors
• hot glue gun
• glue sticks for said gun
• hair clip (optional)


Follow the picture tutorial and pattern. The larger circle in the pattern is used to glue all the petals to. Start with the biggest petals around the outside, then medium sized, then smallest in the middle. The smaller circle is for after you glue the top of your clip to the flower. Open the clip, glue it to the back of the flower, then glue the small circle over the top of the open clip to clean up the look. Tah dah!

Monday, July 30, 2012

DIY: Felt Bead Necklace

We admit that we have wanted to try a felting project forever now!  This seems like the perfect catalyst to begin a new crafting obsession!  This wonderful and straight forward tutorial from Dans le Townhouse should make you feel inspired, too!


Basically, felting a ball is super simple.  Start with a wool roving and tear it apart like you would cotton candy.  Add a bit of dish soap, a bit of water, roughly shape it into a ball and then start rolling it between your palms like you would a piece of clay.  Rinse it in hot water, then cold, to "shock" the fibres into felting (you continue doing this throughout the rolling process).  It will feel like it won't work, then it will start to felt.  Trust me.  Add increasing pressure as your felt ball becomes firmer and when it is nice and firm, set it aside to dry for a day or two.  Remember your finished ball will be smaller and denser than the rough ball you created when the roving was dry.  Once my beads were dry, I simply strung them with some heavy duty beading thread and the sharpest needle I could find.  You can fuss with a clasp or just tie a knot and slip it over your head.   

Wool Roving

Wool roving pulled apart and ready to shape
How NOT to create a felted ball - squoosh too hard in the beginning

Lay out the beads as you work to get a sense of the pattern. 
 

Wednesday, July 4, 2012

DIY Project: Ruffly Felt Wreath

Thanks to Design Sponge for this amazingly done tutorial that is so easy I'm pretty sure it can't be real.  ; )

We are so excited to give this one a whirl!!  Can you imagine all the different color mixes you can do for ANY holiday, sports party, wedding, or whatever else you can think of...just love it.

felt-ruffle-wreath

What you’ll need for the wreath:
- a 12 inch Styrofoam wreath form
- approximately 2 1/2 yards of felt
- straight pins (enough to match the number of felt circles needed, plus two for attaching the hanger)
- scissors
- a 3 inch circle template
- a pencil
- ribbon for hanging

Making the Felt Rosettes
Using a pencil and your circle template, trace circles onto the felt. Cut the felt circles, and fold them in half twice to form rosettes. Insert a pin near the bottom corner of the rosette, about 1/8 inch from the corner.

felt-ruffle-wreath-single

Attaching the Felt Rosettes
Attach the felt rosettes to the wreath form, making sure to group the rosettes tightly enough that no Styrofoam is showing through the rosettes. After you’ve added a few, fluff and adjust the rosettes to your liking. Continue making, pinning, and attaching the rosettes until you’ve worked your way around the wreath form. If you have circles that are slightly misshapen or that have a little pencil or ink on them, place them toward the outside or inside edges, where they can’t be seen when the wreath is hanging.

felt-ruffle-wreath-back

Wreath Back
This is what my wreath looked like on the back when I was finished. As you can see, I started off with ball point straight pins, but I switched to flat head pins when the rosette count started to get up there and I had to run out and buy more pins. If you use flat head pins, then I suggest using a thimble to push them into the wreath form, or your thumb will take a beating. Ask me how I know.

felt-ruffle-wreath-hang

Wreath Hanger
After you’ve finished adding the felt rosettes, cut a 5 inch length of ribbon, fold it in half, and attach it to the wreath form with two pins to form a hanger.
Wreath Finished
I love how organic the wreath looks when it’s finished. The ruffly felt rosettes, when grouped together like this, remind me a bit of a coral reef. While this is a rather ambitious project, I think it was completely worth the time spent. I’ll be using my wreath year ’round as part of my home décor!

felt-ruffle-wreath