Showing posts with label magnet. Show all posts

Friday, November 2, 2012

DIY: Quick and Easy Felt Magnets

Everything Etsy is a ridiculously cute blog with great DIY projects you need to see.  We especially love this one showing how to make quick and easy DIY magnets in a variety of designs.  Go grab some felt and start making (this would make some awesome stocking stuffers...)!

felt magnets 3
Felt Magnets are a sweet and simple project…perfect for Summer Camps and sleepovers, or while you’re enjoying a little afternoon coffee break.   It’s no surprise to see another felt project on my blog, I’m sure. I love felt!
Here’s how I put together these fun little magnets…
5263041100_e2180f1ccb_b
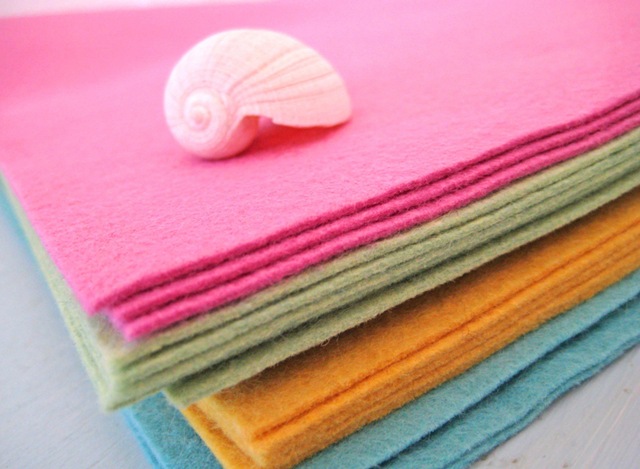
Gather up a selection of beautiful felt for inspiration.  This is all wool felt…I love the colors!
5185403041_1a5f0d157c_b (1)
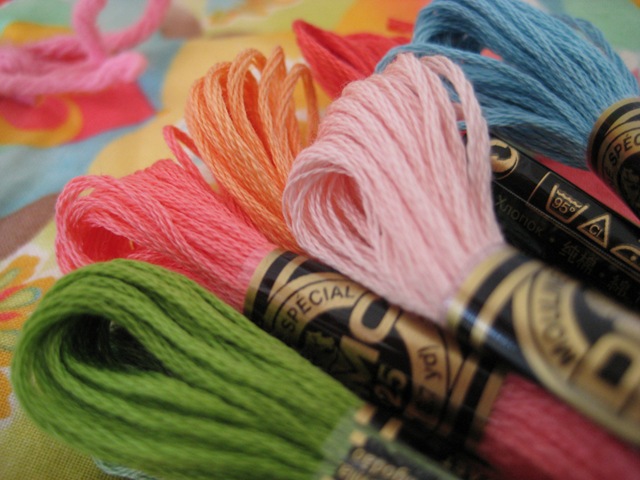
Bring out you collection of embroidery floss…more pretty colors!
felt magnets 5
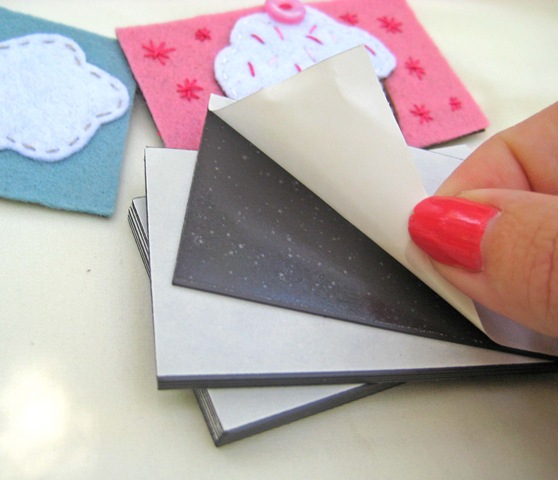
You can find these business card magnets at your local office supply or craft store.  Just peel off the back and use it as a template for your background felt.
felt magnets 4
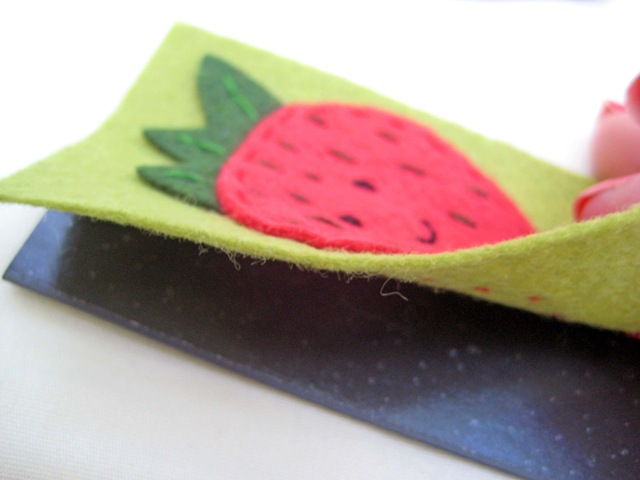
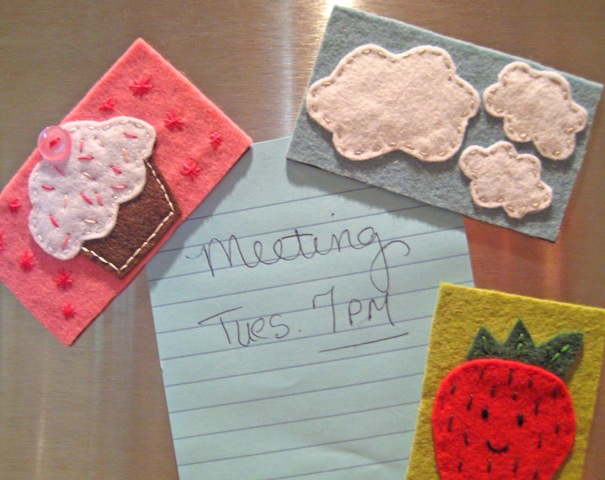
Cut you rectangle out and stitch a sweet little something on it.  Then carefully line up your felt creation and stick it to your magnet.  How easy is that?
felt magnets 1
Quick and easy felt projects never fail to make me smile!
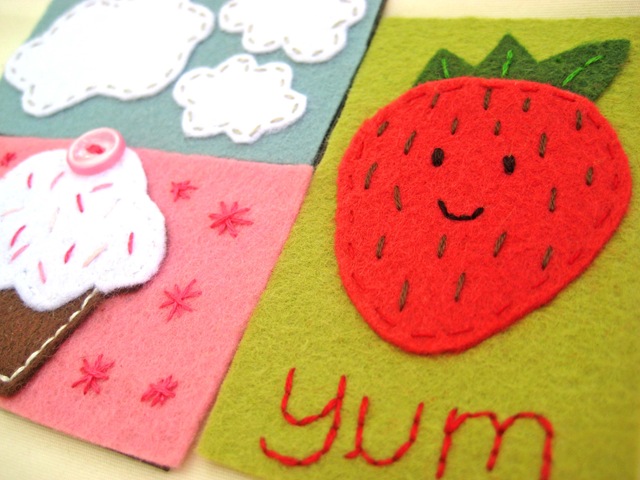
I’m planning to make a few more to keep on hand for gifts.  Tie a few together with some pretty ribbon and you’re sure to make someone’s day.
felt magnets 6

Thursday, October 11, 2012

DIY: Meal Planning Magnets

If you are someone that is way more organized than myself, you will love this tutorial from The Red Chair Blog that shows you how to upcycle those obnoxious advertisement magnets into fancy meal planning magnets for you and your family.  We love the idea of these, but we just aren't those kind of people who plan ahead.  Perhaps we could put events on these instead of food?  Things we know are coming up in that week so that we can let the other person know what's on our schedule??

Head to their blog to find the printable PDF for these!!


Materials:

  • Junk mail magnets (the best are those awful giant magnets from personal injury lawyers that are always glued to the back cover of the phone book, but any flat magnets will do: pizza delivery, dentists' offices, credit card solicitations, etc.)
  • Wide packing tape (I used the glossy kind)
  • Scissors
  • Decorative paper (I used 6 x 6 scrapbook paper)
  • Double-sided tape (optional--not pictured)
  • Computer and Printer


Instructions:
1. Start by flipping through your recipe file and listing your favorite "old standby" recipes. This tutorial will teach you how to make 35 magnets, but you can make as few as you'd like; you can always add more later.

2. Open Microsoft Word and create a table that is 5 squares wide by 7 squares high (my "squares" were each 1.25" x 1.5"). Type the name of one meal in each of the squares. Keep it simple--just name the main dish. You might also want to make several magnets that say "Left-Overs", "Dinner Out", "Take Out" and/or "New Recipe". I used a 22 point French Script MT font, and I centered the meal names in the squares.


3. Print your page, and cut out the meal names. My meal names were smaller than the outlined squares once I cut them out. This doesn't have to be perfect! And yes, if you look carefully, you'll notice that one of my meals is scrambled eggs. What can I say? I'm a lazy cook!

4. Using scissors, cut a magnet to roughly 1.5"(w) by 1.75"(h). Cut a piece of scrapbook paper to the same dimensions. If you really want to annoy your friends & family with your fastidiousness, you can color code your magnets. I used yellow for meals that are protein-based, and blue for "carby" meals such as pasta dinners; that way, I can tell at a glance if my week is balanced (I'm a vegetarian, so I need to be mindful about protein).

5. Using double-sided tape (or very good fine motor skills) to keep the layers in place, layer the magnet, scrapbook paper, and meal name.

6. "Laminate" the whole thing with packing tape. To do this, cut the tape a little bit longer than the magnet, cut off all four corners of the tape, and fold toward the back (see below). This step can be time-consuming, but it's mindless enough that it's a good while-you're-watching-a-movie project.


7. If you'd like to use my days of the week and the "What's For Dinner" header, you can download a free PDF from my website here. I'm 99% sure that this PDF is working and is scaled properly, but please let me know if you discover a problem! To "laminate" shapes with rounded edges using packing tape, use "V" shaped notches to navigate the curves.

8. Arrange the current week's magnets on the front of your fridge--keep other meal magnets on the side of the fridge for planning future weeks' meals. To further streamline your meal planning, you can make your own customized, pre-printed grocery list with the instructions that I provided here.

Saturday, September 15, 2012

DIY: Foam Rose Flowers

Brought to you from Paper, Plate, and Plane's blog, these foam rose flowers are stunning but super simple.  We totally see the plethora of options to apply these to - we hope that you do!
You have probably made paper roses before by cutting and rolling spirals of paper.  This applies the very same technique, however, I’ve added the petal details by employing a simple tool that many of us have stowed in our crafting bins — scalloped scissors.
You will need: scallop-blade scissors, hot glue gun with glue sticks, and thin foam sheets.  I purchased a multi-colored package of 36 – 4″x6″ foam sheets from the dollar store.  They quality is much thinner than what you would find at the craft stores, however, they are the perfect thickness for this purpose.  The thinner the foam sheet, the smaller you can make your roses.
1. Cut your foam sheet into 2″x2″ squares.  A 4″x6″ foam sheet can yield six roses.
2. Using your scalloped scissors, cut each square into a spiral.  Two and a half revolutions around the spiral should be sufficient.
3. Starting from the outside of the spiral, roll the foam sheet inward.
4. Apply hot glue to the bottom of the rose.
While the glue is still hot, you can apply the rose immediately to a magnet, thumb tack, earring backing, or fashion ring.

Thursday, May 31, 2012

DIY Upcycled Paint Chip Magnets

What a great DIY upcycled paint chip magnet tutorial from Crafting a Green World!  We adore the fact that it's 1.) Upcycled materials 2.) so versatile you could do just about anything!  She has a ton more blog posts with amazing and green friendly crafts that you should absolutely check out.

Check out her blog for all the details, pictures are below for a general idea of how easy and quick this project is!  We <3 it.

SUPPLIES:
- Old magnets from businesses
- Glue gun
- Scissors
- Sharpie or paint marker (if desired)
- Paint paper color samples (free from any home store)