Showing posts with label kitchen. Show all posts

Monday, November 5, 2012

DIY: Monogram Mugs

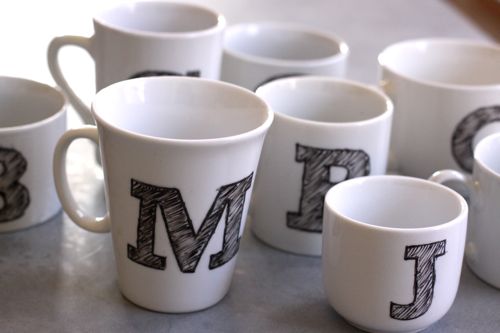
Design Mom's blog has taken the look of the Anthropologie mugs and shifted them into a homemade tutorial that looks just gorgeous!  Who doesn't enjoy the idea of taking an expensive item that they want and making it into a cheap DIY!  Whoo!
DIY monogram mug

It’s a very doable project. Inexpensive. Eco-friendly. And family-friendly too — these mugs are dishwasher safe. I can’t wait to tell you all about it.

1) We started with a trip to Goodwill, where we collected 8 plain white mugs. Enough for the entire family. There was even a little one without a handle that we thought would be perfect for baby food for June. Mugs were 50 cents each and we had dozens and dozens to choose from.
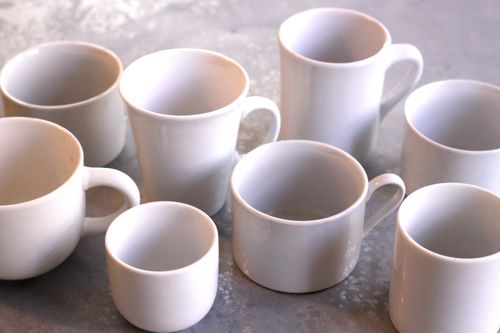
DIY monogram mug
2) Then we gathered supplies. Scissors, pen, tape, graphite transfer paper, Black Pebeo Porcelaine Pen in Fine Point ($4 at Michaels, also available here) and a print out with the family’s initials.
For the font, I had something very specific in mind. I love the look of this Sketch Block Font and had it mentally filed away as the sort of thing a kid could replicate well — because it’s inherently imperfect. For this project, it worked like a charm! Since we were adding our own sketchiness, I started with a similar, but non-sketchy Rockwell font. Look for any slab-serif font (with names like Egyptian or Glypha) and they should work equally well.

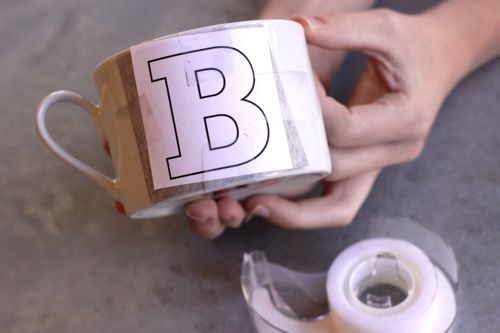
3) Cut out an initial and a piece of transfer paper. Tape the initial and the transfer paper (dark side down) to the mug.
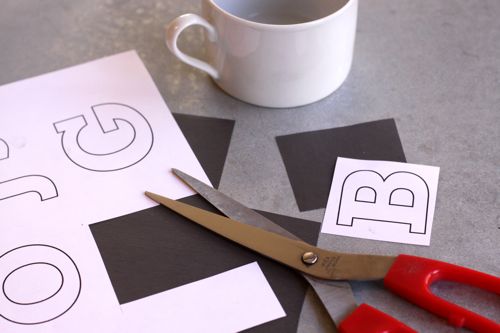
DIY monogram mugDIY monogram mug
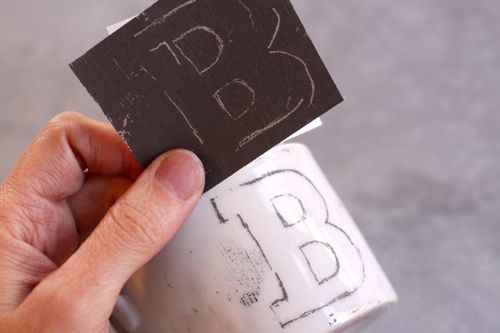
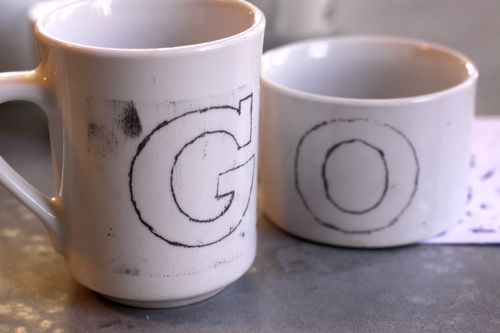
4) Trace the initial. Any pen or pencil will work and you’ll want to experiment with different pressures to see what’s best. You’ll just need a light outline. If you want, you can make your own transfer paper by rubbing a graphite pencil all over a sheet of plain paper.
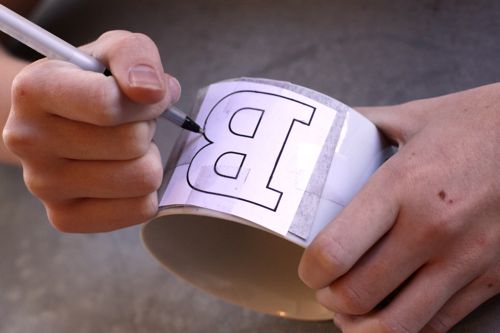
DIY monogram mugDIY monogram mugDIY monogram mug
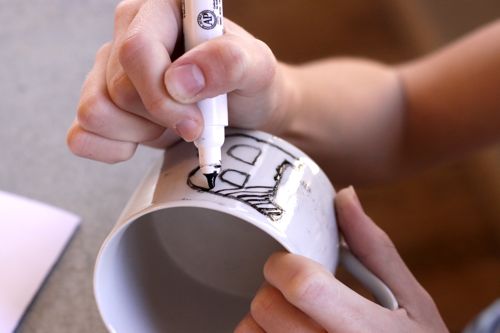
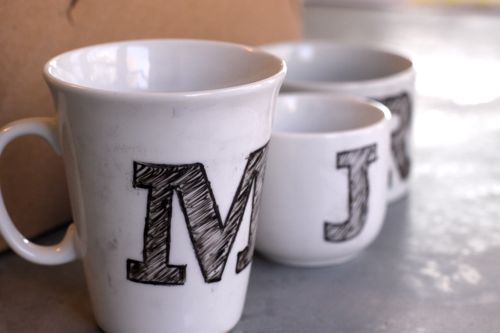
5) Take your Porcelaine pen and trace over the lines of the initial. Get the edges nice and thick then fill in with diagonal sketchy strokes. A few notes:
- The sketchy strokes look best if they’re all one direction.
- The pen didn’t produce very smooth lines for us — which was fine because of the sketchy nature of the lettering. But later, I tried a red Porcelaine pen and produced very smooth strokes. So, I’m thinking my black pen was an old, dried out one. Who knows? This was my first experience with Porcelaine, so I’m not sure.
- It helped to have a blank paper handy where we could test the paint pen.
- We definitely got better at it as we practiced. So plan on it. Until it’s baked, the paint will scrub right off in soap and water. We redid mugs at least 4 times.
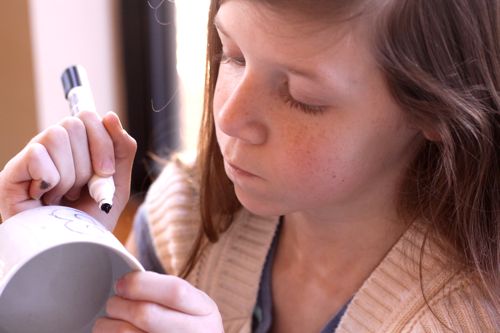
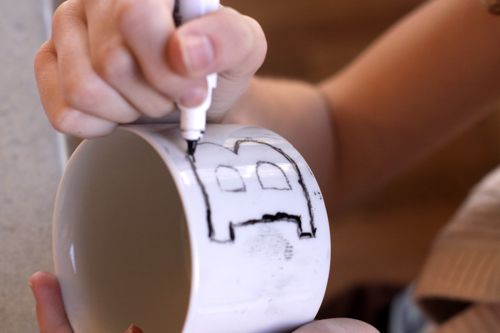
DIY monogram mugDIY monogram mug
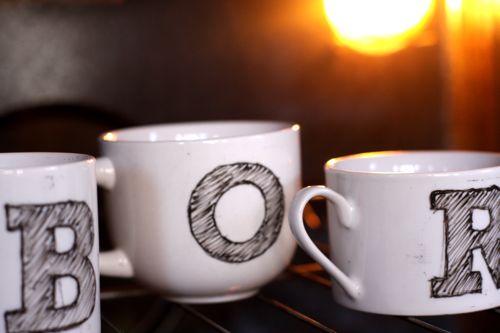
6) Once the lettering is done, let the mugs sit for 24 hours. Then bake them at 300 degrees for 35 minutes. It’s fine to bake them with graphite residue. The graphite will wipe right off even after they’re done baking.
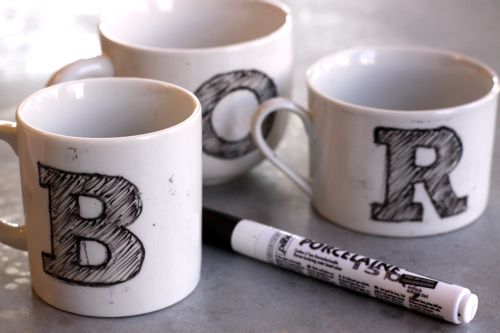
DIY monogram mugDIY monogram mugDIY monogram mug
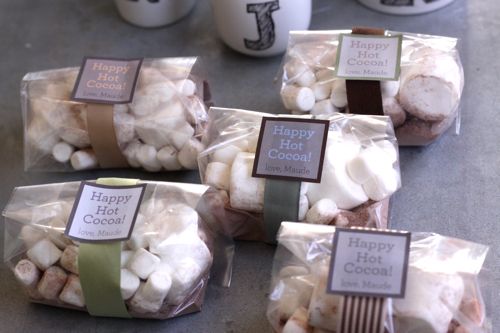
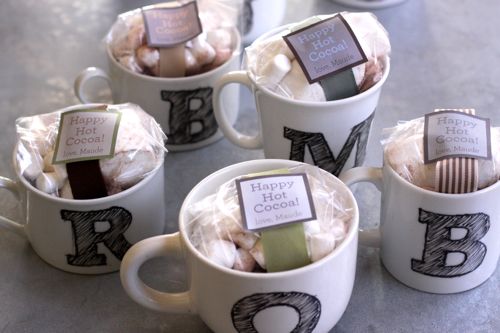
7) And that’s it! Once they’re baked, they’re done. We pulled them from the oven, wiped them up and they were ready to go. For fun, we filled cellophane bags with hot cocoa mix and marshmallows and put them in the mugs.
DIY monogram mug hot cocoa packagingDIY monogram mug

Friday, November 2, 2012

DIY: Quick and Easy Felt Magnets

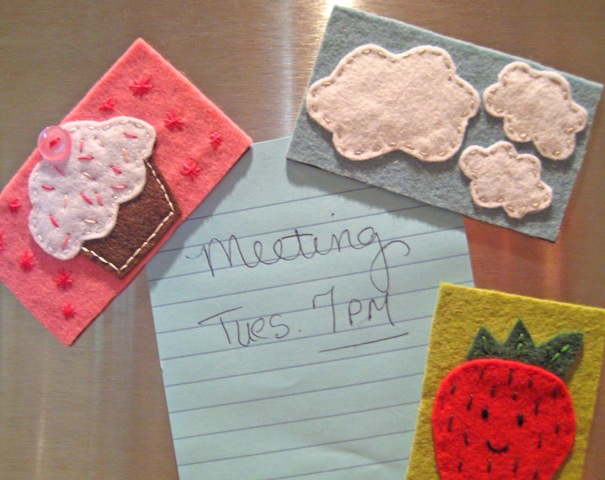
Everything Etsy is a ridiculously cute blog with great DIY projects you need to see.  We especially love this one showing how to make quick and easy DIY magnets in a variety of designs.  Go grab some felt and start making (this would make some awesome stocking stuffers...)!

felt magnets 3
Felt Magnets are a sweet and simple project…perfect for Summer Camps and sleepovers, or while you’re enjoying a little afternoon coffee break.   It’s no surprise to see another felt project on my blog, I’m sure. I love felt!
Here’s how I put together these fun little magnets…
5263041100_e2180f1ccb_b
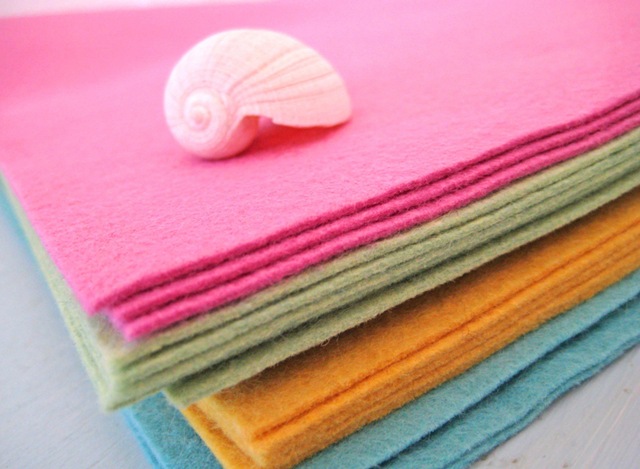
Gather up a selection of beautiful felt for inspiration.  This is all wool felt…I love the colors!
5185403041_1a5f0d157c_b (1)
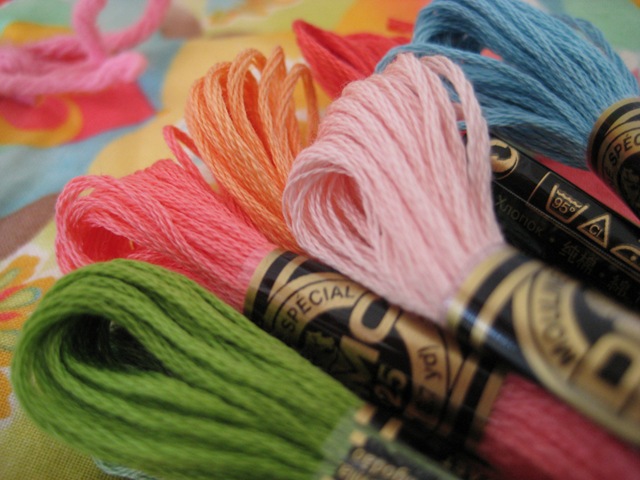
Bring out you collection of embroidery floss…more pretty colors!
felt magnets 5
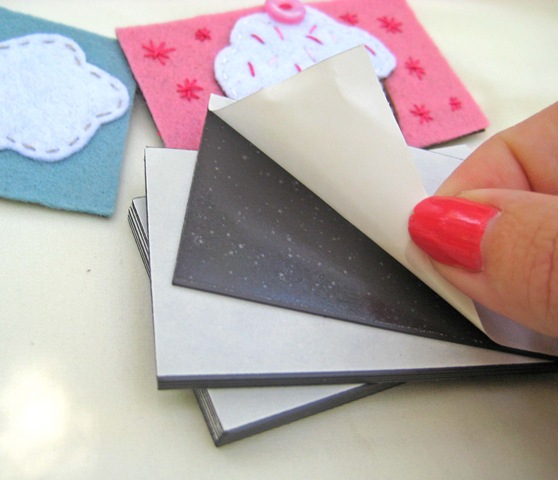
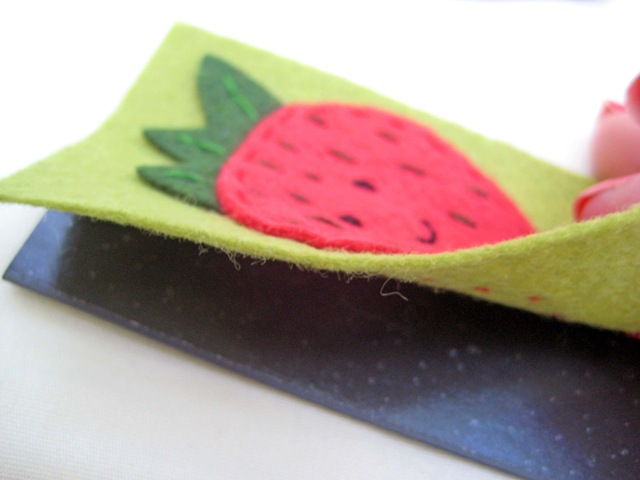
You can find these business card magnets at your local office supply or craft store.  Just peel off the back and use it as a template for your background felt.
felt magnets 4
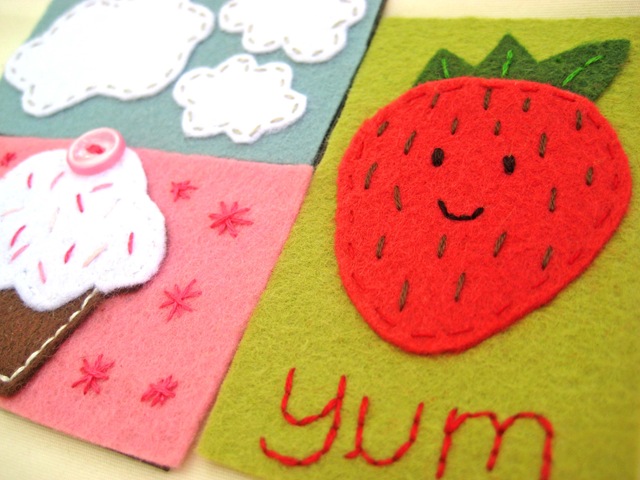
Cut you rectangle out and stitch a sweet little something on it.  Then carefully line up your felt creation and stick it to your magnet.  How easy is that?
felt magnets 1
Quick and easy felt projects never fail to make me smile!
I’m planning to make a few more to keep on hand for gifts.  Tie a few together with some pretty ribbon and you’re sure to make someone’s day.
felt magnets 6

Saturday, October 20, 2012

DIY: Cookie Cutters from Soda Cans

"Making do with the not so new and other frugal things I do" blog is fantastic.  We love the nothing is really trash approach.  Why not use the things you've already paid for / used / loved for another purpose!

Check out their blog for the instruction on how to make the goldfish with a recipe!

First, I sliced one in half with a knife and then cut a strip with my heavy duty scissors all the way around.

Then I evened up the edges by cutting them as straight as possible.

Then I worked with the strip to create the fish shape. Don't bend too often or you will crack it. I did it on my third try. Sorry that this picture is missing the last bend back to make the flat edge of the tail, but after three tries, I lost count of what photos I had taken!

Then I sneaked my stapler in the back and stapled it together. I cut off the mismatched edges.

And there you have a fish cookie cutter. I have to admit it isn't the most comfortable to use, I am thinking about putting some duct tape along the top edge because pressing the piece down with no handle hurt just a teensy bit after awhile. It is probably 6 times larger than an actual goldfish cracker, but it's a fish!