Showing posts with label bangle. Show all posts

Sunday, September 16, 2012

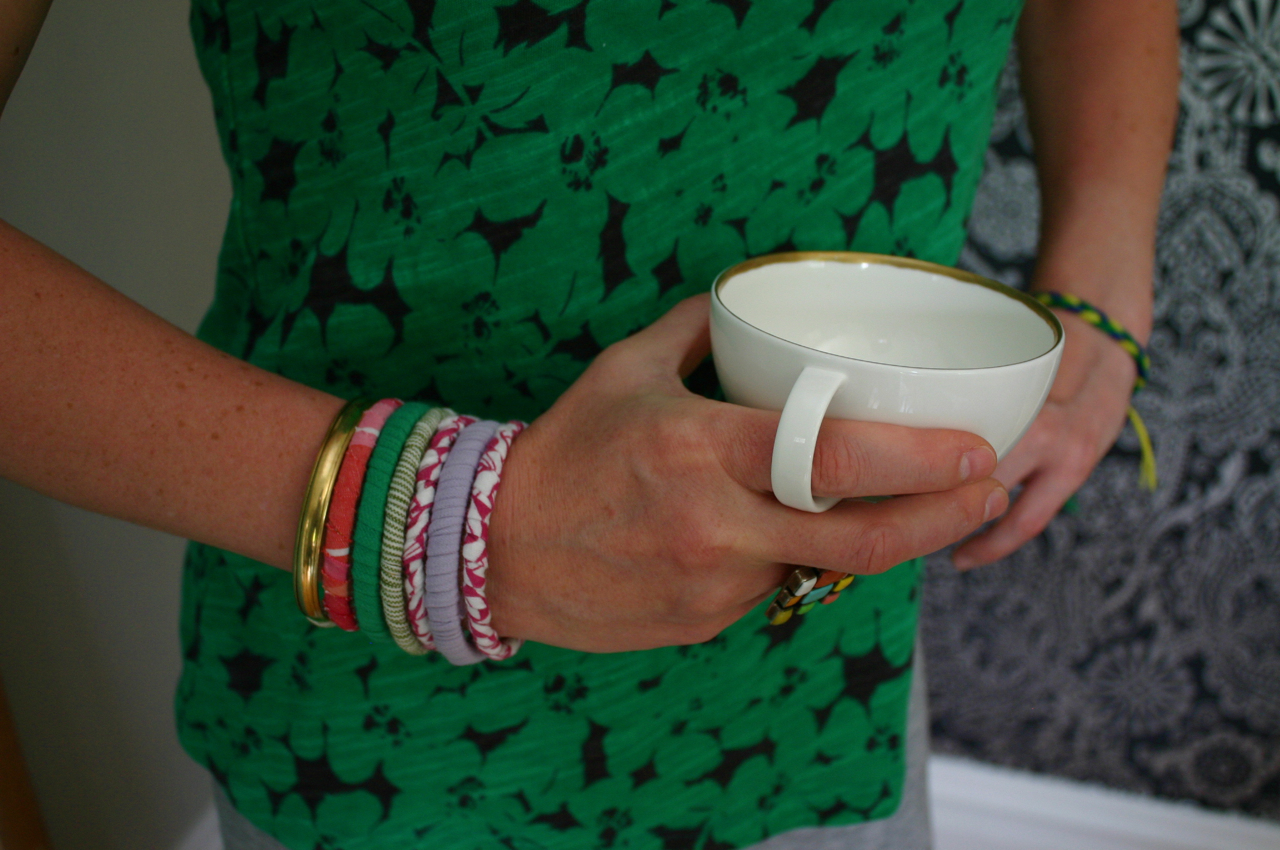
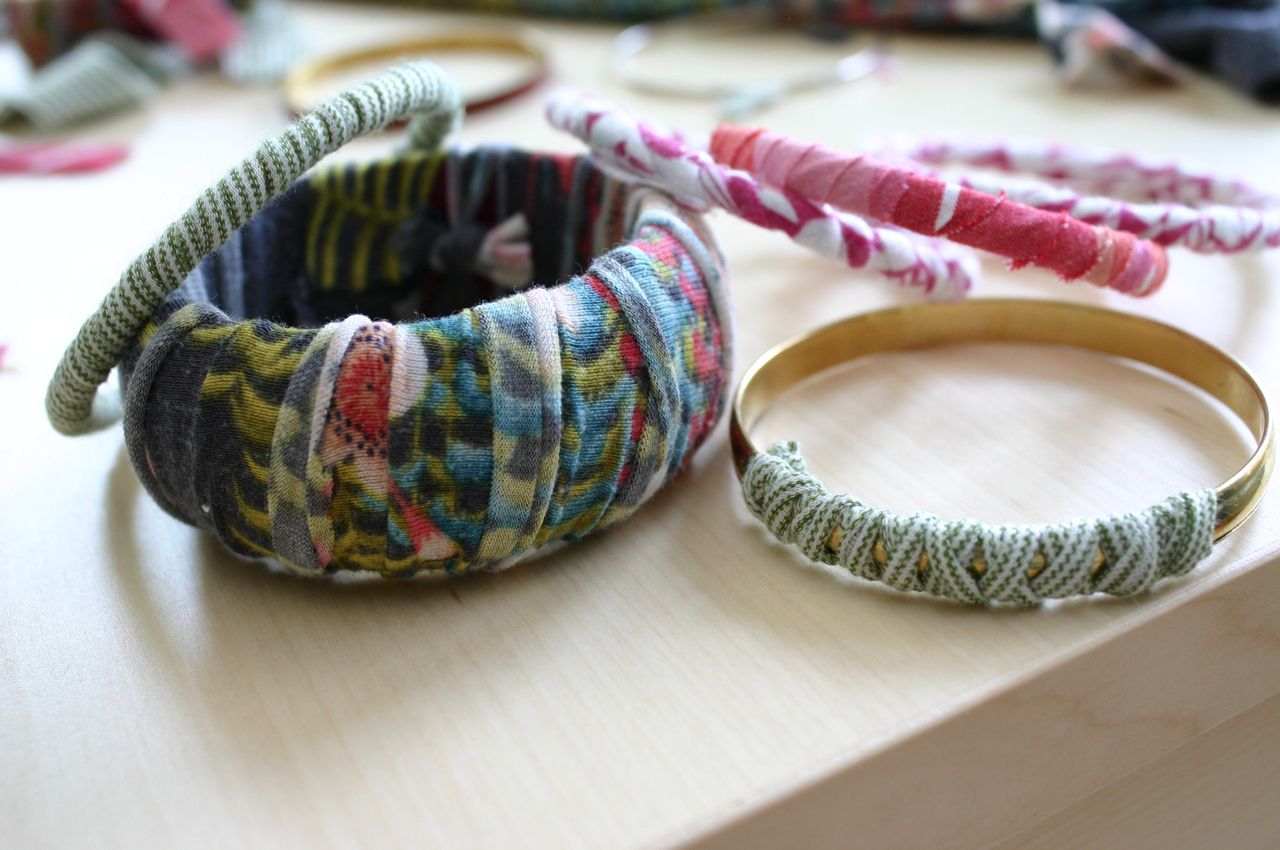
DIY: T-Shirt Bracelet Makeover

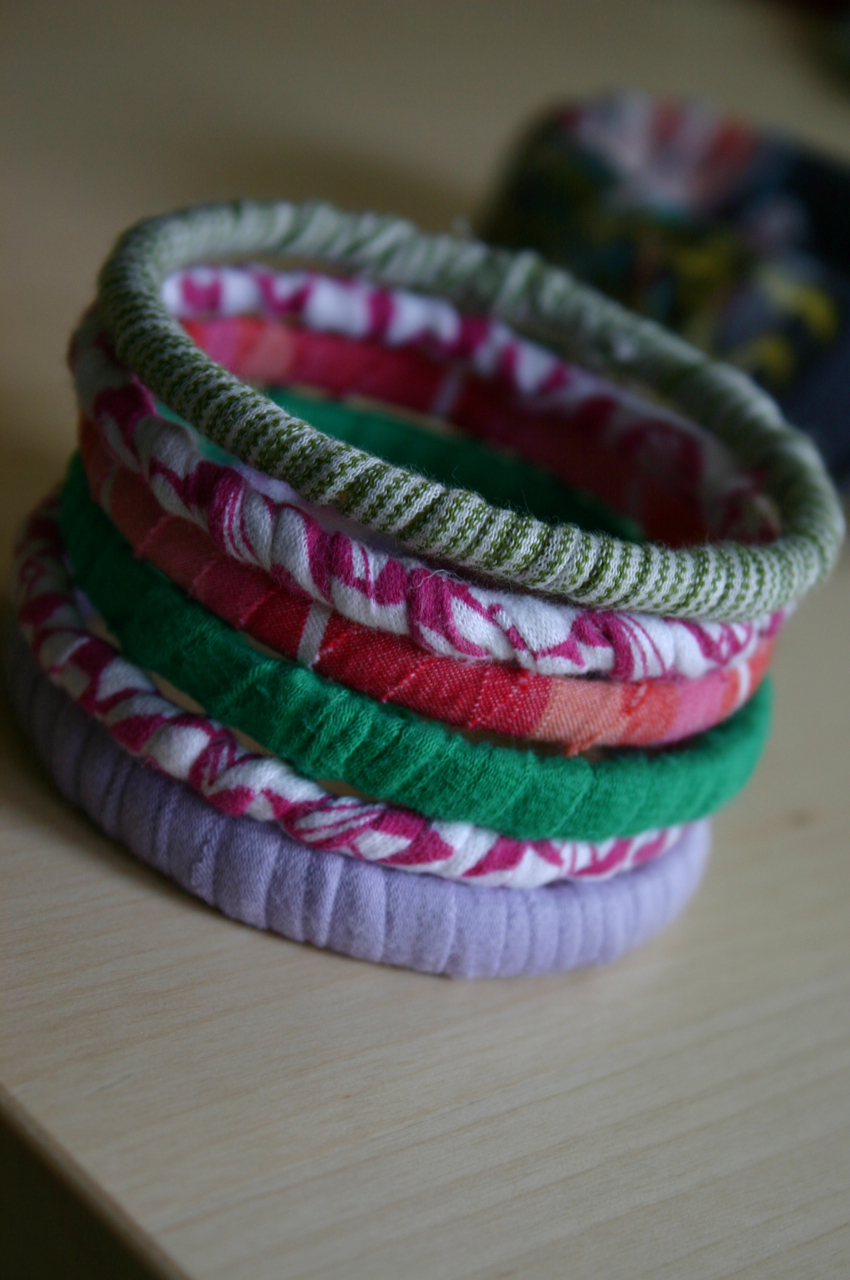
Here is another option for t-shirt upcycling into jewelry that we think just couldn't be easier to do.  This is from Family Chic's blog and there are plenty more tutorials on there, so be sure to pop over and check 'em out!  

These would be great bracelets to make out of the sleeves of your t-shirts that you may have used for other DIY t-shirt projects...


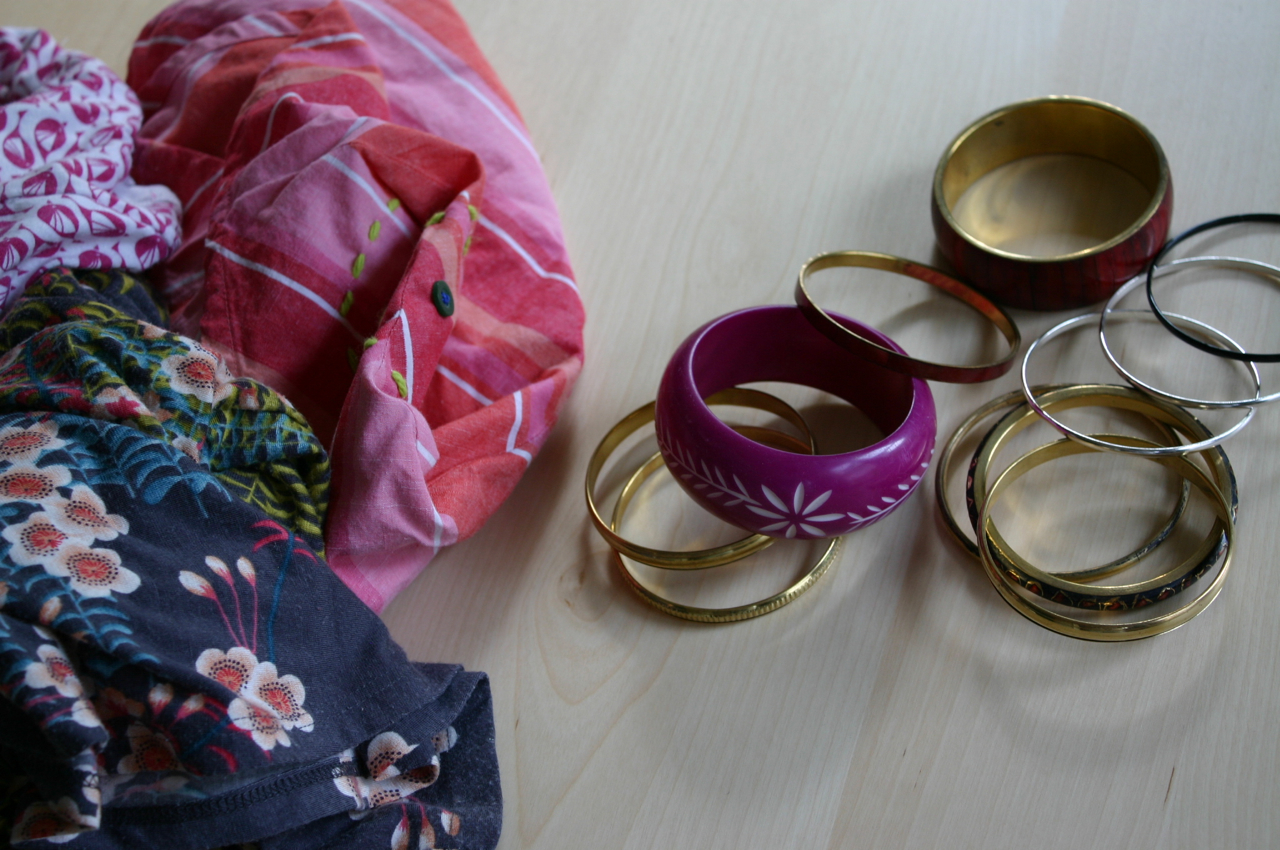
For this project you will need some old t-shirts and a bunch of bangle bracelets. Try using old bangles that you already own, check thrift stores or pick up some up for a few dollars at Target, Walmart – or even the sale bins at Old Navy.

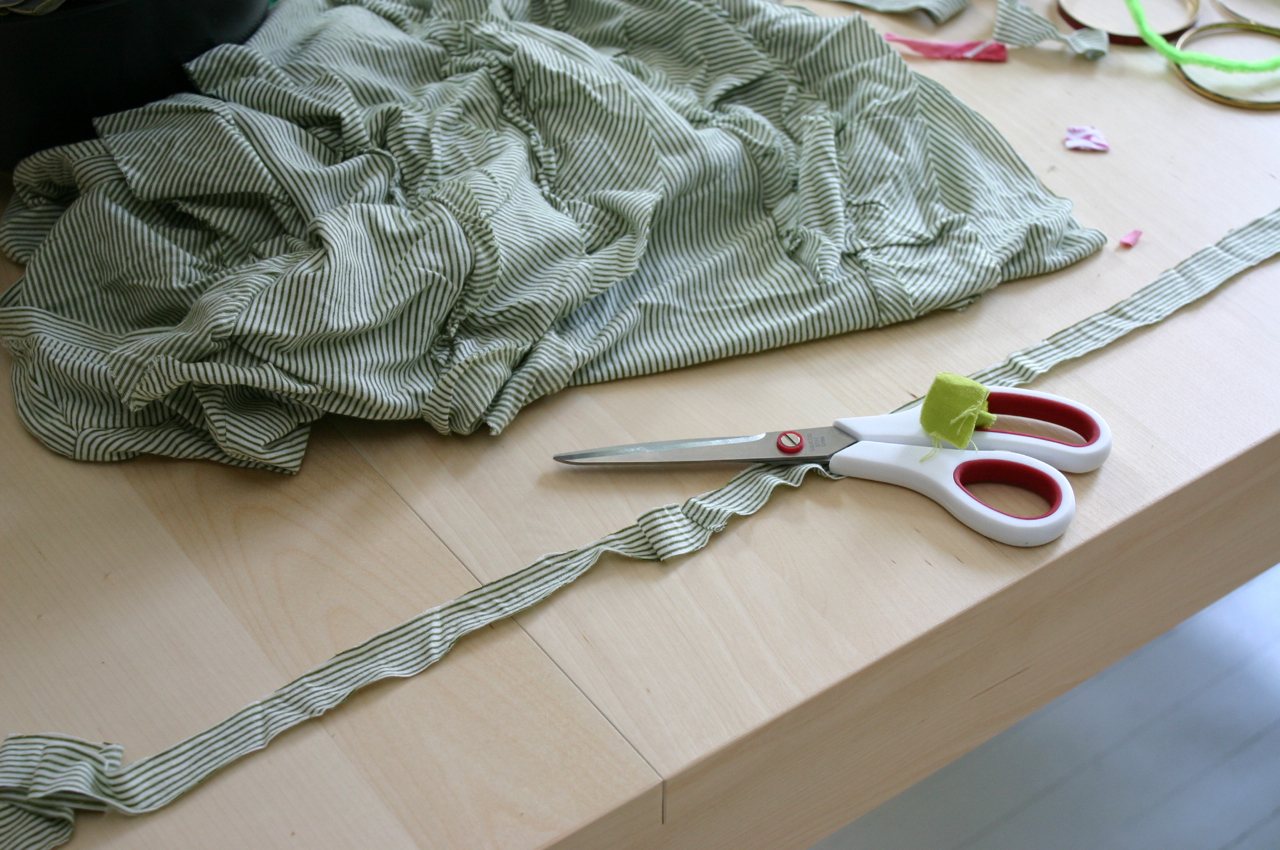
Cut t-shirt in 1/2" to 1" wide strips. Depending on the thickness of the bangle – a thick bracelet will need thicker strips.

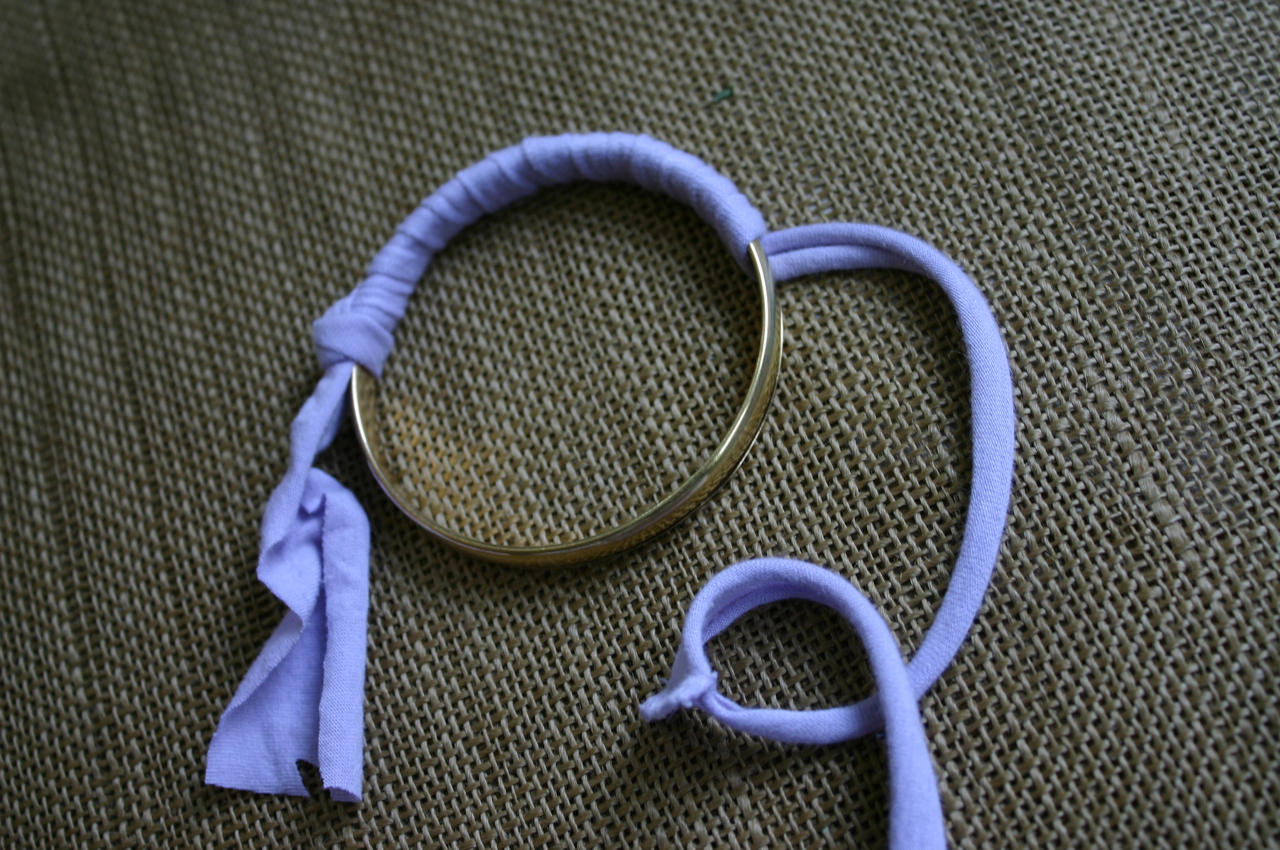
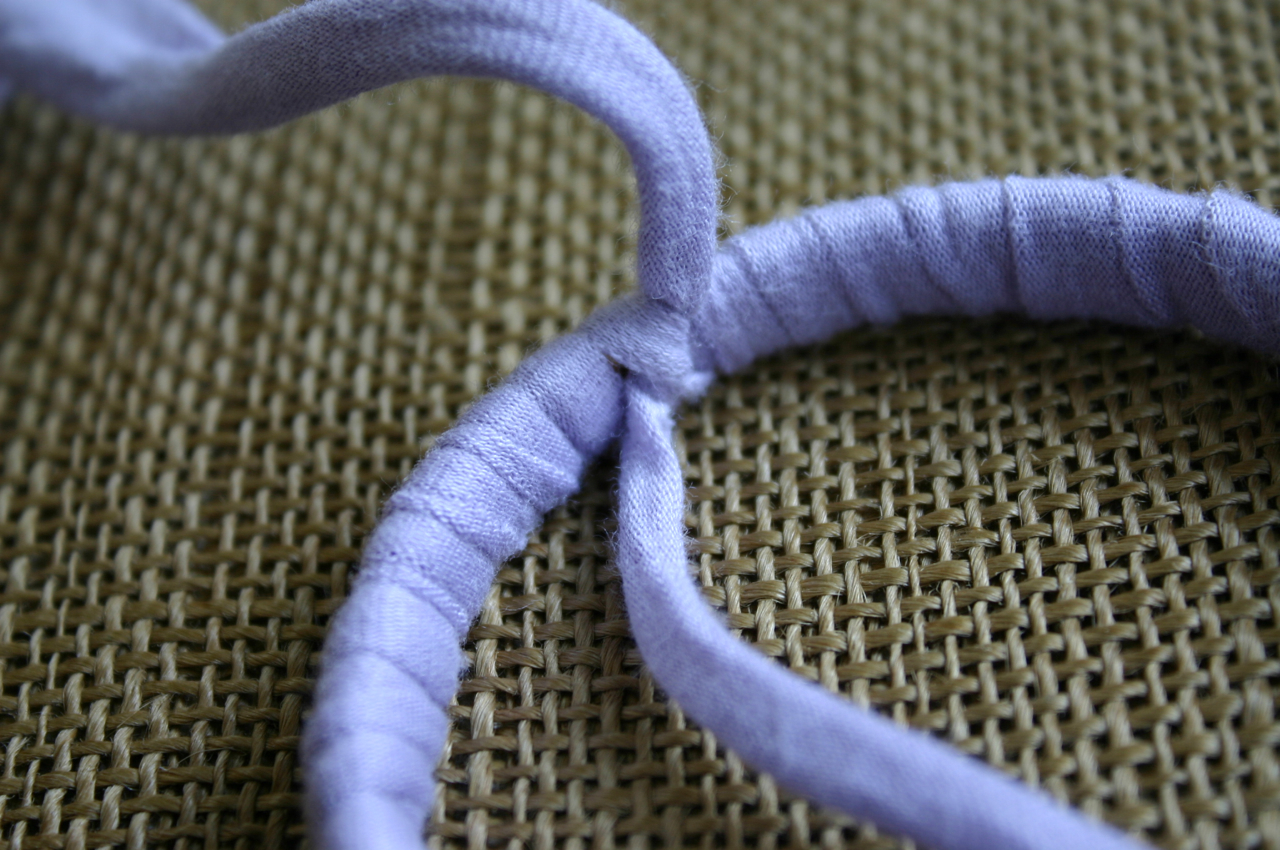
Loosely tie one end of the t-shirt strip to the bangle and start wrapping fabric around bracelet – the tighter the better.

Wrap fabric all the way around until you meet the first knot – untie the knot and tie both ends together to close. Make a double knot, pull it tight and make sure the knot is positioned on the inside of the bracelet. Trim ends with scissors.

I found this technique worked well for us – but you could also use a glue gun to secure ends.

Wednesday, September 12, 2012

DIY: Recycled / Upcycled T-Shirt Bracelet

This is a great DIY tutorial that could easily go hand in hand with other t-shirt tutorials since it uses only a small part of the t-shirt after you've cut it up for other things!  We like multi-tasking with our materials.  Thanks to Dollar Store Crafts for coming up with and sharing this tutorial!
If you like cutting up t-shirts to transform them into necklaces, pillows, tote bags and other fun stuff, you often end up with a few extra pieces. Here's an easy project that uses up scrap pieces of a t-shirt to make a simple summer bracelet.
Project estimate:
  • T-shirt scrap, on hand
  • Aluminum conduit connector or similar hardware, $1 or less
  • Tape, on hand
Total: $1 or less
After cutting the  useful parts off a t-shirt, save the pieces around the sleeve or collar.  In my case, I was able to cut one long strip about an inch or two wide and about 12 inches long.
Wrap the ends of the strip with blue tape or masking tape.
Feed the strip through a hardware tube. Wrapping and twisting the fabric a bit, feed both ends through a second time.
Depending on the length of your scrap, tie any loose ends into a knot or bow or tuck them into the rest of the bracelet (a little like a turban).
Fabric glue or stitch into place.

Wednesday, August 22, 2012

DIY: Faux Braided Bangle Bracelet

How gorgeous are these?  We love, love, love dollar store crafting!  Thanks to Studs and Pearls for making this fabulous tutorial.


Supplies:

- 4 thin metal bangles

(or less/more, depending on the thickness of each bracelet and your desired look)
- Measuring tape, scissors, Scotch tape
- Any kind of flat fiber of your choice, such as ribbon or leather cord.
I used this interesting ribbon yarn, Lion Brand Incredible® Yarn in City Lights. (c/o Lion Brand)
- Clear nail polish (optional)


I love the colors of this yarn. So bright and fun.


1) If you're using more than 2 bangles, loosely tape 2 and 2 together. You'll be working with each pair of bangles separately, wrapping the yarn around each pair and weaving in between them. The tape will help hold the bangles together while you do this.


2) Measure and cut about 200 inches of yarn/ribbon/etc. This will probably be more than enough, but it's always better to have too much than too little!


3) Insert the yarn through the bangles, positioning it so that there is an equal amount of yarn on either side. (ie: Fold the yarn in half, and let the bangles drop to the center of the fold).


To make this easier to follow, start with the same side I did and follow from there. Holding the yarn in place underneath the bangle, take the yarn on the left side and bring it over the left pair of bangles.


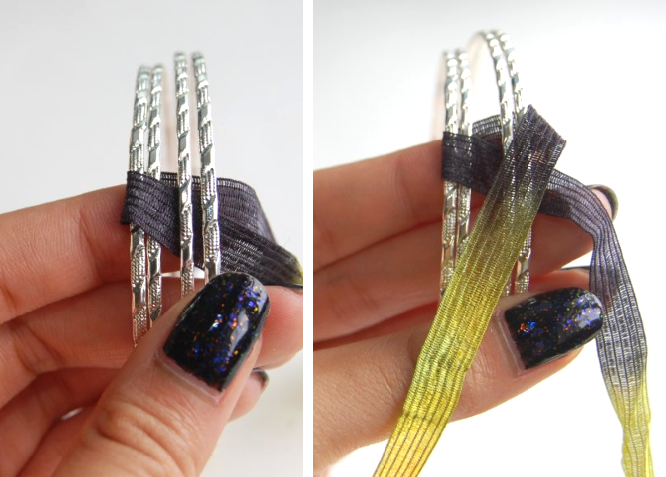
4) It may be a little awkward to hold the bracelets at first, but everything will start to take shape as you go along. Take the yarn on the left side, and bring it over the left pair of bangles and under/through the right pair (first photo). Next, take the yarn on the right side and bring it over the right pair of bangles.


5) Bring the right strand under/through the left pair of bangles. This completes one "weave". Gently pull on the strands to slightly tighten it. Continue from there, with the left strand going over the left pair of bangles (as seen in the second photo).


6) This strand will then go under/through the right pair. The right strand will then go over the right pair...


7) ... and under the left pair of bangles. You'll start to see the "braided" look form, as you can see in the first photo above. Continue with this same method the entire diameter of the bangles. Left strand over the left pair, under/through the right pair, right strand over the right pair, under/through the left pair. Don't forget to pull gently so that the "braids" stays in place.


8) Whenever you come across the tape, simply remove it and continue braiding.


9) The braided look will start to emerge as you work along the bangles. Be sure to keep the tightness of your weaving consistent.  Between this method and the type of ribbon yarn I used, I really like how the colors stood out in this bracelet!


10) Keep working around the bracelet...


Eventually, you'll reach the point where you started.


11) Tie both strands into a tight double or triple knot. Cut away the excess.


12) If you'd like, dot some clear nail polish onto the knot for some extra security. 


Tuesday, August 14, 2012

DIY: Acorn Ring

Hello Hydrangea has a wonderful tutorial we have been looking for since we saw this stunning piece of jewelry.  Not only are you taking nature and incorporating it into your wardrobe, but you are also giving yourself a gift that will last a lifetime!  


To start I cut 6 pieces of wire approximately 10 inches long and braided them together.
Then I cut 3 more pieces of wire and threaded them through a pearl before poking them through my previously drilled holes in the bottom of the acorn.
Attaching the two groups of wire is easy because I simply stuck them through the holes in the braid. Then I wrapped the braid around a chapstick tube to estimate the size for the finger and attached it on the other side of the acorn.
When both sides are attached I simply coiled the remaining wire around and around while weaving it in and out of eachother to create more of an organic shape. All the while I tucked the pokey wire ends into the coil so that they wouldn't poke the finger that is wearing the ring!
I have so many acorns left! One reader mentioned making a windchime and I really like that idea! I also think more jewelry options are in their future. For now, you can help me relieve some of these little guys by getting your own ring in my shop. I can honestly make any color or size you want! Just say the word.

Thursday, August 9, 2012

DIY: Plastic Spoon Rose Jewelry

This wonderful tutorial from Cut Out + Keep shows a way to recycle / upcycle your plastic spoons.  We think that this would also be beautiful with color spoons from parties, barbecues, or other events!  Think of all the fun you can have being creative with this one.

Completed Project: Plastic Spoon Rose Picture #1

Instructions 
  1. 1
    Step 1
    You can use any colour spoon you want or you can also spray paint them afterwards.
    see picture
    - cut off the handles using scissors
    - when you have 17 (10 for outer petals, 5 for petals around the 2 in the middle)

  2. 2
    Step 2
    - Light the candle
    - Take your needle nose pliers to hold the spoon.
    - Try not to keep the spoon too close to the flame as it will cause blackening of the plastic.
    - Melt the bowl of the spoon and heat the underside.
    - let it cool down a bit but while it's still warm and bendable shape the petal by pulling the tip and bending it backwards with your fingertips.

    - You could speed the cooling down up by blowing.
    Repeat- this step for all 17 petals.

  3. 3
    Step 3
    - Beginning with the 10 outer petals take two spoons and melt what's left of the handles. Fuse placing them next to each other and smooth out the melt until the handles stick together. You could use the needle nose pliers to do this since the melted plastic is incredibly hot!
    - Repeat this 4 times so that you have 5 sets of 2 petals.
    - Now melt the handles of 2 sets and stick them together.
    - Repeat this step until you have the 3 pieces of the rose.

    This will take a while to figure out which is the right way to assemble all pieces.

  4. 4
    Step 4
    - Glue the pieces together with a glue gun or by melting the bottom side of the petals.
    - Insert the 5 petals into the 10 petals and the 2 middle petals into the 5.
    See picture.
    Now that your rose is finished melt the bottom of the rose and push it flat (I used a saucer to push it flat). Once it is flat enough melt the plastic again and push a safety pin into it and secure by laying a small piece of melted plastic over the safety pin.

    Optional:
    Pendant - hang it onto a long jewellery chain.