Showing posts with label party. Show all posts

Sunday, February 3, 2013

DIY: Mini Cake Stand

Having a Spring / Easter / ANY party?  Love cake stand DIYsShaken Together's blog has an absolutely adorable mini cake stand that we don't think they could have made easier if they had tried!  We love the simplicity, but the beauty of this project.  

Be sure to head to their blog for more info and more DIY!

I purchased two inexpensive sets of solid colored dishes - one granny smith apple green and one black - inverted the cereal bowls, attached the dinner plates with scrapbooking glue dots (super sticky and easily removed) and my cake plates were born!! 
Here they are in action - sorry, this was the first picture I could find without digging out my CD of hundreds of pictures! 

We made chocolate and vanilla cupcakes with home made buttercream and offered chocolate jimmies, green sugar, coconut and mini chocolate chips ... it was a hit!
 
These would be sweet made with thrift store finds for a Mothers' Day tea, heritage dishes for an anniversary party or fun brightly colored mix & match plates and bowls for your kiddo's birthday party ... use the coffee mugs and salad/dessert plates for smaller cake stands with a little more quirky character :)  The best part is that they can be whipped up in a pinch and stored easily!
Hope you were inspired to {try this}!  And hope you want to hang around a while!  There are lots of ways to follow along ... check out my side bar.  I'm hosting a weekly Pinterest link party, too - scroll up to the top to stop by this week's party!  And I'll be sharing the amazing brownie recipe pictured above in the very near future ... you definitely don't want to miss it!
Photobucket

Friday, February 1, 2013

DIY: Free Printables (Chevrons)

Who doesn't love free stuff?  Who doesn't love free printable / customizable stuff?  That's what we thought.  ;)

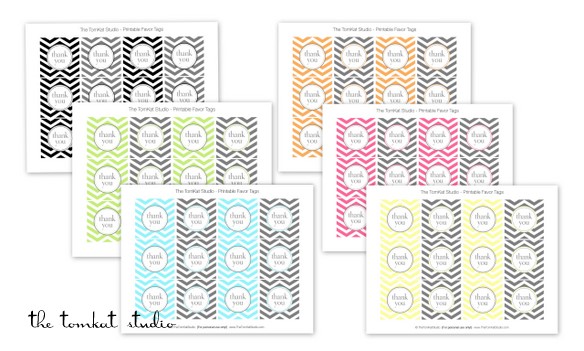
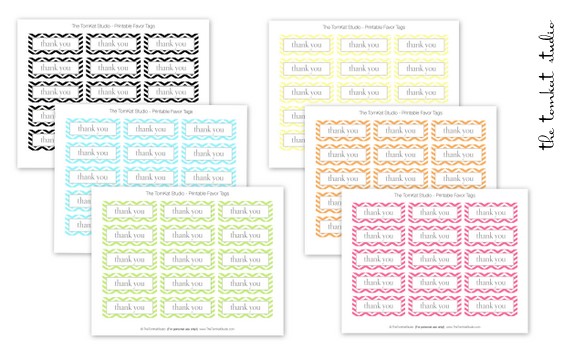
So, we are happy to share HGTV's wonderful (and FREE) printable chevron invitations and favors in 6 different color choices.  You.  Are.  Welcome.
I was recently asked to design a few all occasion invitations and favor ideas for the entertaining section of HGTV’s website. Both stories just went live, so you can download these fun, easy printables for any event! Available in pink, orange, lemon, lime, aqua or black. The invitations for free download are fill-in invitations. If you would like the text customized, they will be available in our shop!
I designed coordinating favor tags in two shapes. Our regular party circle size, as well a rectangular version.

Tuesday, January 15, 2013

DIY: Felt Bird Sachets

These are ridiculously cute!  We can see these being a year round craft - but why not bust them out for Valentine's Day since they are adorned with heart wings??  Check out Positively Splendid's blog for more DIY fun!


Supplies:
Bird Sachet Template {{click here to download}}
Felt in assorted colors (the brighter the better!)
Coordinating embroidery thread
Embroidery needle
Buttons
Cotton batting
Dryer sheets
To begin, print and cut out your templates and use them to cut out your felt pieces: 2 bird bodies and 1 heart wing for each sachet you are making.

Sunday, January 13, 2013

DIY: Valentine Sweet Bags!

She's Kinda Crafty is a way fun blog that has some cute sweet bag DIYs.  There are two fun downloads you can use from her blog as well - so be sure to go check it out!


Saturday, January 12, 2013

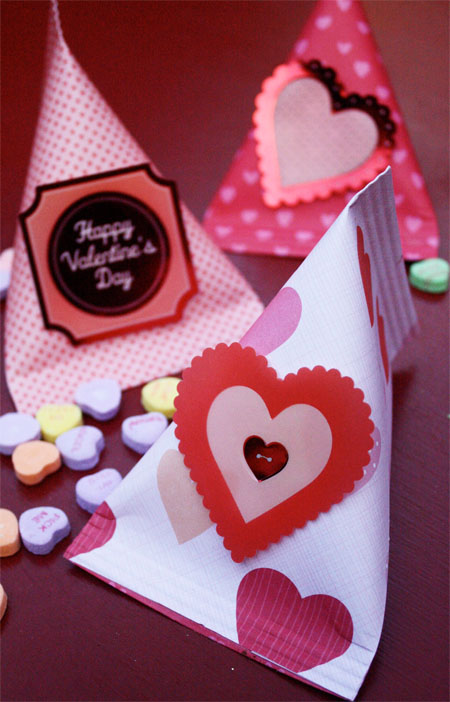
DIY: Valentine's Containers

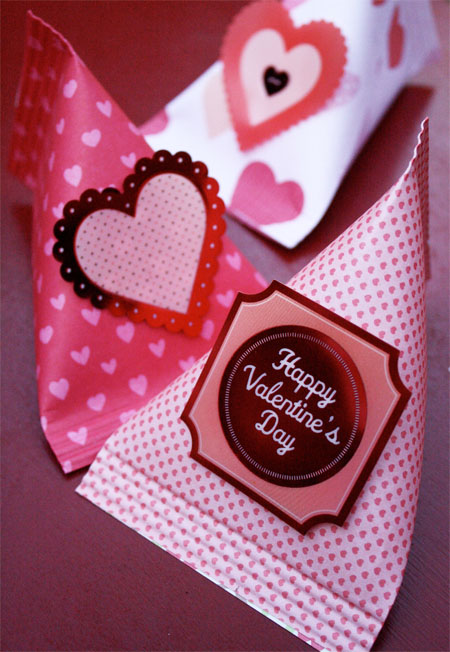
Are you having a Valentine's Day party or are you looking to give out some fun favors for a school / work / church event?  Skip to My Lou's blog has some wonderful DIY containers that are just adorable.  We walk by those paper book packs at Michael's all the time and wonder what we can do with that much holiday paper...now we know!!

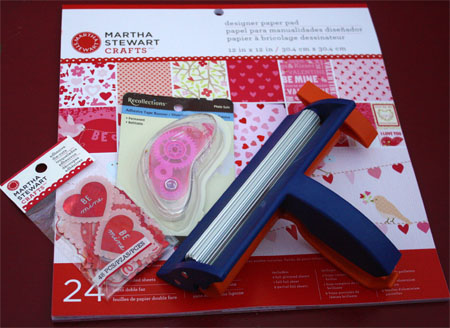
I have been making them for years, but with all the new printed papers and embellishments it is a new quick an easy craft. I found everything I needed at Michael’s Arts & Crafts. Look for heavyweight paper or cardstock {loving this pad from Martha Stewart} for these containers, cute embellishments, adhesive tape runner and a Fiskars paper crimper.
 
These containers can be made any size.  I cut paper 4.25″ X 5.5″ (roughly cutting an 8 1/2 X 11 sheet of paper in half).
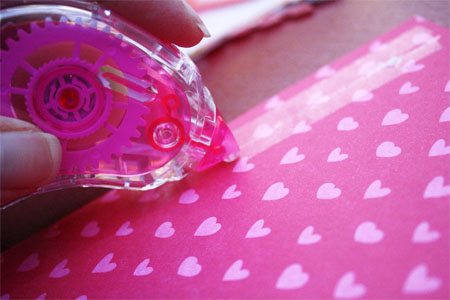
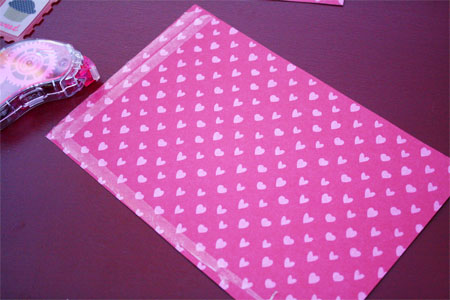
With a tape runner put two rows of tape on one edge. Glue stick or Double Sided tape can also be used. Be generous with the adhesive!
 
Put  the adhesive tape runner {my favorite} along the end and one side of the paper on the wrong side.
 
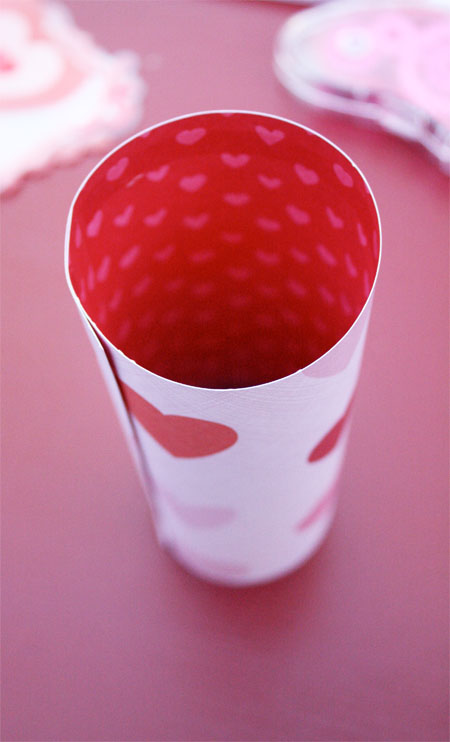
Roll paper into a tube, overlapping the edge about 1 inch.
 
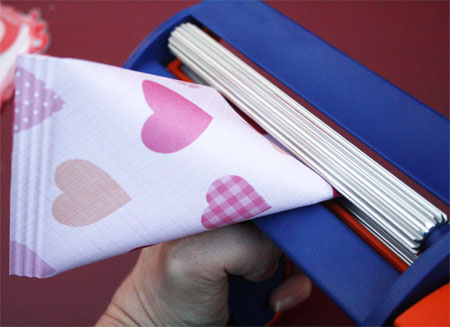
Pinch the edge with the adhesive closed. Place the closed end in the paper crimper. Turn crimper about three to four times.
 
Fill container with goodies. Place adhesive on the inside edge  of the other end. Press end together in the opposite direction. Crimp close.
 
It works best if the seam is off center.
 
Attach embellishments to the containers.  These make a fun containers to hold yummy goodies for your special Valentine!

Friday, January 11, 2013

DIY: Valentine's Day Wrapping Paper

Thirty Handmade Days has a very fun paper design that they are sharing with the rest of us!  Head on over to their blog for some fancy pants paper!


At Christmas my genius friend Jaimee posted some beautiful wrapping paper.  I LOVED the idea and decided to make some for Valentine’s day.  I honestly ADORE the results and am working on more projects similar to this.

I made one traditional subway art type of wrapping paper.  And then I had a little fun with another sheet.  I made paper that had lyrics from what Josh and I call “Date Me” songs.  These are songs that we hear and immediately think of each other and when we were dating (14 yrs ago!).  Most of the time it’s when I’m listening to 90′s on 9.  ;) Try really hard not to laugh at the lyrics because most of them are not mushy!
Follow Me on Pinterest

Sunday, December 30, 2012

DIY: Eggnog Cupcakes with Spiced Rum

Baker's Royale has made a picture look so delicious we wish we could eat two dimensional objects!!  These look unreal.  We know that our frosting will not look this amazing, but if they taste anything remotely like they look we couldn't be happier...
 Eggnog Cupcakes Bakers Royale Eggnog Cupcakes with Spiced Rum  

Makes 24 cupcakes | Preparation: Heat oven to 350 degrees F. Line 2 muffins tins with cupcake liners.
Ingredients:
Cupcakes:
  • 1 1/2 cups self-rising flour
  • 1 1/4 cups all-purpose flour
  • 1 cup (2 sticks) unsalted butter, softened
  • 2 cups sugar
  • 4 large eggs, at room temperature
  • ¾ cup eggnog
  • ¼ cup milk
  • 1 teaspoon vanilla extract
Spice Rum Buttercream:
  • 5 large egg whites
  • 11/2 cup sugar
  • 4 sticks unsalted butter, diced and softened
  • 1/4 teaspoon salt
  • ½ cup spiced rum
Instructions:
To make cupcake:
  1. Measure out flour and set aside.
  2. Add sugar and butter in a bowl and cream on medium speed until fluffy, about 3 minutes. Add eggs in 1 at a time, beating well after each addition. Add the dry ingredients in 3 parts, alternating with the eggnog and vanilla to start. Mix after addition until incorporated-do not overbeat.
  3. Fill cupcake liners about 3/4 full and bake for 20 to 25 minutes. Transfer cupcakes from tins to cooling rack. Allow cupcakes to cool completely before frosting.
To make Spice Rum Buttercream:
  1. Combine egg whites and sugar in a bowl placed over simmering water. Bring mixture to 160 degrees F while whisking constantly.
  2. Transfer mixture to stand mixer bowl, fitted with a whisk attachment and beat on medium  high speed (speed 8 on a KitchenAid stand mixer) until mixture cools and doubles in volume and forms stiff peaks; about 10-12 minutes).
  3. Add butter in one piece at a time, mixing to incorporate after each addition. The mixture may appear clumpy and almost curdled looking at first-this is normal. Keep mixing and it will become even and smooth again.
  4. Add salt and spiced rum and mix to combine.


Saturday, December 29, 2012

DIY: Balloon False Ceiling

Wants and Wishes blog has a fantastic last minute idea for that New Year's Eve party!  If you've been debating how to jazz up the home for the festivities - here you go!!  Visit them for more ideas.
 

 1. Blow up all of the balloons you would like to use. I wanted a variety of colors of balloons so I used 2 different colors of purple, 3 different blues and silver. I think it turned out really well to have the mix of colors.
2. Roughly arrange the colors the way you would like them, this will help when your tying them together that you don't have all the same blues together, but a even mix of colors. (Note I used almost double the amount of silver balloons since I have different shades of blues & purple balloons).
3. Tie them together with string or curly ribbon. Don't tie them too close as they need a lithe room in between. I tie them together so you have 2 rows of balloons- one hanging on the right then one on the left.
Here is a picture with one strand hung up so you can see how full one strand can be. You can add as many strands of balloons you need to create the depth of your area.

Friday, December 28, 2012

DIY: New Year's Eve Confetti!

Head on over to "Homework: Today's Assignment: Be Inspired"'s website for this awesome DIY New Year's Eve confetti!  This is so easy to whip up and would make for a great last minute party idea.  The only problem?  Vacuuming it all up!

Thursday, December 27, 2012

DIY: Gold Dipped Glasses

Having a New Year's Eve party?  These gold dipped glasses would make the perfect edition to any party night!  These come to you from Momtastics' blog - so go check her out! 

alt

Supplies:

alt
Wash wine glasses thoroughly. Wrap tape around the base of the wine glass leaving the area exposed you want to paint gold. Cover the rest of the glass with paper
alt
I taped up the sides too to be extra cautious
alt
Spray from a good distance, at least 1 1/2 feet to get a nice even coat.
altDo the same with the other glasses in your set.
alt
DIY: Gold Dipped Holiday Glasses

Wednesday, December 26, 2012

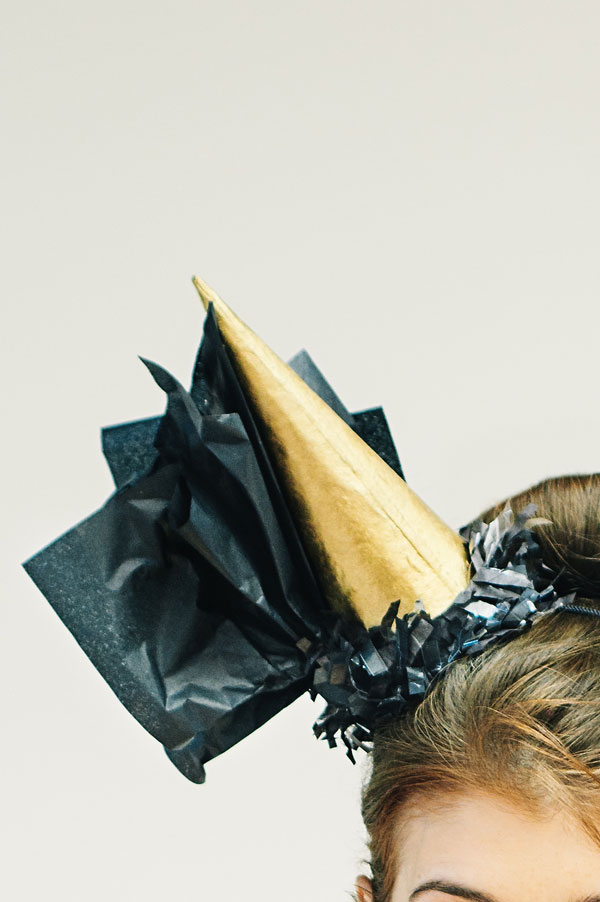
DIY: Black and Gold New Years Eve Party Hats

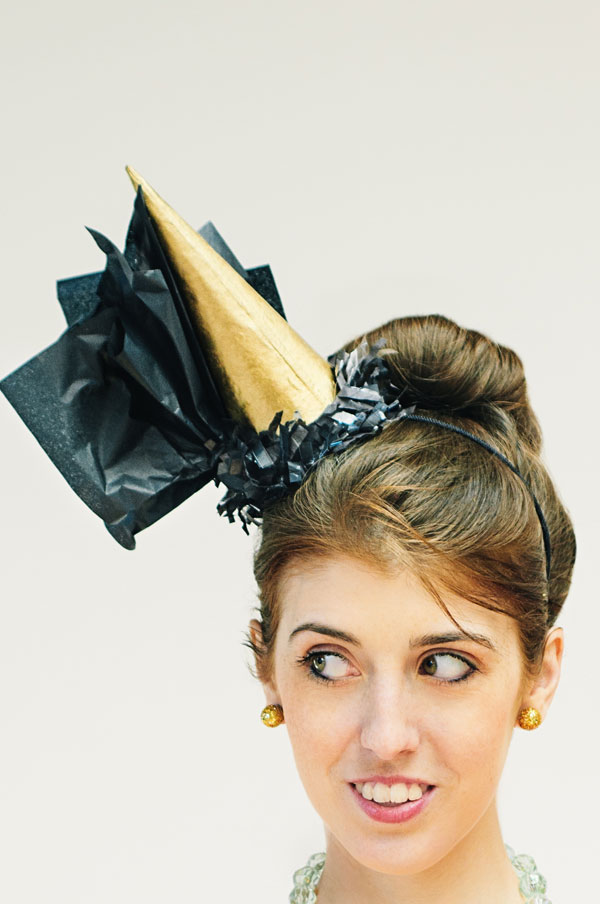
We love these party hats from Studio DIY's website, especially since they are black and gold (UCF colors - and we have knights in the family)!  They look so simple, it's kinda ridiculous and marvelous all at the same time!!  So, get on it.  ;)

DIY New Years Eve Party Hats | Studio DIY
DIY New Year's Eve Party Hats | Studio DIY
Supply List:
Paper Mache Cone  
Black Tissue Paper
Black Tape
Hot Glue
Black Cardstock
Black Fringe Trim
Headband
Gold Filler Balls or Other Trimming (Optional)
To Make:
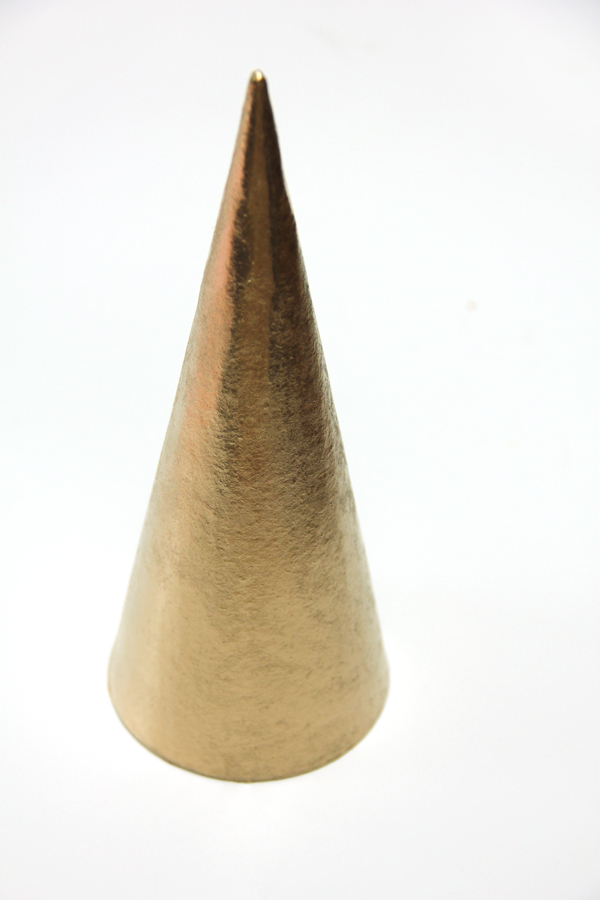
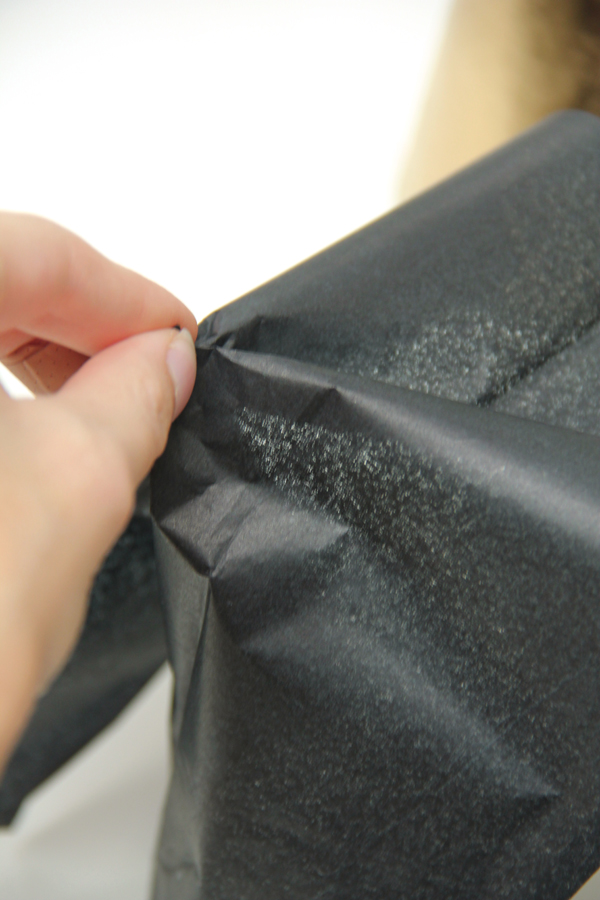
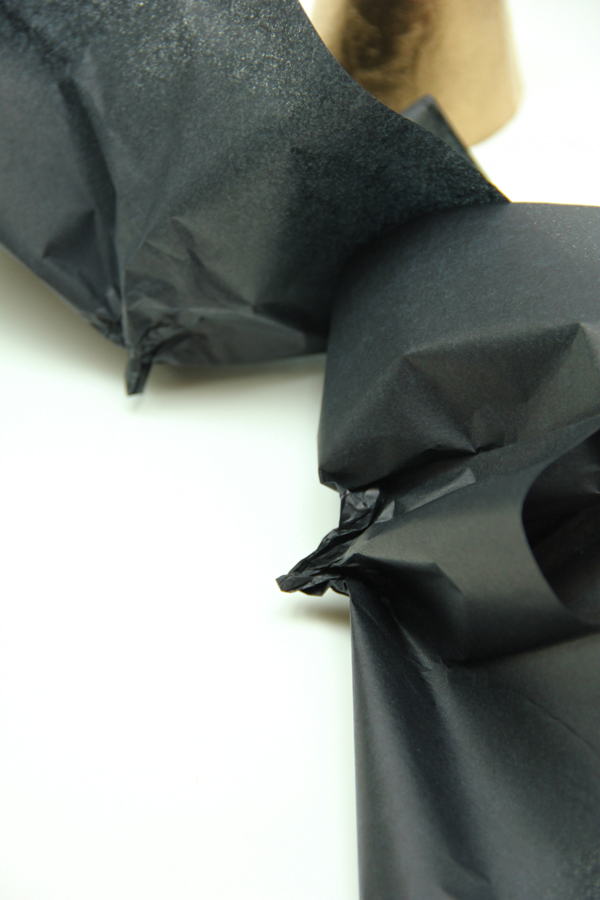
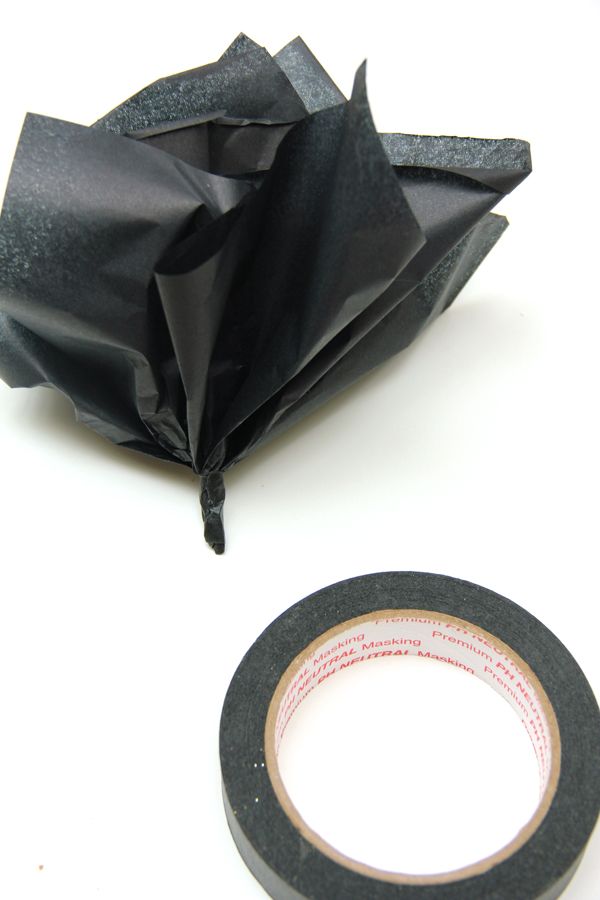
Spray paint your paper mache cone gold and let dry. Meanwhile, cut your tissue paper into five inch squares. You’ll need two for each party hat. Grab one square in the middle and pinch it, then twist so it keeps its shape slightly. Repeat with a second square.
DIY New Year's Eve Party Hats | Studio DIY DIY New Year's Eve Party Hats | Studio DIY
Hold your two squares together at the twisted bases and wrap black tape around them to secure.
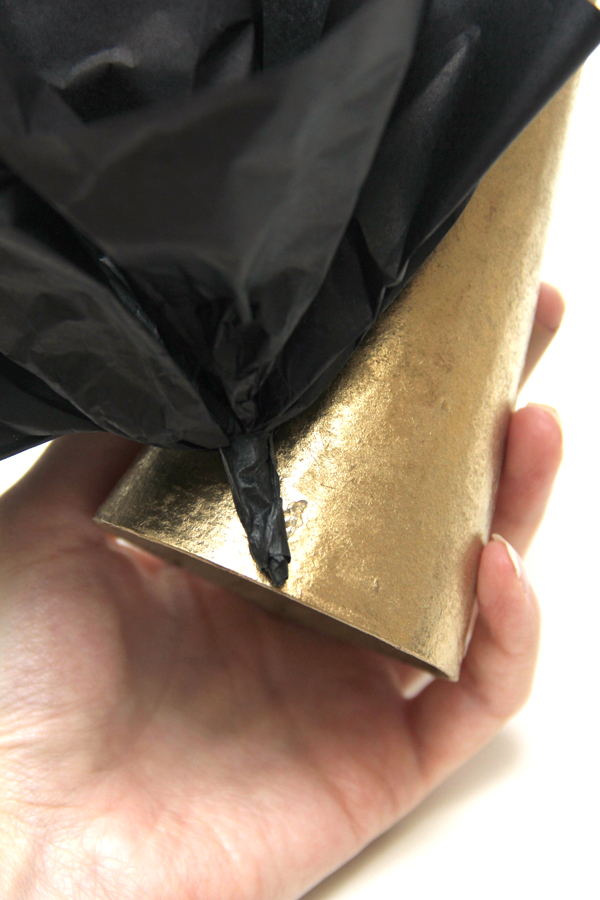
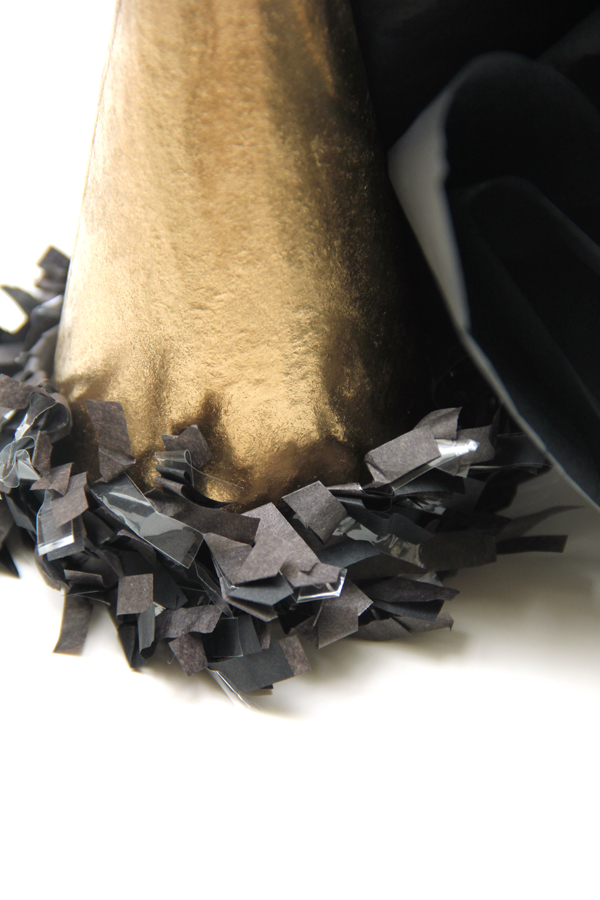
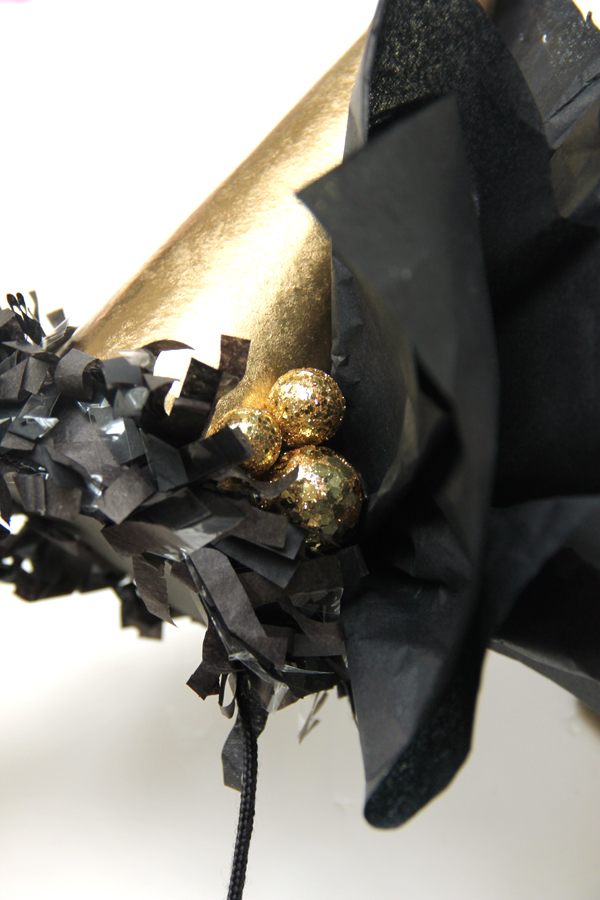
Hot glue your tissue poof to your paper mache cone. Add some fringe trim around the bottom of the cone, covering the base of your poof you just added.
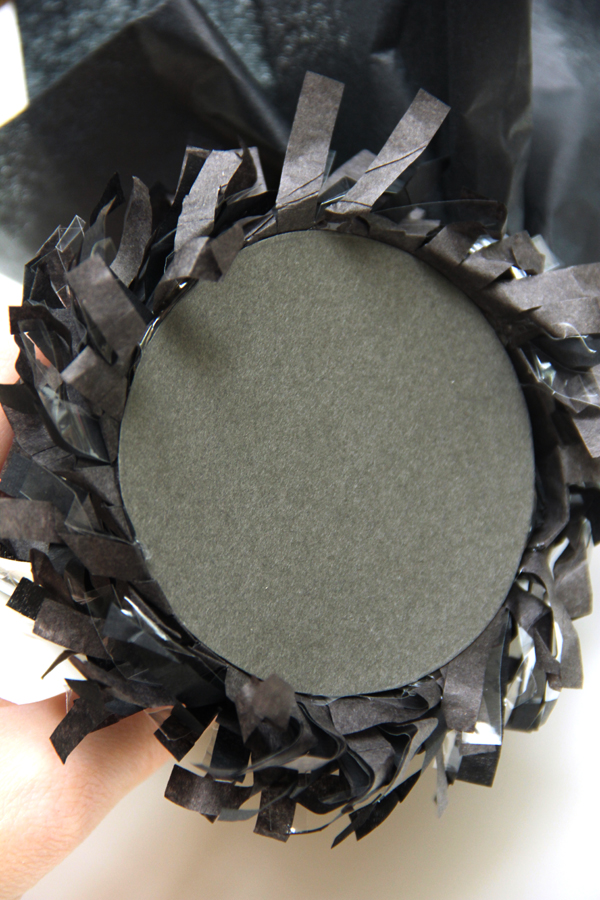
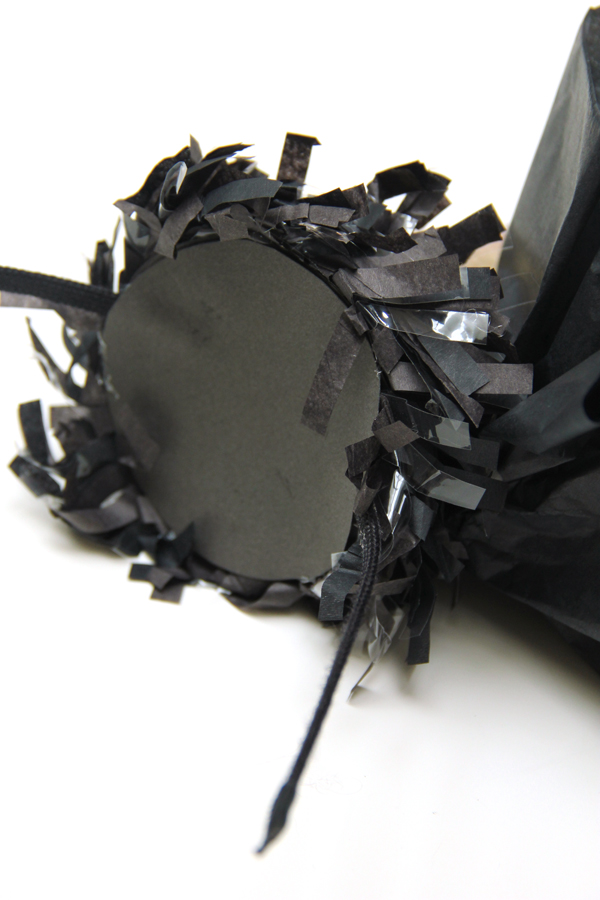
Cut out two circles from your cardstock the width of your cone’s base. Hot glue one to the base of the hat. Now sandwich your headband in between the cone and the other cardstock circle and secure with hot glue.
Add some fun gold fillers or beads if you’d like, or leave it plain. As you can see, I did both!
DIY New Year's Eve Party Hats | Studio DIY