Showing posts with label bracelet. Show all posts

Sunday, September 16, 2012

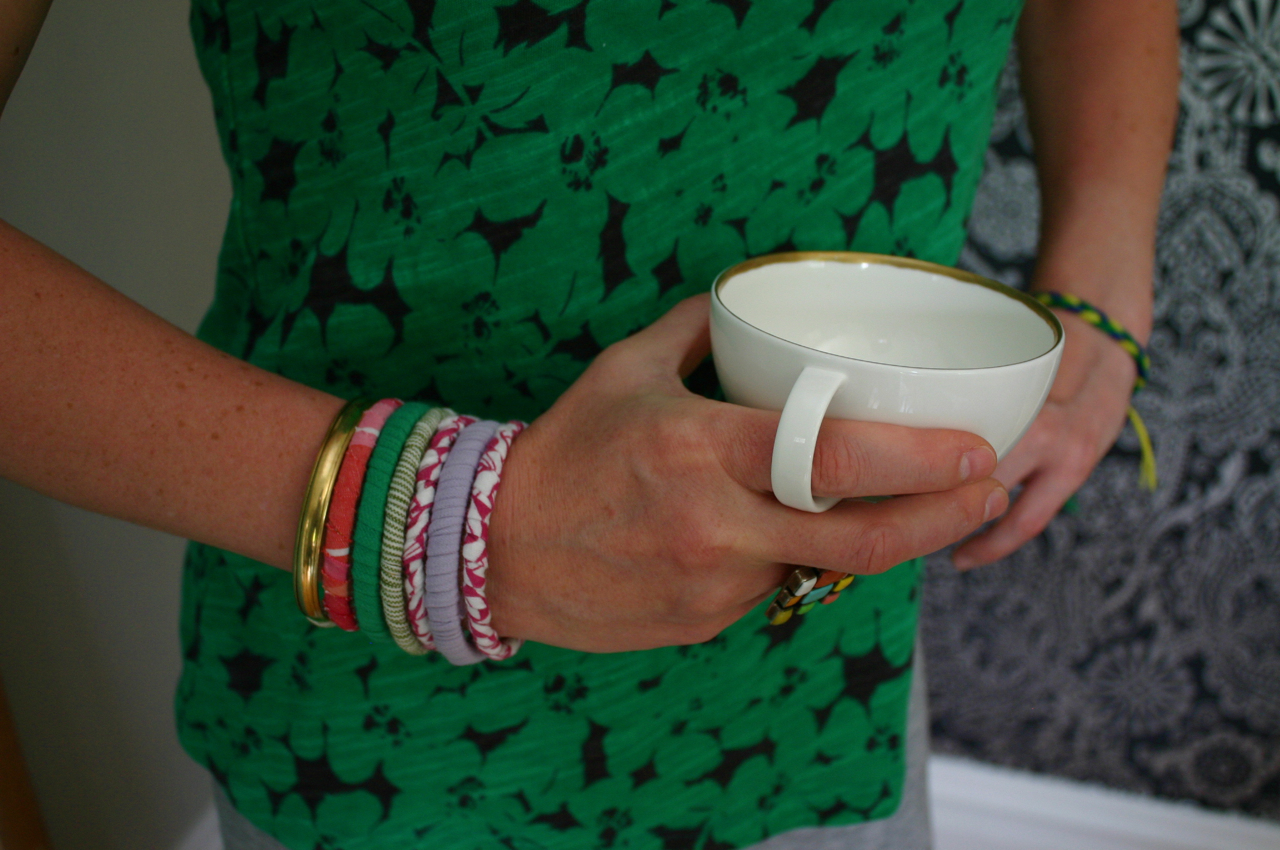
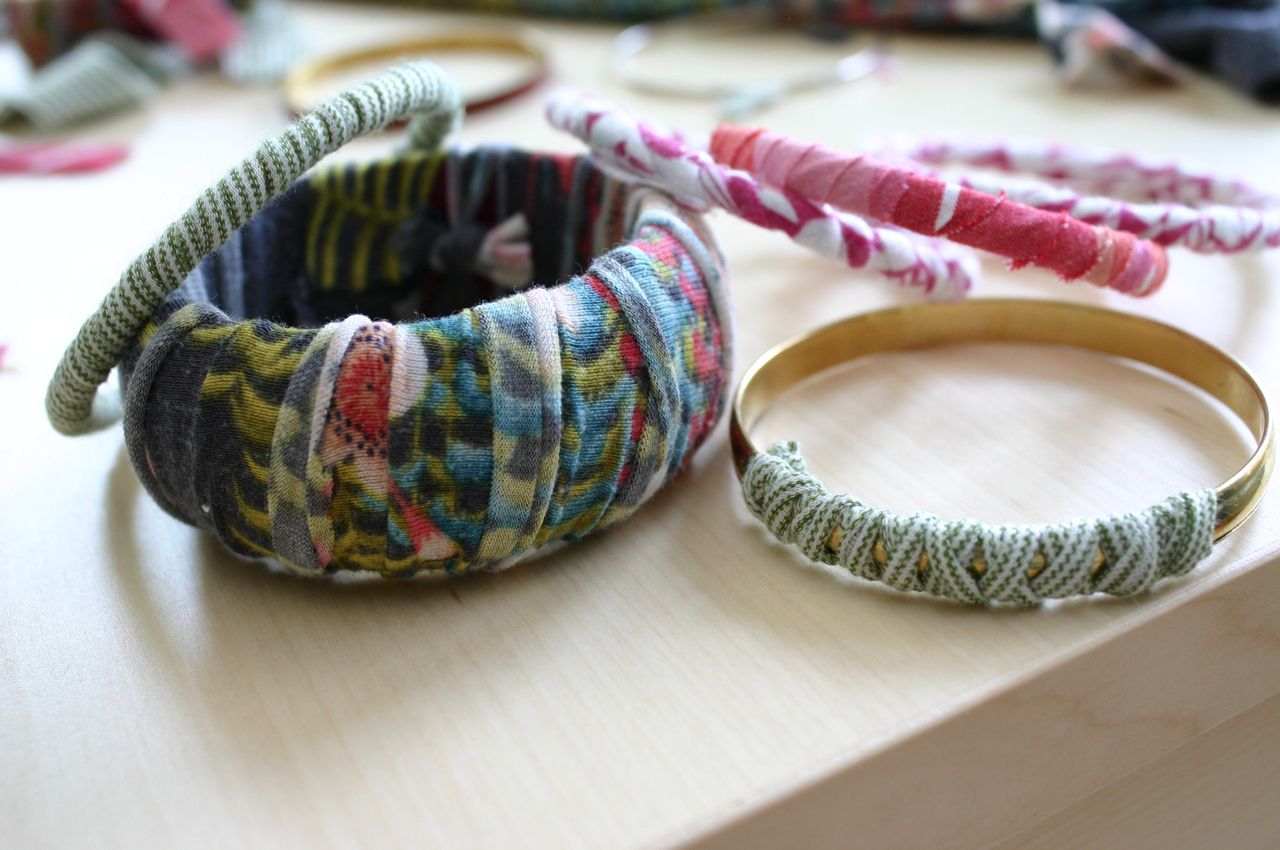
DIY: T-Shirt Bracelet Makeover

Here is another option for t-shirt upcycling into jewelry that we think just couldn't be easier to do.  This is from Family Chic's blog and there are plenty more tutorials on there, so be sure to pop over and check 'em out!  

These would be great bracelets to make out of the sleeves of your t-shirts that you may have used for other DIY t-shirt projects...


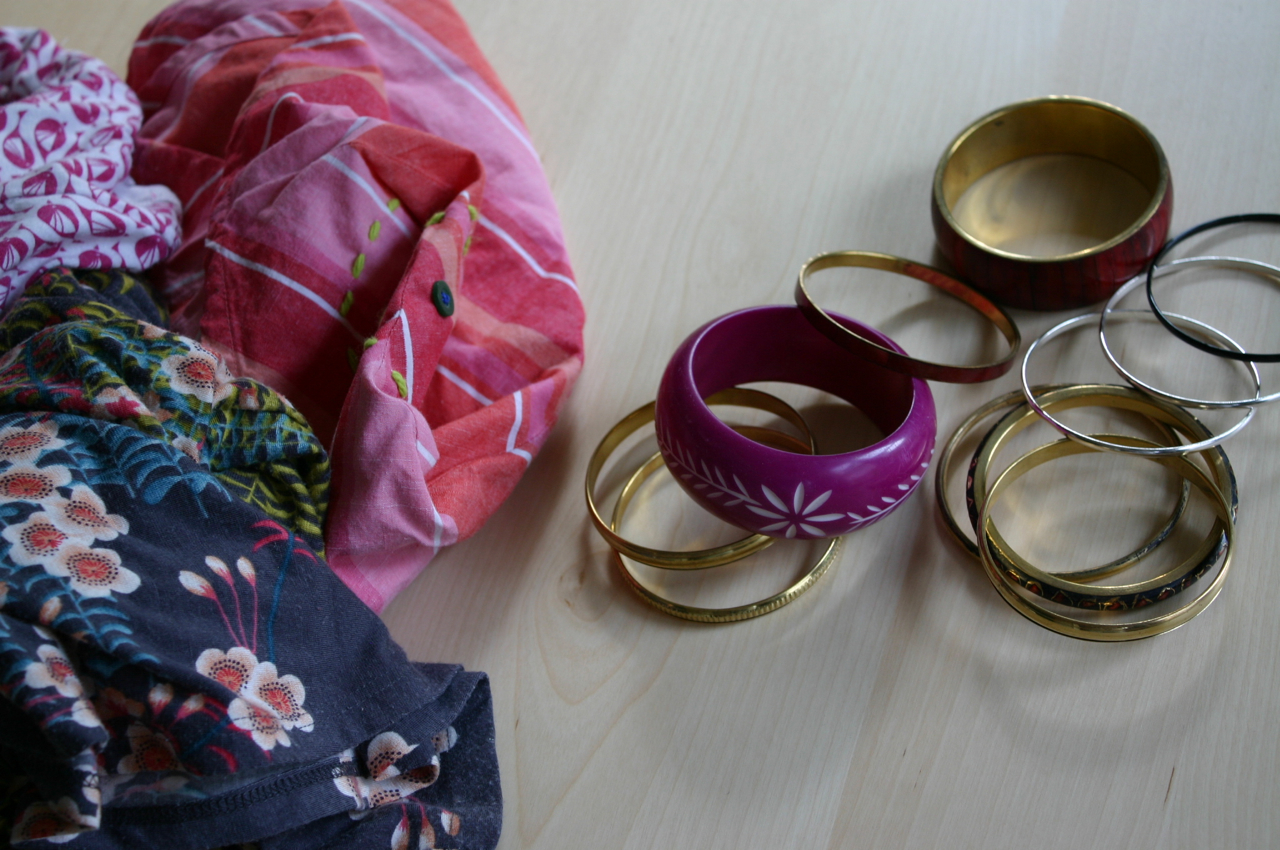
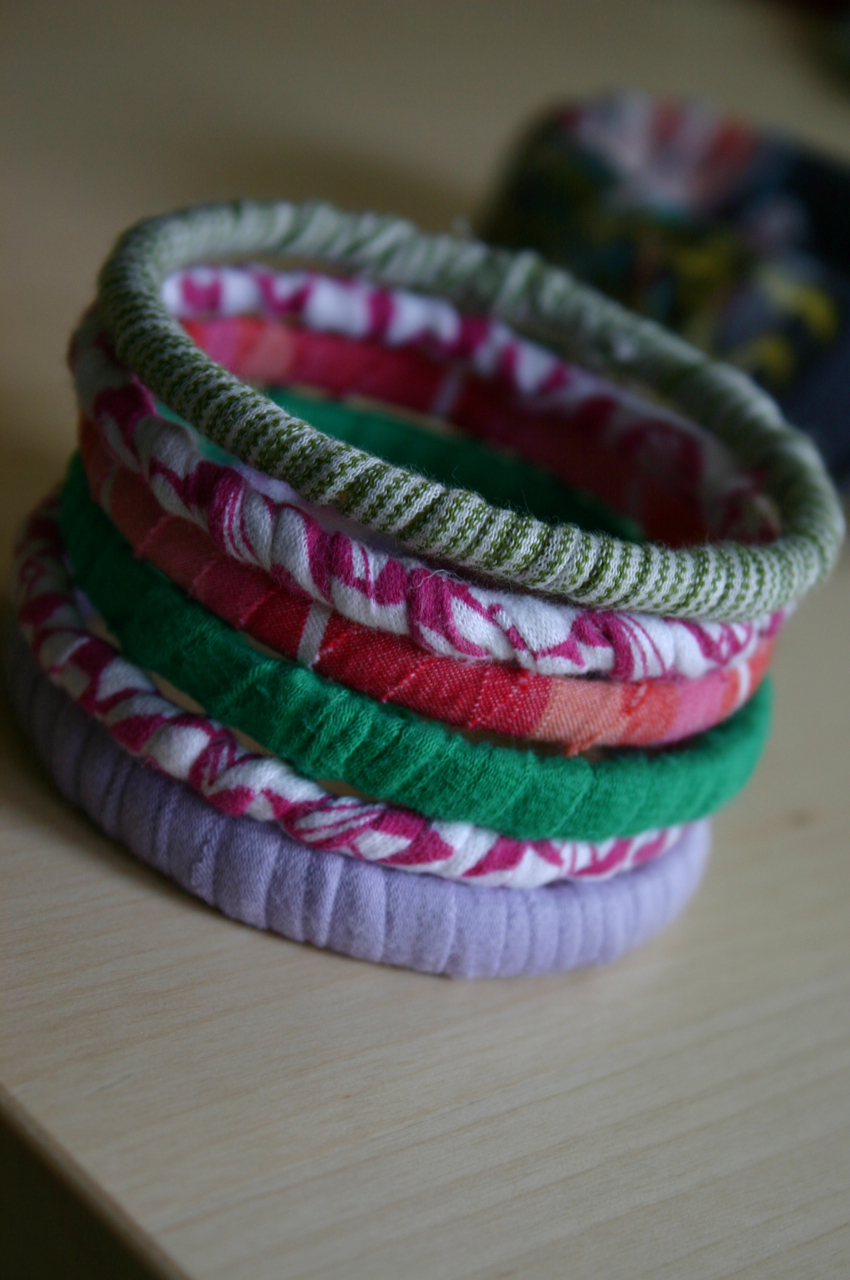
For this project you will need some old t-shirts and a bunch of bangle bracelets. Try using old bangles that you already own, check thrift stores or pick up some up for a few dollars at Target, Walmart – or even the sale bins at Old Navy.

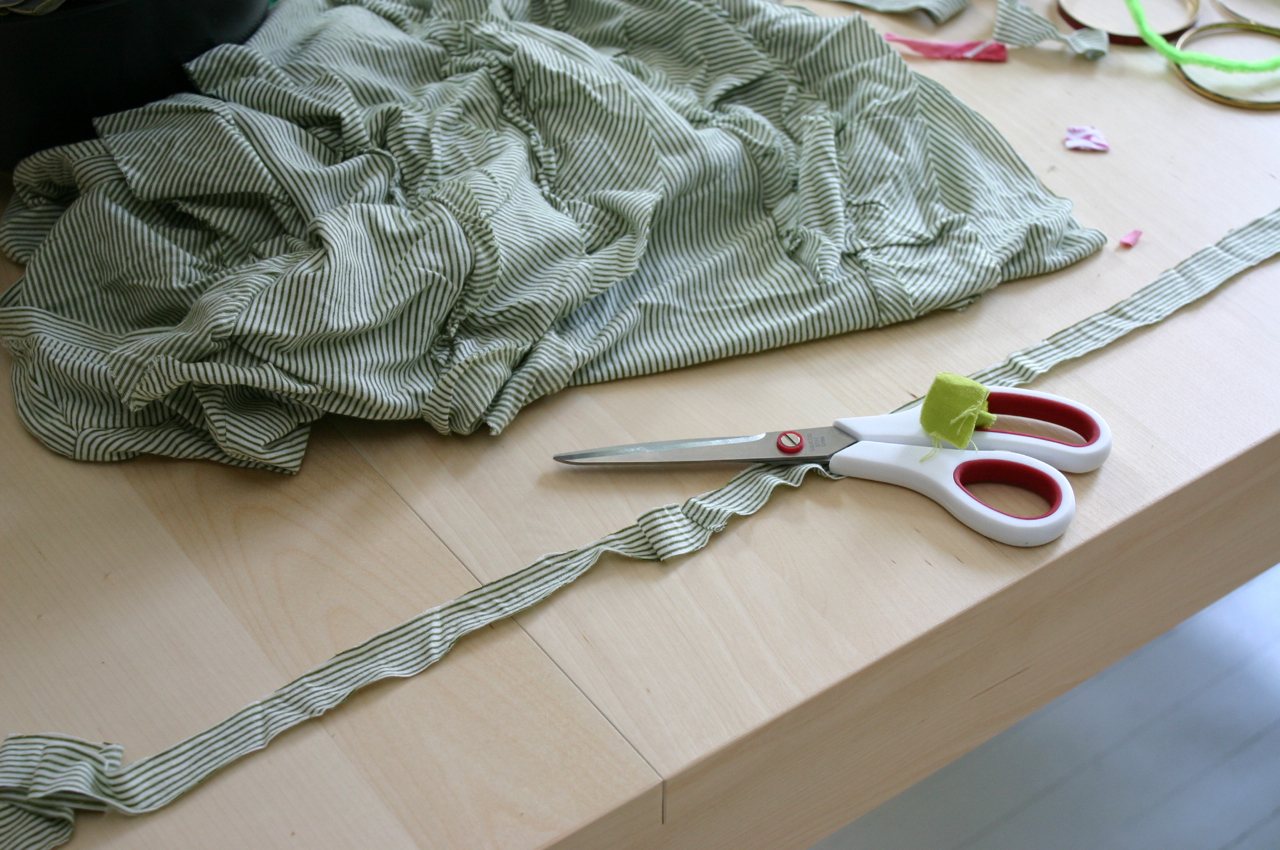
Cut t-shirt in 1/2" to 1" wide strips. Depending on the thickness of the bangle – a thick bracelet will need thicker strips.

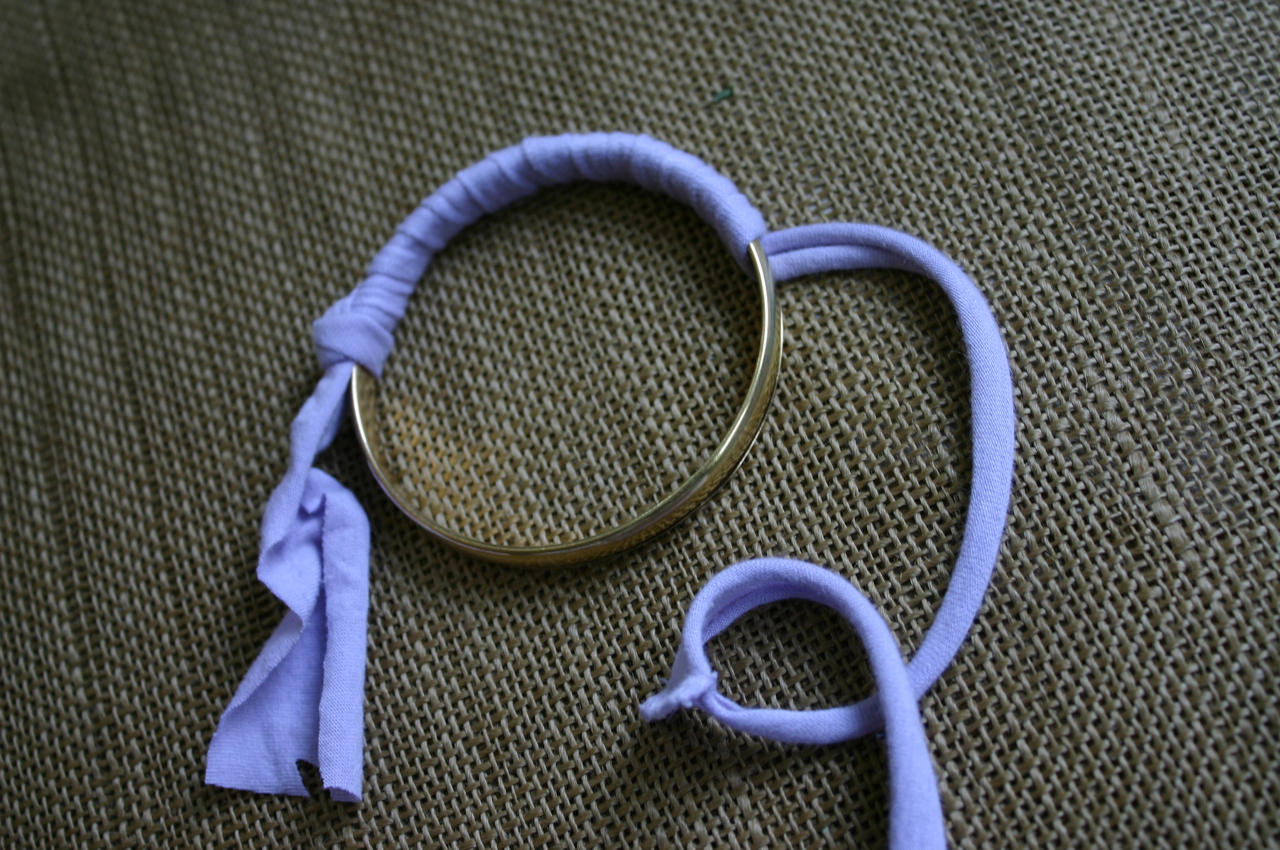
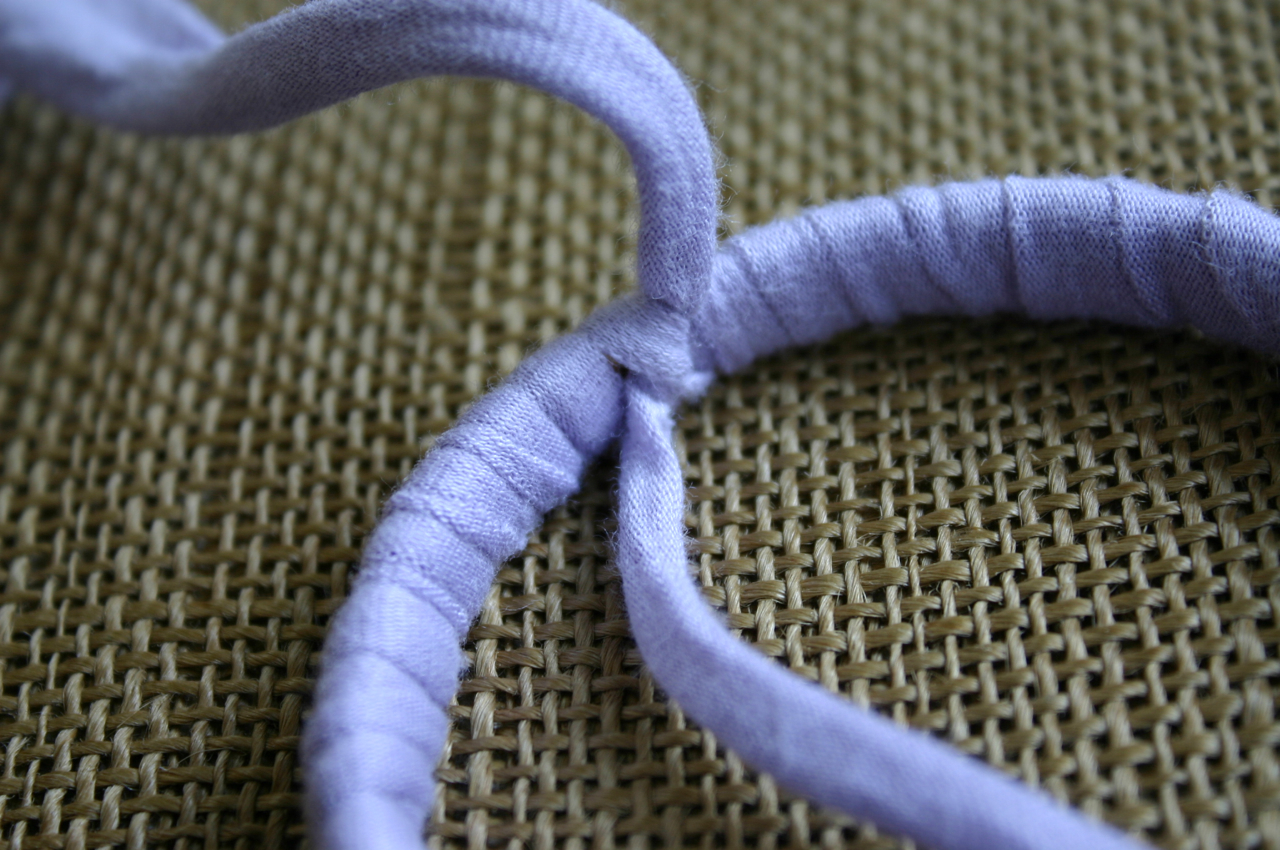
Loosely tie one end of the t-shirt strip to the bangle and start wrapping fabric around bracelet – the tighter the better.

Wrap fabric all the way around until you meet the first knot – untie the knot and tie both ends together to close. Make a double knot, pull it tight and make sure the knot is positioned on the inside of the bracelet. Trim ends with scissors.

I found this technique worked well for us – but you could also use a glue gun to secure ends.

Wednesday, September 12, 2012

DIY: Recycled / Upcycled T-Shirt Bracelet

This is a great DIY tutorial that could easily go hand in hand with other t-shirt tutorials since it uses only a small part of the t-shirt after you've cut it up for other things!  We like multi-tasking with our materials.  Thanks to Dollar Store Crafts for coming up with and sharing this tutorial!
If you like cutting up t-shirts to transform them into necklaces, pillows, tote bags and other fun stuff, you often end up with a few extra pieces. Here's an easy project that uses up scrap pieces of a t-shirt to make a simple summer bracelet.
Project estimate:
  • T-shirt scrap, on hand
  • Aluminum conduit connector or similar hardware, $1 or less
  • Tape, on hand
Total: $1 or less
After cutting the  useful parts off a t-shirt, save the pieces around the sleeve or collar.  In my case, I was able to cut one long strip about an inch or two wide and about 12 inches long.
Wrap the ends of the strip with blue tape or masking tape.
Feed the strip through a hardware tube. Wrapping and twisting the fabric a bit, feed both ends through a second time.
Depending on the length of your scrap, tie any loose ends into a knot or bow or tuck them into the rest of the bracelet (a little like a turban).
Fabric glue or stitch into place.

Wednesday, August 22, 2012

DIY: Faux Braided Bangle Bracelet

How gorgeous are these?  We love, love, love dollar store crafting!  Thanks to Studs and Pearls for making this fabulous tutorial.


Supplies:

- 4 thin metal bangles

(or less/more, depending on the thickness of each bracelet and your desired look)
- Measuring tape, scissors, Scotch tape
- Any kind of flat fiber of your choice, such as ribbon or leather cord.
I used this interesting ribbon yarn, Lion Brand Incredible® Yarn in City Lights. (c/o Lion Brand)
- Clear nail polish (optional)


I love the colors of this yarn. So bright and fun.


1) If you're using more than 2 bangles, loosely tape 2 and 2 together. You'll be working with each pair of bangles separately, wrapping the yarn around each pair and weaving in between them. The tape will help hold the bangles together while you do this.


2) Measure and cut about 200 inches of yarn/ribbon/etc. This will probably be more than enough, but it's always better to have too much than too little!


3) Insert the yarn through the bangles, positioning it so that there is an equal amount of yarn on either side. (ie: Fold the yarn in half, and let the bangles drop to the center of the fold).


To make this easier to follow, start with the same side I did and follow from there. Holding the yarn in place underneath the bangle, take the yarn on the left side and bring it over the left pair of bangles.


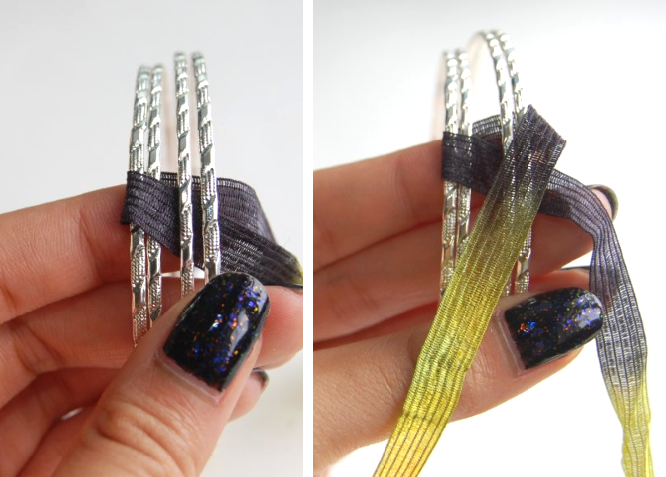
4) It may be a little awkward to hold the bracelets at first, but everything will start to take shape as you go along. Take the yarn on the left side, and bring it over the left pair of bangles and under/through the right pair (first photo). Next, take the yarn on the right side and bring it over the right pair of bangles.


5) Bring the right strand under/through the left pair of bangles. This completes one "weave". Gently pull on the strands to slightly tighten it. Continue from there, with the left strand going over the left pair of bangles (as seen in the second photo).


6) This strand will then go under/through the right pair. The right strand will then go over the right pair...


7) ... and under the left pair of bangles. You'll start to see the "braided" look form, as you can see in the first photo above. Continue with this same method the entire diameter of the bangles. Left strand over the left pair, under/through the right pair, right strand over the right pair, under/through the left pair. Don't forget to pull gently so that the "braids" stays in place.


8) Whenever you come across the tape, simply remove it and continue braiding.


9) The braided look will start to emerge as you work along the bangles. Be sure to keep the tightness of your weaving consistent.  Between this method and the type of ribbon yarn I used, I really like how the colors stood out in this bracelet!


10) Keep working around the bracelet...


Eventually, you'll reach the point where you started.


11) Tie both strands into a tight double or triple knot. Cut away the excess.


12) If you'd like, dot some clear nail polish onto the knot for some extra security. 


Monday, July 30, 2012

DIY: Felt Bead Necklace

We admit that we have wanted to try a felting project forever now!  This seems like the perfect catalyst to begin a new crafting obsession!  This wonderful and straight forward tutorial from Dans le Townhouse should make you feel inspired, too!


Basically, felting a ball is super simple.  Start with a wool roving and tear it apart like you would cotton candy.  Add a bit of dish soap, a bit of water, roughly shape it into a ball and then start rolling it between your palms like you would a piece of clay.  Rinse it in hot water, then cold, to "shock" the fibres into felting (you continue doing this throughout the rolling process).  It will feel like it won't work, then it will start to felt.  Trust me.  Add increasing pressure as your felt ball becomes firmer and when it is nice and firm, set it aside to dry for a day or two.  Remember your finished ball will be smaller and denser than the rough ball you created when the roving was dry.  Once my beads were dry, I simply strung them with some heavy duty beading thread and the sharpest needle I could find.  You can fuss with a clasp or just tie a knot and slip it over your head.   

Wool Roving

Wool roving pulled apart and ready to shape
How NOT to create a felted ball - squoosh too hard in the beginning

Lay out the beads as you work to get a sense of the pattern. 
 

Friday, July 27, 2012

DIY: The Ten Minute Bracelet

What a great fashion accessory that can be made in no time at all!  We love this tutorial from Happy Hour Projects.  Check out their blog for more great DIY!!


I didn't invent this design or anything - I'm sure you've seen variations floating around on Craftgawker and Pinterest.  But I finally made some - there's hardly even a tutorial involved, they're such a quick thing - and I will give you some hints for keeping it as simple as possible.

First of all, my focal pieces are links from a chain I picked up somewhere along the line.  I just used a pair of wire cutters to remove a few links.

Think creatively here: you can use anything round, or anything that has two holes.  Anything that you can tie two sets of twine to.  Washers, connecting charms - just raid your box of things-you've-been-hanging-onto - you may surprise yourself at what you can find that will work!

Cut six lengths of 18" (give or take an inch or two) twine.  I have LOTS of hemp leftover from the wish bracelets and word bracelets I made, so that is what I used.  If you're low on twine you can make this with four strands, but braiding with four strands takes more time than a traditional braid for me, so to keep this *simple* I'm going to tell you to use six.  You could also use embroidery floss here, cotton twine - really, anything you like the looks of!

Take three of your strands, and double them in half, so that you have six loose ends, and three loops in the center.  Take the loops and thread them through your focal ring.

(You'll notice there are only two in the photo - when I took my photo, I hadn't yet discovered how much slower I would be at a four-strand braid.  So yours will have three loops here.)

Thread the tails of your string through the loops of the string - making a knot.  Knot people, help me out here - isn't this a square knot?  **Update** - many thanks to Salla for solving this mystery, it's a lark's head knot.  A square knot would tie two loops together.  I learned something today, thank you!!

Anyway, knot it with your lark's head knot, and do the same on the other side of your focal ring.  Like so.

Now, separate your strands for your braid.  Remember, you will have six (I fixed that below).  Just divide them up two, two, and two.  I find that clamping it into my clipboard really works the best to secure it while I braid.  And yes, my clipboard does have a giant pink flower on it. :P

Now, just braid it like normal!  If you have decided to use more or less twine, there are methods to braiding any number of strands out there.  But to keep this fast, I used a traditional braid.  It took me maybe a minute to do each side this way.  Once you get to the end, tie an overhand knot to finish it off.  That's it.  Super easy!

You could also fancy it up and attach end caps and a clasp, or even a button and loop end.  But with the twine, just tying it like a friendship bracelet really seemed the most appropriate to me.

Sunday, July 22, 2012

DIY: Two Toned Ring in 5 Minutes!

Michele Ng has created this stunning fashion accessory in no time and with minimal cost to your bottom line!  I think we all have nail polish around somewhere that we could use for this project - and just think of all the varieties you can do...even using more than two colors, glitter nail polish, or making stripe patterns just to name a few!
easy steps to make a dual coloured ring in five minutes finished
easy nail polish ring tutorial under five minutes
Instructions:
Wrap a piece of wire around the finger you want to wear it on. It’s up to you if you want it fine or thick and how many rounds you want. Here, I used a 20 gauge wire that was leftover from a previous project.
Keep wrapping till you’re happy and wrap it round the end at the back to close the ring up.
Make sure to keep the edges pointing into the rest of the wire so it doesn’t poke you!
Take nail polish of your choice and paint half of it. Let it dry and voila! You have a duo-coloured ring in a matter of minutes