Showing posts with label quick. Show all posts

Sunday, November 11, 2012

DIY: Colorful Lunch Bag Cutouts

We are taking a brief hiatus from ornament DIYs today to show you a great project from Studio DIY's blog!  Be sure to check them out.  These lunch bags would be great for a pick me up during a long school day!
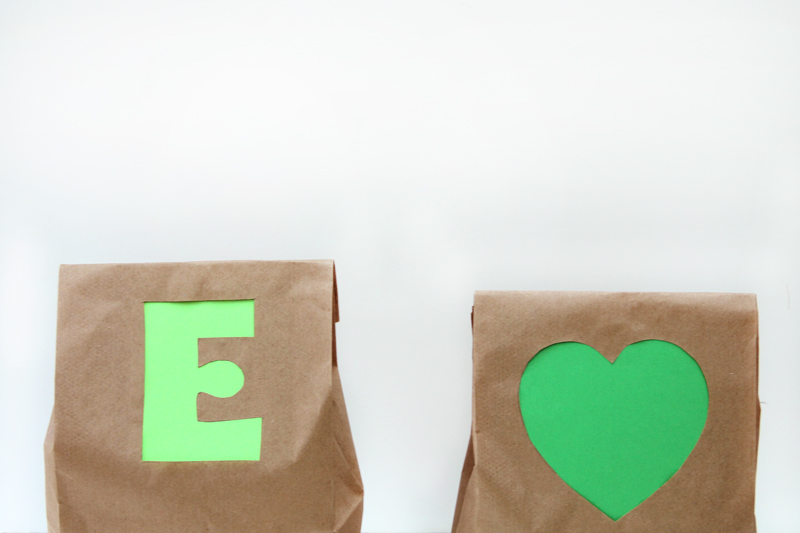
DIY Back to School Lunch Bags
Supply List:
Brown Paper Lunch Bags
Letter or Shape Templates (Print out large letters from your computer, or free hand it!)
Pencil
Scissors (x-acto knife helps too!)
Colored Card stock
Tape and/or Glue
To Make:
Trace your shape onto your lunch bag. Make sure to leave enough room at the top so you can fold the bag over (I’d do mine even lower next time).
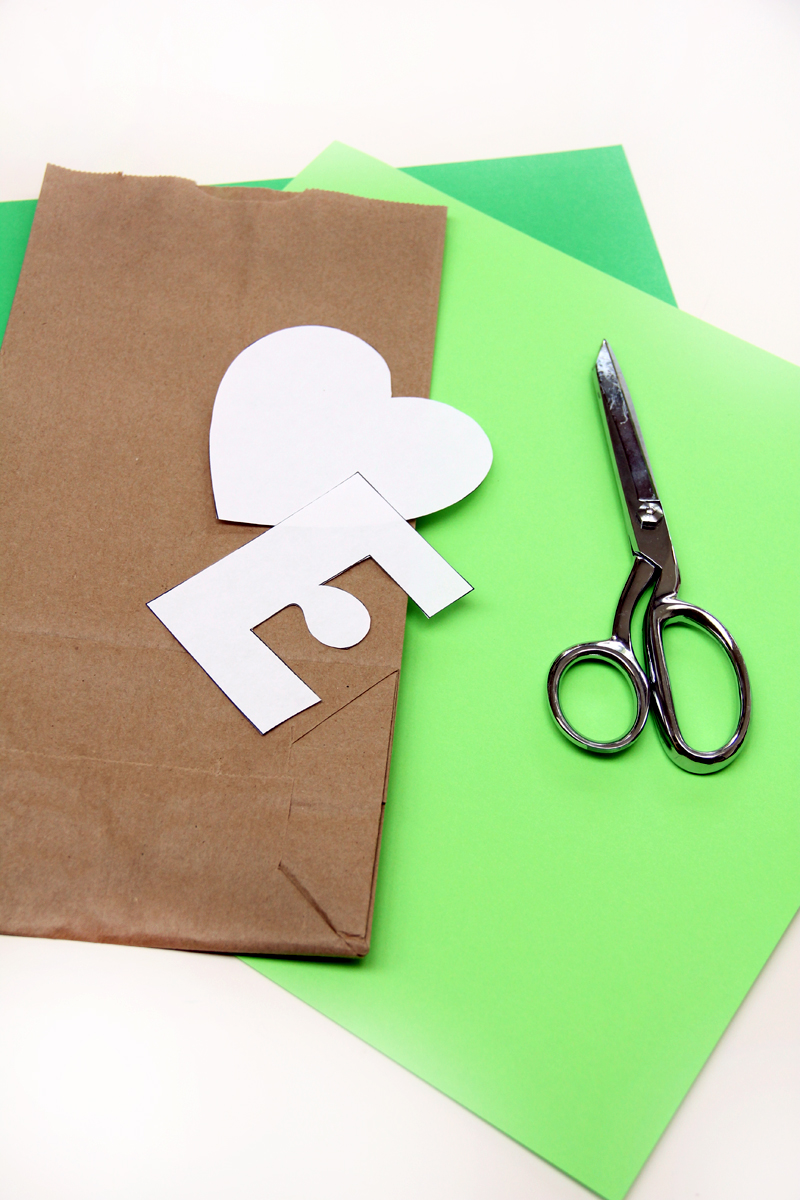
Back to School Lunch Bag DIY DIY Back to School Lunch Ideas
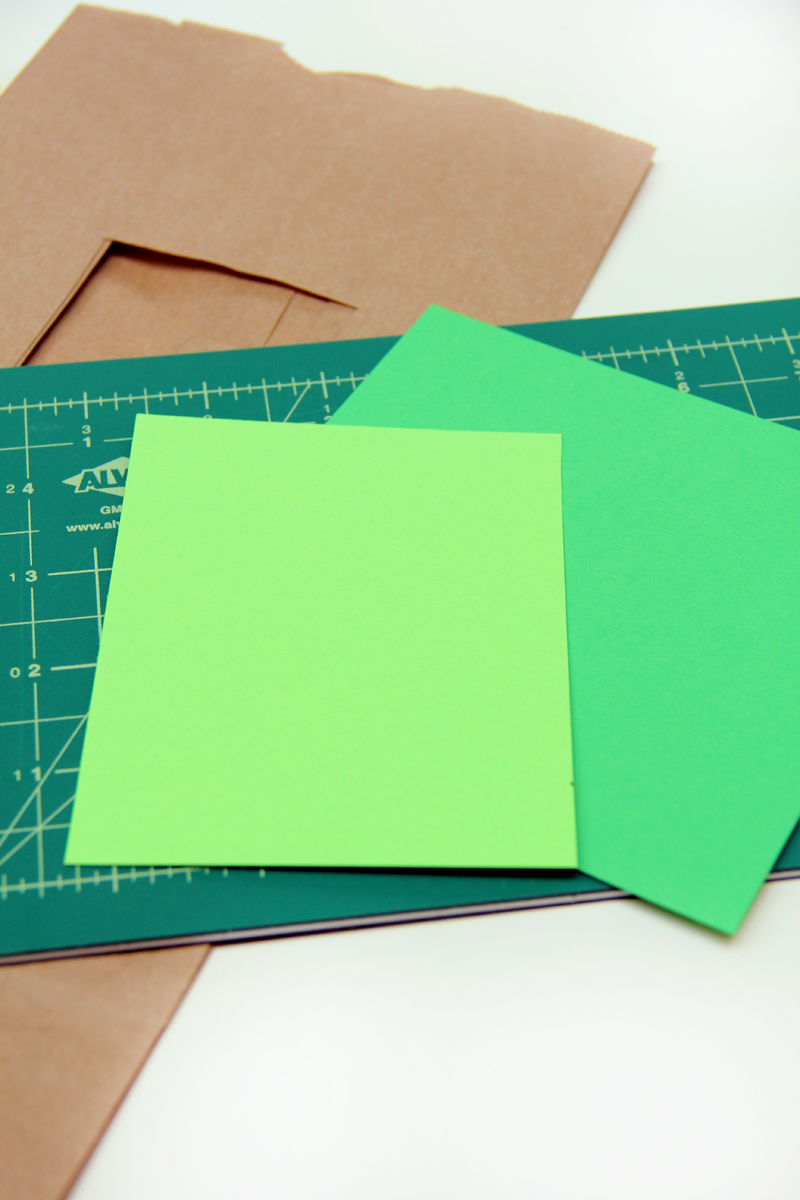
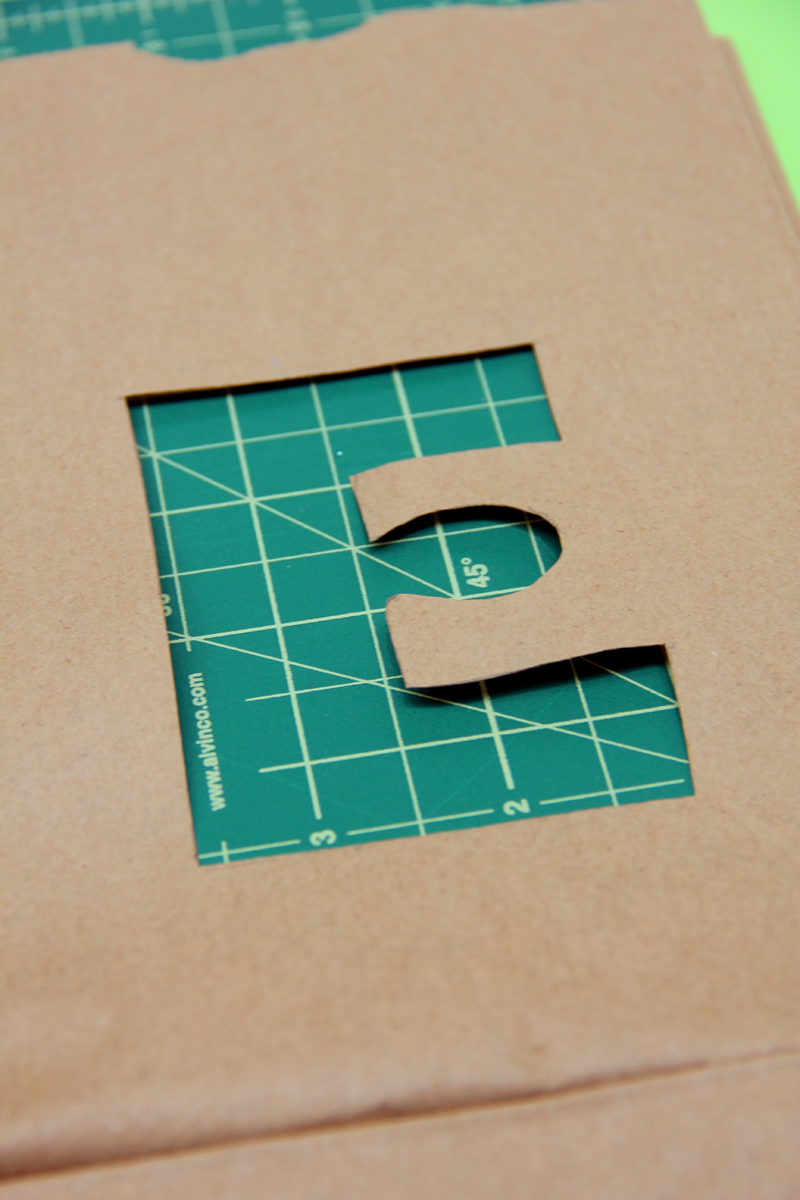
Cut out your shape, I did this with an x-acto and put a small cutting board inside the bag to prevent cutting through both sides. You could easily do this with scissors too. Then cut a rectangle of colored paper, just big enough to cover your entire cut out.
DIY Colorful School Lunch Bags DIY Graphic School Lunch Bags
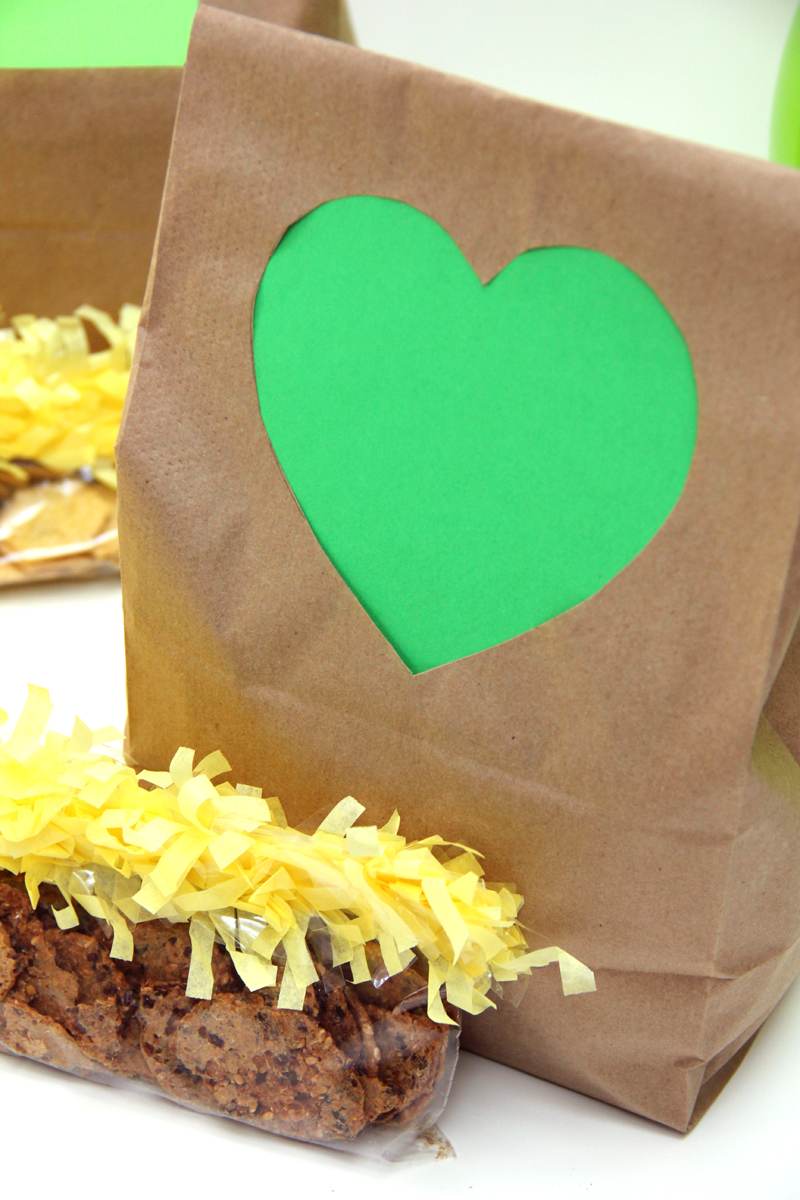
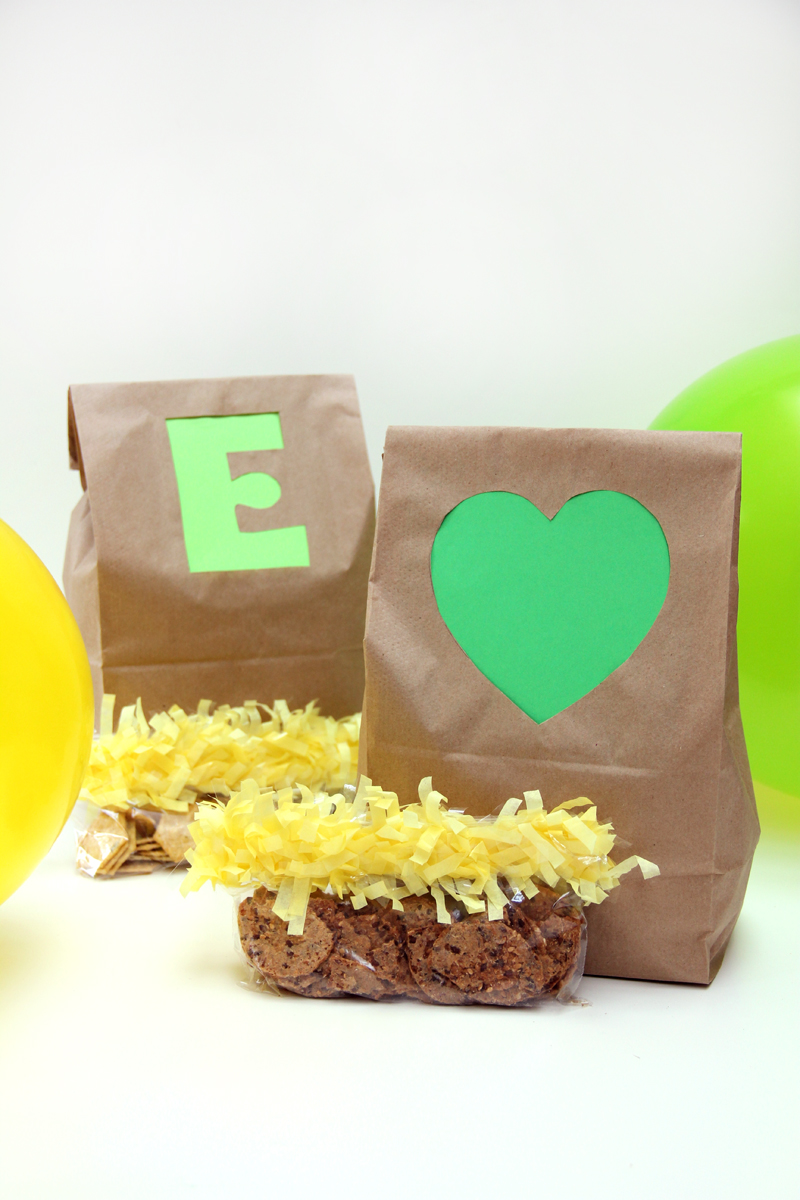
Tape and/or glue your paper inside the bag behind your cut out. I taped mine first, then added glue (you can do this with a tooth pick or small glue stick) to seal down the loose edges.
DIY Graphic Lunch Bags DIY Colorful Lunch Bags


Sunday, October 21, 2012

DIY: Easy Screen Print T-Shirt

We just love this tutorial from Calico Skies blog showing how to make a quick and easy (and CHEAP) screen printed t-shirt!

Be sure to check out her blog for more!!

Here's what you need:
Shirt (thrifted), modge podge, fabric paint (this was my first time using Martha Stewart's all-purpose acrylic paint and it's amazing!), design, cardboard piece, embroidery hoop, nylon or panty-hose fabric, paintbrush, and permanent pen.
1. Create a design for your screenprint. I started with something simple since it was my first time using this method. Later, I did a more elaborate design for the front of the shirt, after I did this first heart as practice. Make sure that your that your embroidery hoop is large enough for your design.
2. Stretch the nylon over the hoop so that it is taut.
3. Trace your design using a a permanent pen.
4. Using Mod Podge, paint the "negative space", or, the space that you do not want to be painted.
5. Fill in the whole area, making sure there are no holes or gaps. I was obsessive about this because I didn't want the paint to seep through. Let dry completely. It took about 3 hours for this little one to dry.
6. Lay the hoop flat on the shirt and position where you want the design to be, and place a piece of cardboard beneath the area so that the paint doesn't bleed through the back. Squirt a generous amount of paint over the design.
7. Use the cardboard to spread the paint over evenly.
8. Carefully lift the hoop off the shirt and voila!
9. Let the paint dry completely before wearing.


Saturday, October 13, 2012

DIY: Memory Game

We always have left over scrap paper and we love the idea of being able to upcycle it into a fun game for the niece and nephew!  Props to Craftiness is Not Optional for this wonderful idea. 


what you'll need:

16 wooden squares (i found mine at michael's for 30 cents a pop, and they are 2.5 inches square)
scrapbook paper
mod podge
foam brush

cut paper into squares (2 3/8 inches fit the best) 2 each, of course. it's great to use those scraps up!

spread a thin layer of mod podge on the wood and place the paper onto the glue. press firmly into place.

repeat for the other side, using paper that matches.


you can of course put another layer of mod podge on top of the paper, but i opted not to, cause that stuff is messy. then sand the wood for nice smooth edge

Saturday, October 6, 2012

DIY: Stamped Clothespins

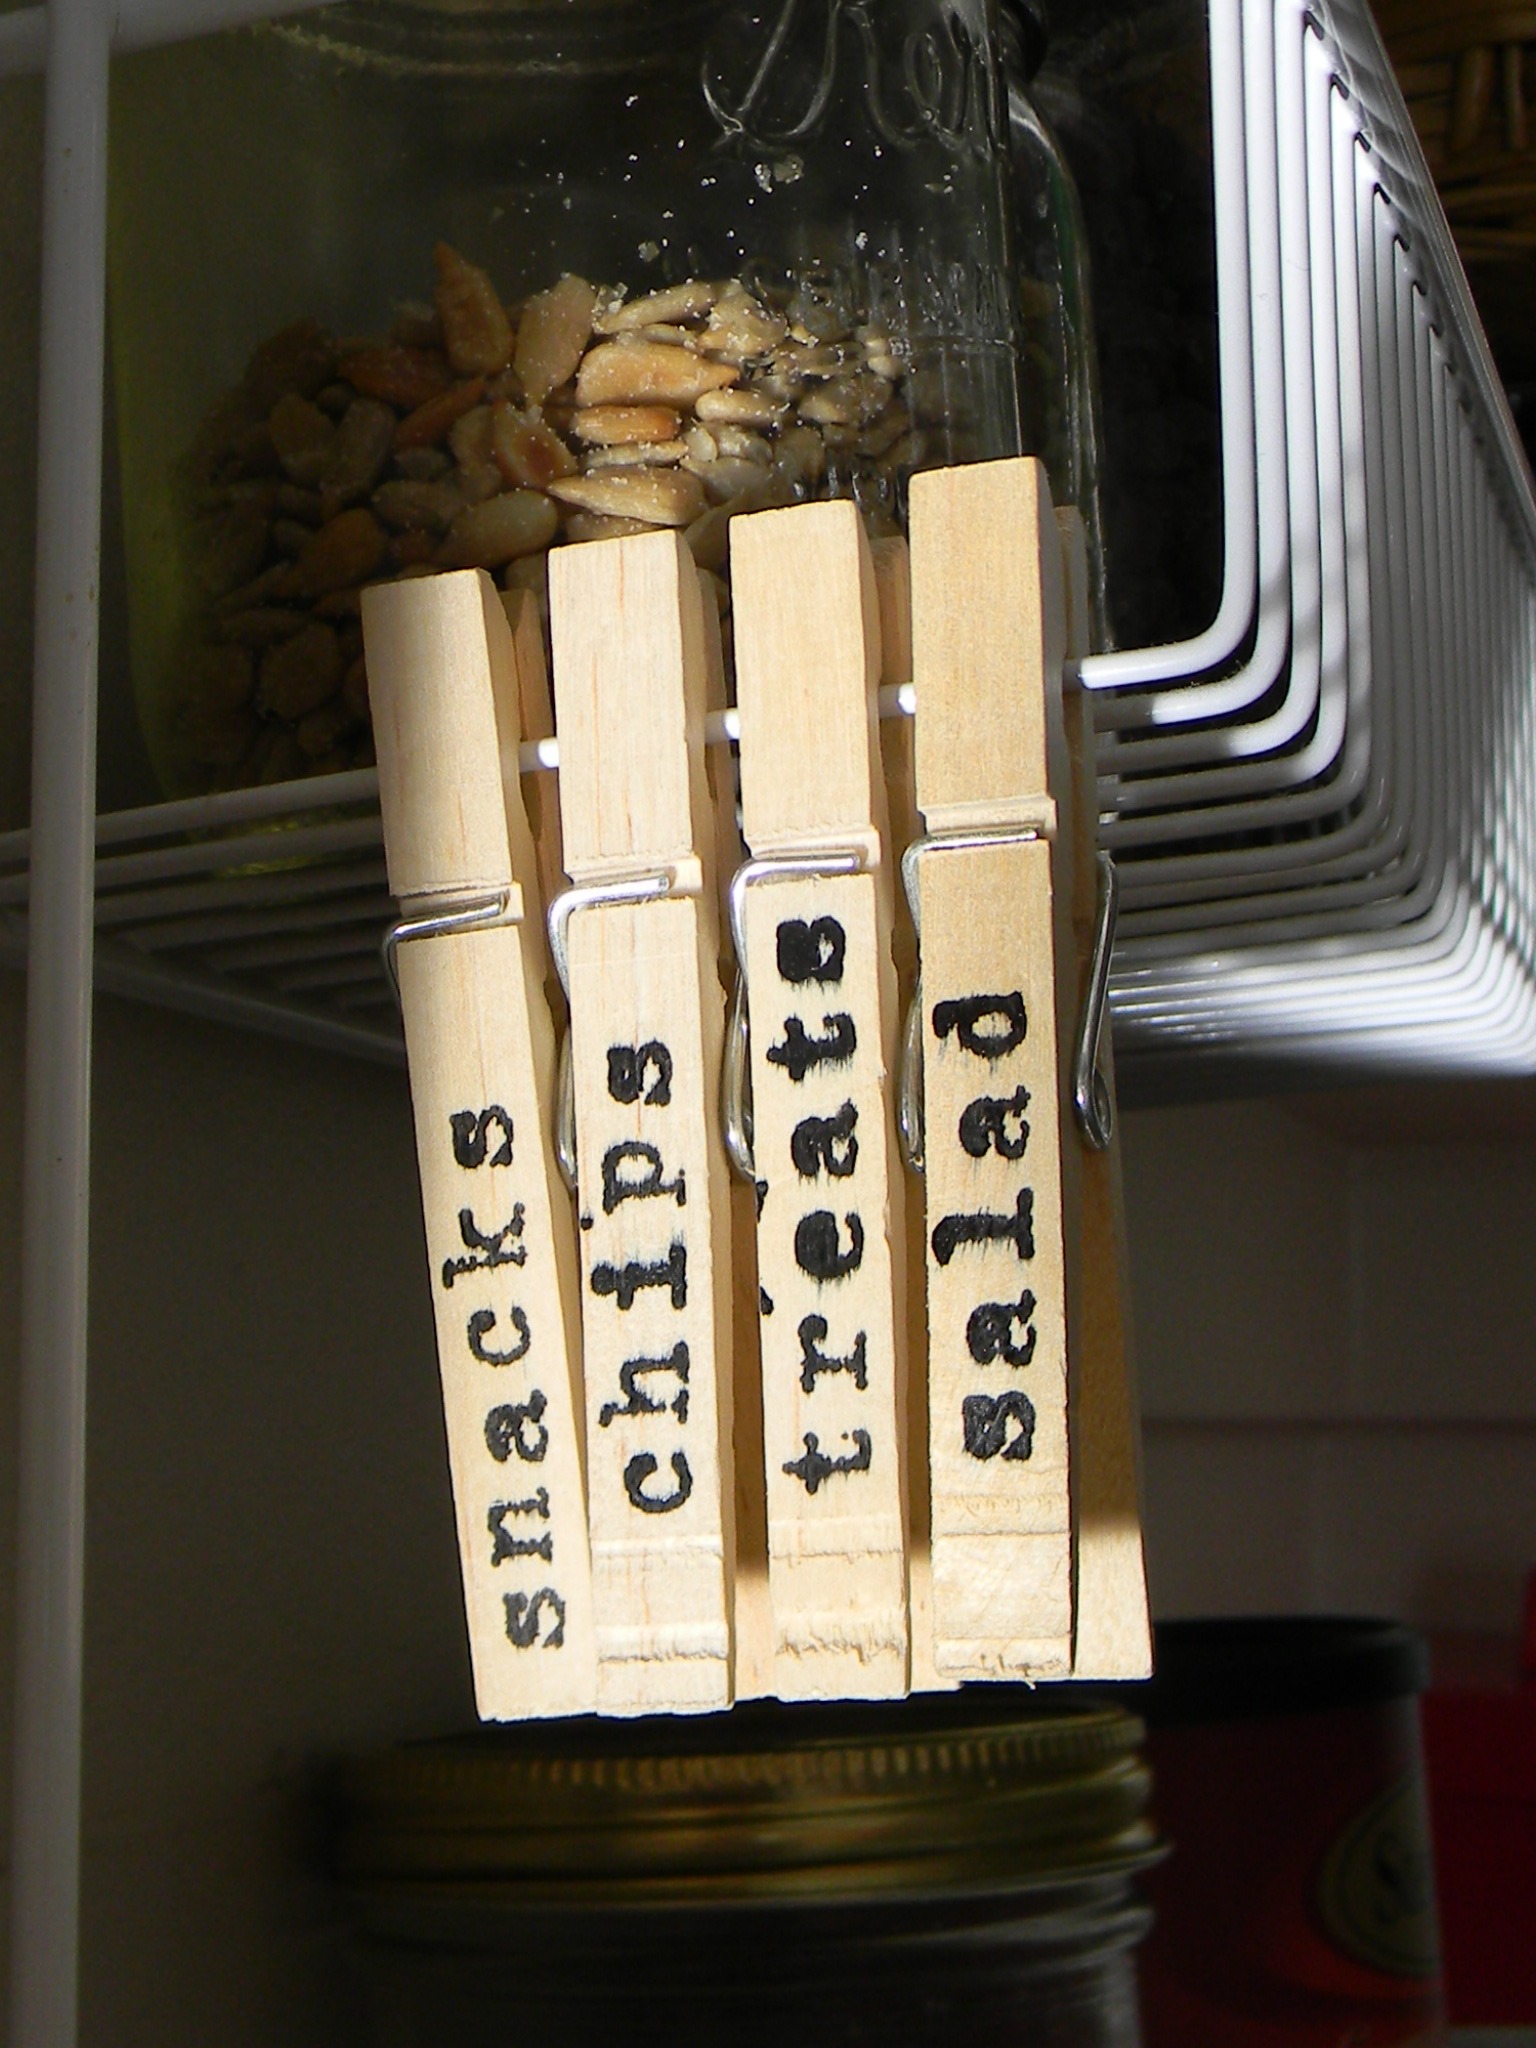
We are gonna take a quick break from posting Halloween DIY Crafts so we can show you a great clothespin craft we found on Organize and Decorate Everything's blog!  We think these are adorable and so easy to do.

Check out their blog for more DIY!

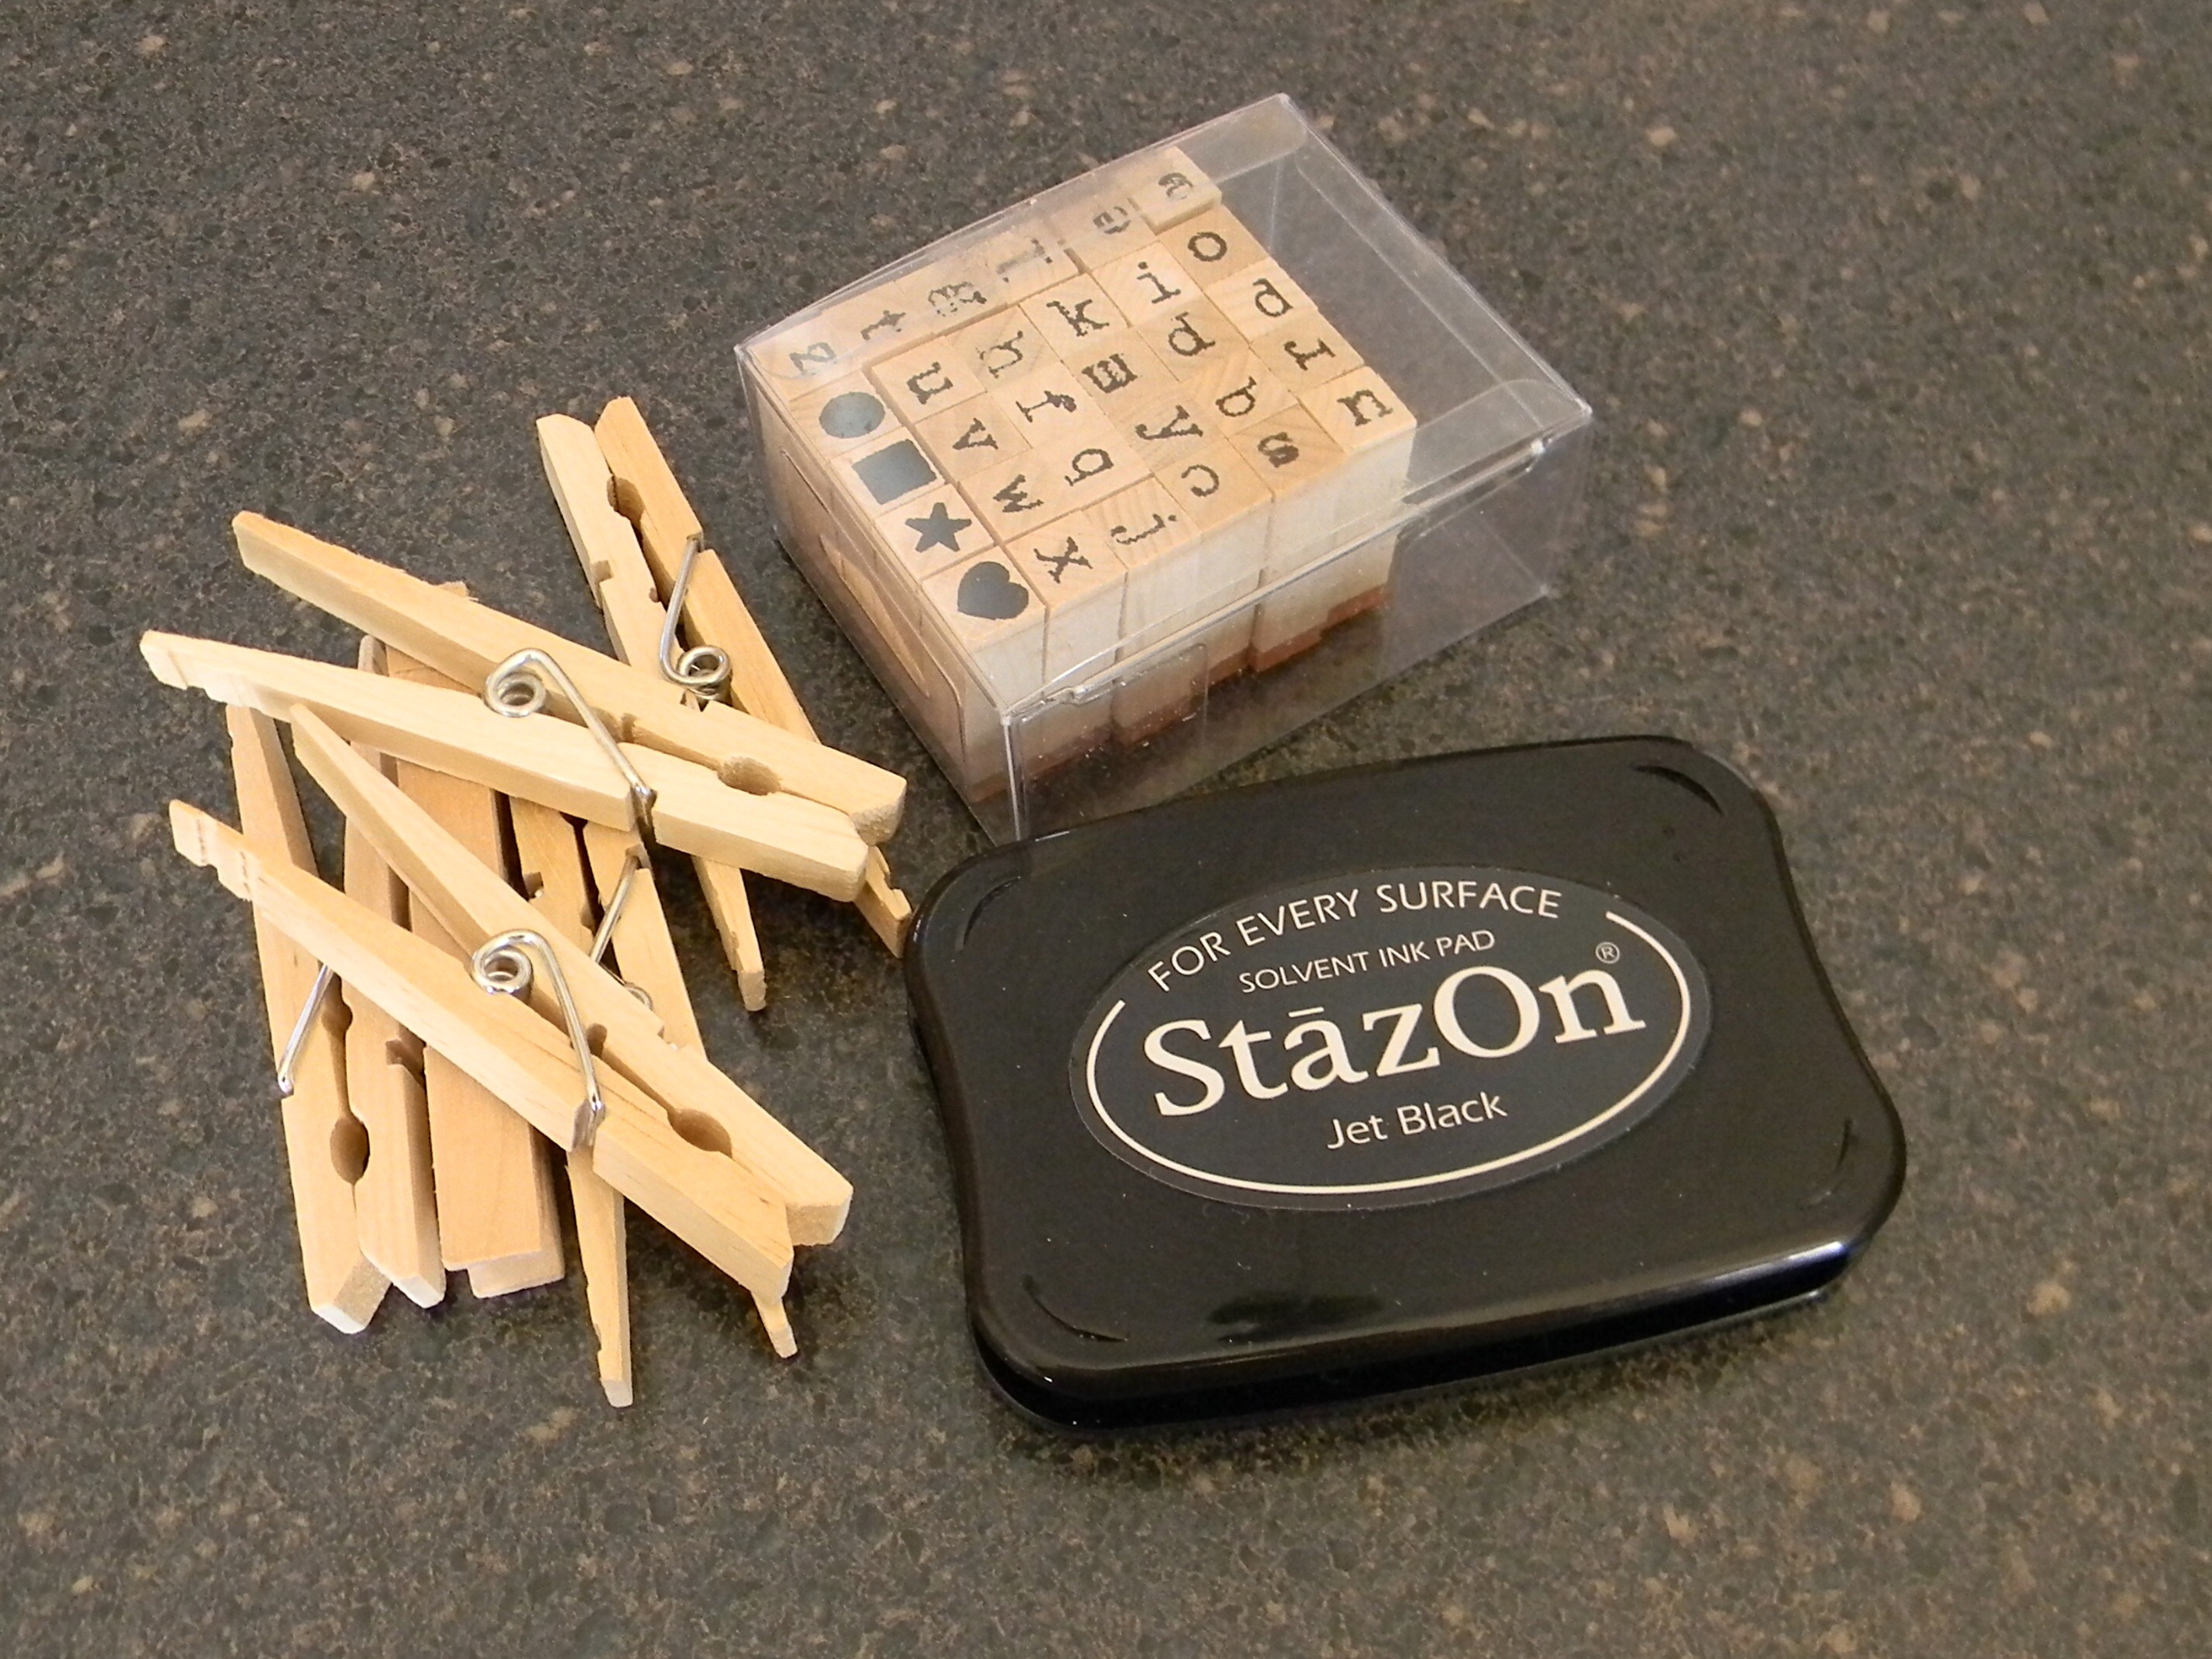
Those plastic clips don’t always work on all types of bags, but clothespins do and they’re cheaper. I used these stamps to spell out the words I needed.
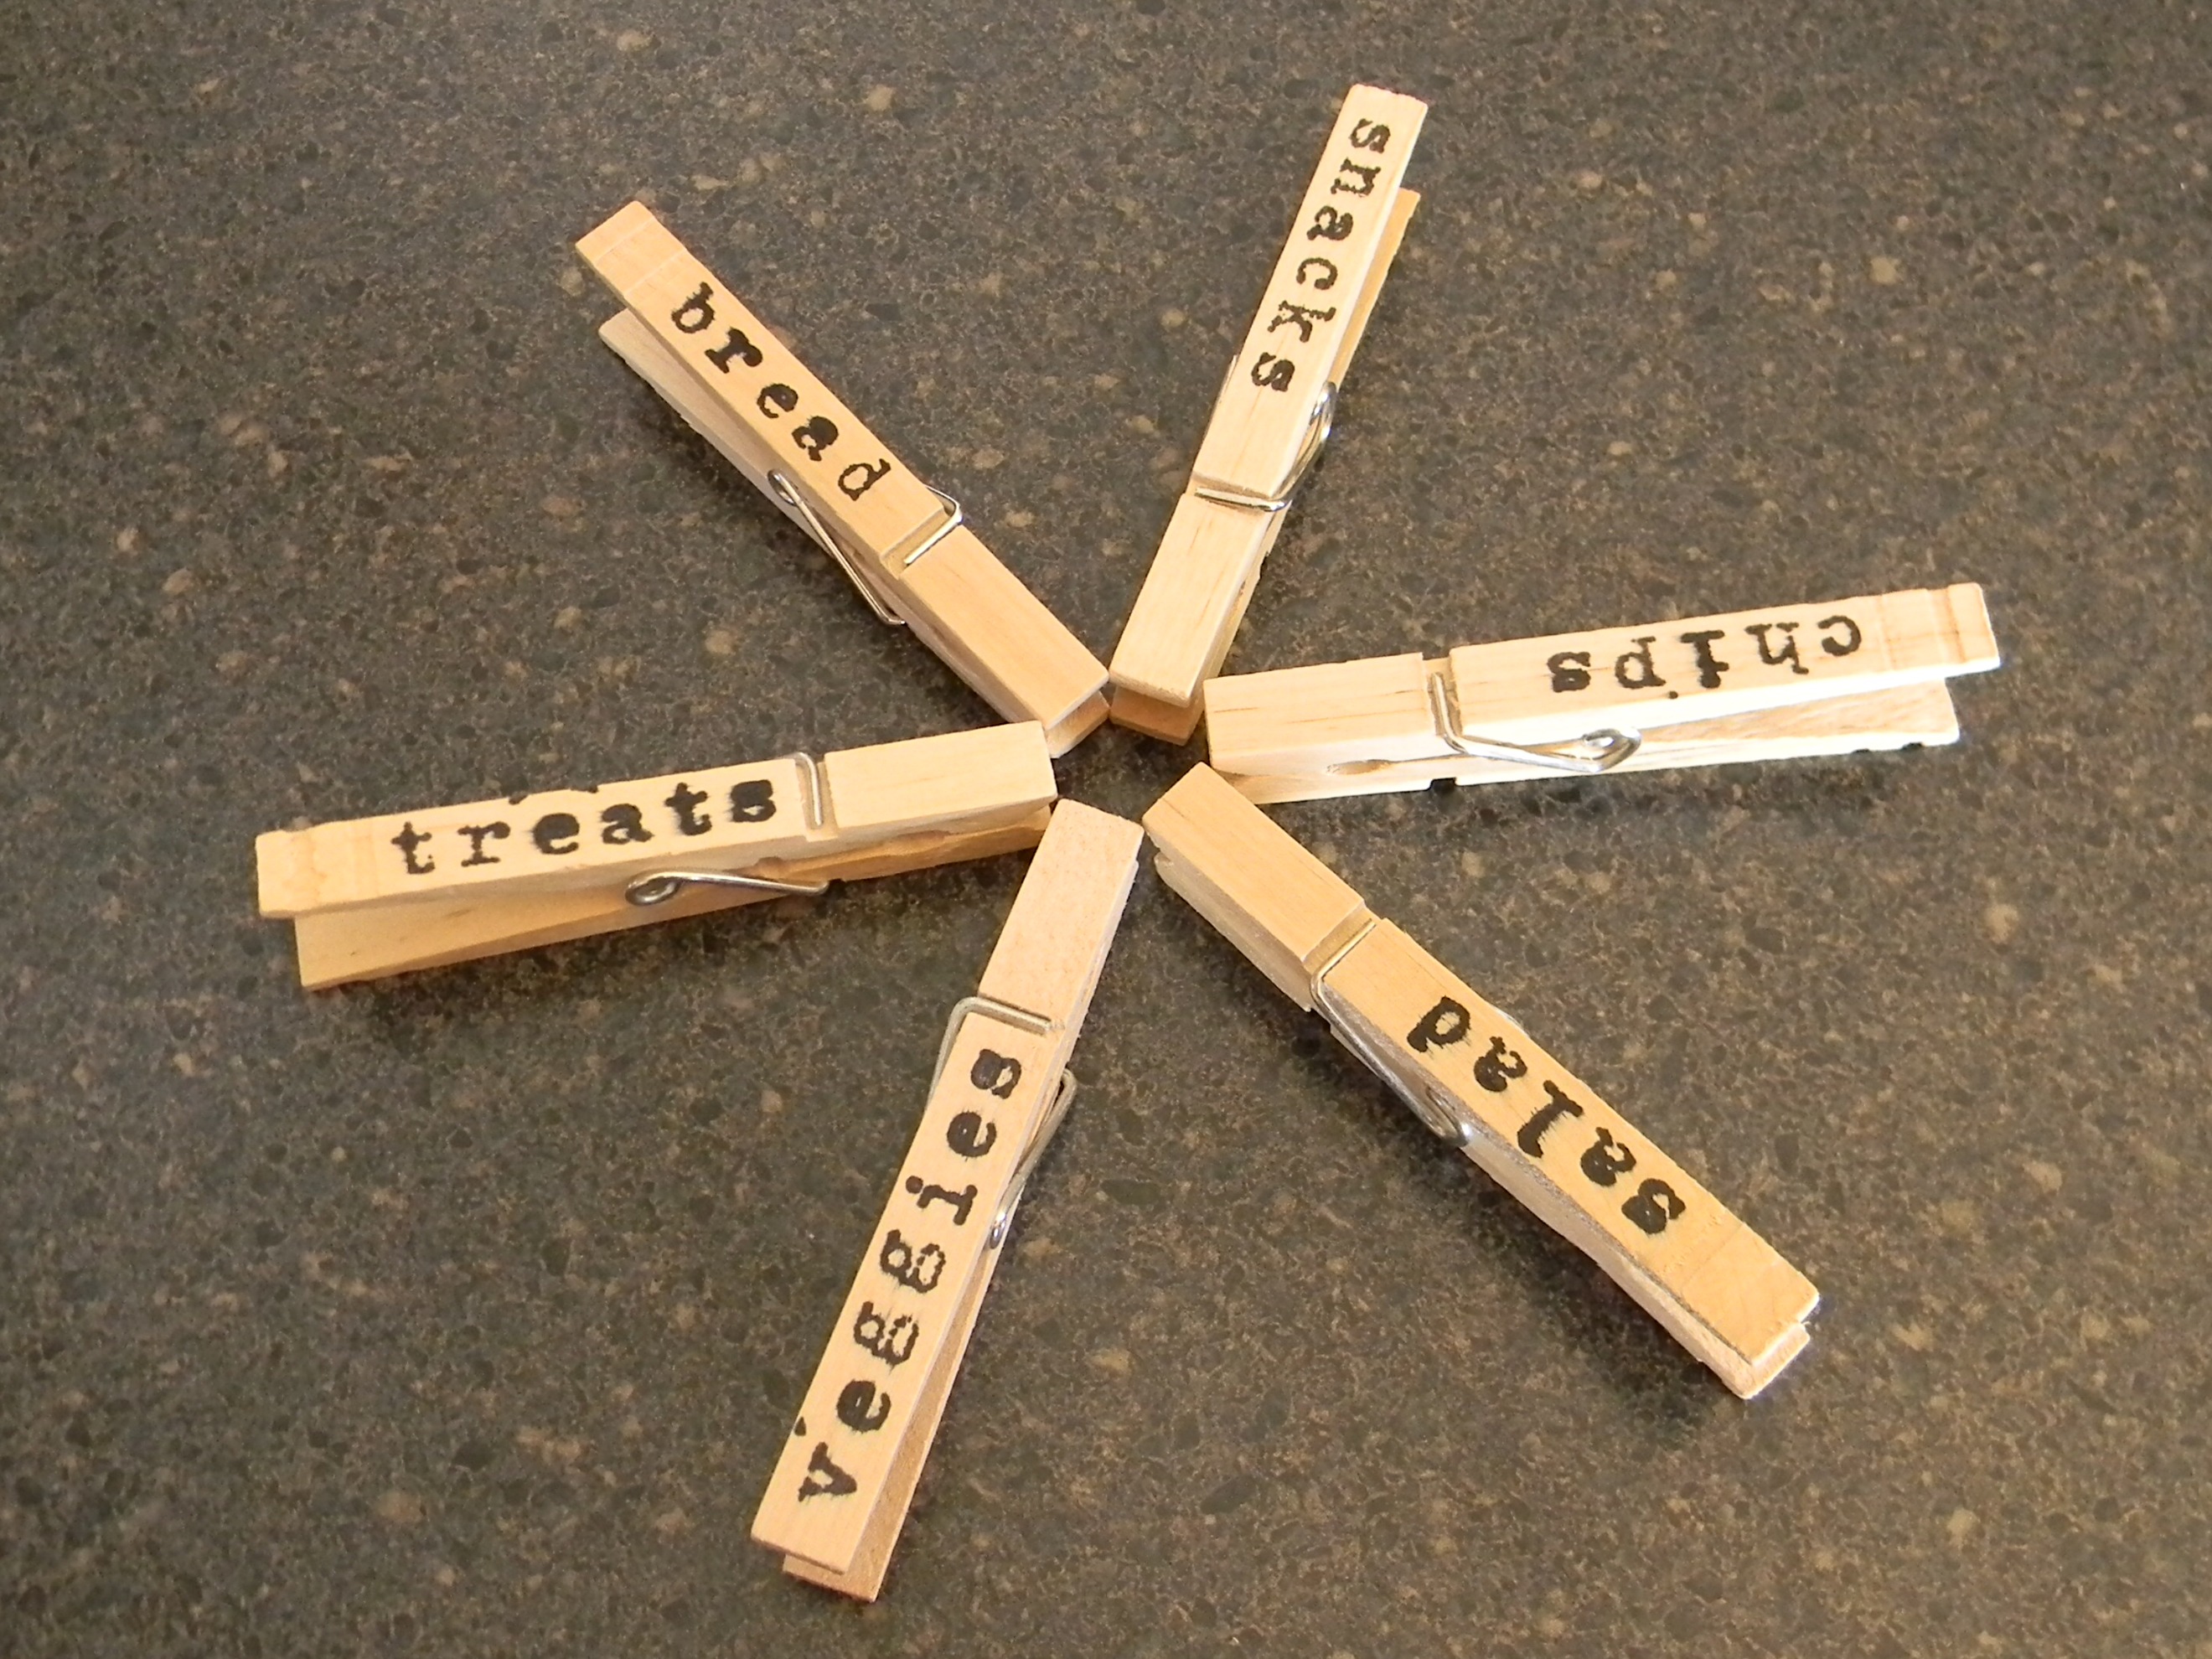
I made 6 different clips to start with but might add more later, as needed.
I used 2 of them immediately.
And the others are hung from a shelf in the pantry until needed.

Tuesday, October 2, 2012

DIY: Dissolvable Shower Discs

 
Saw this awesome tutorial for quick and easy dissolvable shower discs!
Here are pics of the end product - they aren't the prettiest things ever, but I promise they work great!
Add some food color if you wanna jazz them up.


Sunday, September 23, 2012

DIY: Halloween Wreath

Delia Creates' blog has a great Halloween tutorial and we want to showcase it now so you'll have plenty of time to get on it for the upcoming holiday!  We love Halloween and all the fun things you can do, so we'll be showcasing more DIY that has Halloween themes - so get those party themes ready to roll.

Check out their blog for more DIY!


Well today I have two more.


1. First...pack up the kids and go stick hunting. Get A LOT of sticks.


2. Then cut or break {which is what I did} all your sticks into similar lengths. It doesn't have to be perfect....at least not with this Halloween craft. The more imperfect the spookier it looks.


3. Cut a cardboard circle out of an old diaper box or cereal box. I used a medium sized mixing bowl and a cereal bowl for tracing. Cover in burlap or twine if you want. I don't think it is necessary. I added the burlap and it made gluing things more complicated. Plus you are going to paint over it so...

4. Hot glue the sticks around the cardboard circle.


5. Then spray paint it black. I had to touch it up with acrylic paint as well. You can paint the sticks before gluing. It's up to you.

6. Hang with a black ribbon and add an orange plastic spider if you have one in your Halloween stash.


Thursday, September 13, 2012

DIY: Autumn Lunch Bag Trees

Here is another Autumn / Fall time tutorial for your pleasure.  We think these are just adorable, and would be an amazing addition to any household or office desk perhaps?  What do you think?

These come from Matsutake's blog and the step by step instructions sound like they couldn't be any easier to implement.

Made of three of my favorite things: Mod Podge, yarn pom poms, and trash. Yay! They're little Autumn trees made out of old crumpled lunch sacks.
First, cut off the bottom of the bag, then cut it open so it's a flat rectangle. Next, cut slits where I drew the dotted lines.
Now brush the entire surface with a layer of Mod Podge. I watered it down just a tiny bit.
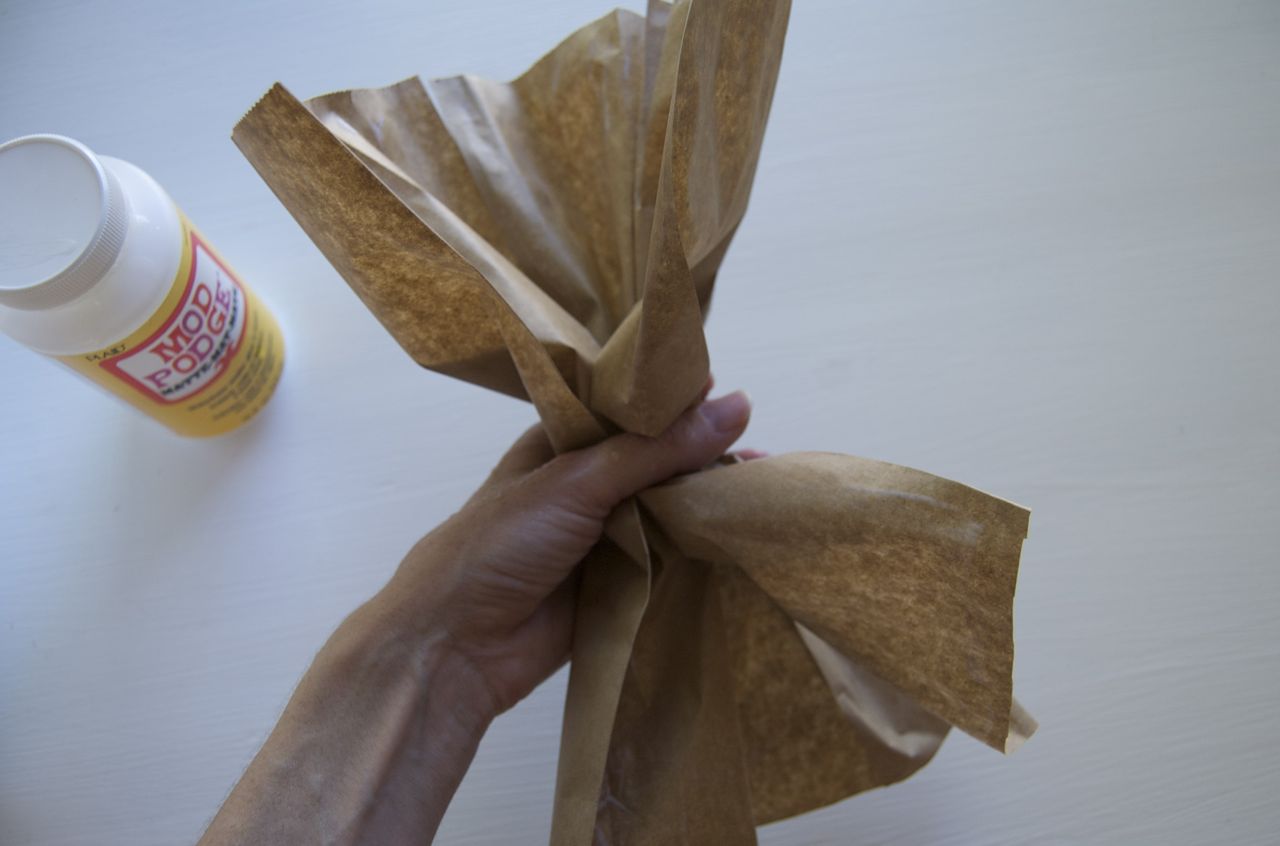
Now sort of bunch it up in the middle. And separate out those strips at the top where you snipped it. Gently start twisting.
And twisting. Twist the trunk. Twist the branches. Twist the roots.
Keep twisting until it looks like a tree.
Let the Mod Podge dry. You can snip the roots and branches with scissors if you want them a bit shorter.
Plop some yarn pom poms into the trees. Add a dab of Mod Podge on the branches to hold them in place. And then photograph them all over your house.

Monday, September 10, 2012

DIY: Stitched Heart Bookmark

These could be great gifts for anyone - especially avid book readers, but we think they might also make wonderful stocking stuffers for the holiday or keep this on hand for Valentine's Day next year!  This tutorial comes from Thirty Handmade Days - and they have other wonderful DIYs, so check them out!  (they also have a free template you can use for these on their blog!)


Supplies:
-felt
-white embroidery thread
-paperclips
-hot glue gun
-scissors
-fabric marking pen 

They are really easy and quick to make. Read on to see how I made these sweet little bookmarks.
Start by drawing your shape onto felt. To help keep the felt in place while cutting, use a straight pin to stabilize the two pieces.
 
Now that your felt hearts are cut out, it is time to stitch. 
 
 
Stitch a running stitch along the perimeter of the heart. It is the simplest stitch – just up and down through the felt.
Once you stitch all the way around, you can secure your thread by running your needle along the very top of the felt, pulling though and cutting off the excess. You will be gluing the heart down with hot glue, so you don’t have to worry about this string coming out.
Now that the stitching is done, you can glue the bookmark together.
Put a small dot of glue on your plain heart and glue down the paperclip. Add more hot glue over the surface of the plain heart, and very lightly press your stitched heart down on top. If you smash the two hearts together, two things will happen: hot glue will ooze out of the sides, and you will be able to see the outline of the paperclip. Pressing lightly keeps the surface smooth and pretty.
 
You may have already noticed the sweet cards that these bookmarks are clipped to. Since Photoshop tends to send me into fits of hysteria, I asked Mique to design a card for these bookmarks so that they can be given as Valentines. She, of course, came up with something fabulous with very little help from me.

Download your Homemade Valentine bookmark cards for 30days subscribers and personal use only.  Thanks!

Tuesday, September 4, 2012

DIY: Animal Bookends

We read all the time - we actually have so many books that it has gotten pretty ridiculous...so this book end tutorial is wonderful for us!  Perhaps we could find it in our hearts to get rid of two or three books to make space for these to sit on the shelf??

Thanks to Hi Sugarplum's blog we just might get motivated to donate a few books just to have these bad boys on display.

100_7066

.....Plastic elephants from the dollar bin! I found these at the Target Danger Dollar Zone for $1 each, and the spray paint I already owned (duh). As for the rocks, you can find them in the garden department of the hardware store, on walks in park, or stone yards. I happen to have a stone yard nearby (kind of random, right?!), so I grabbed my 'Rattlesnake Rocks' (that's really what they're called) there. The poor guys were so confused by my request, they just let me wander around and take whatever scraps I wanted.
100_7048
I originally planned to use stone tiles as the bases, but they were too small and not heavy enough to hold the weight of books.

I didn't love the tusks, so I trimmed them off with scissors, then gave each animal a few light coats of spray paint. I wanted the rocks to sit straight, so I filed the bottoms down using our concrete driveway. A dot of super glue to the bottom of each foot adheres the plastic to the stone.
bookend collage

Here are the mighty elephants now!
100_7069

100_7082

100_7071