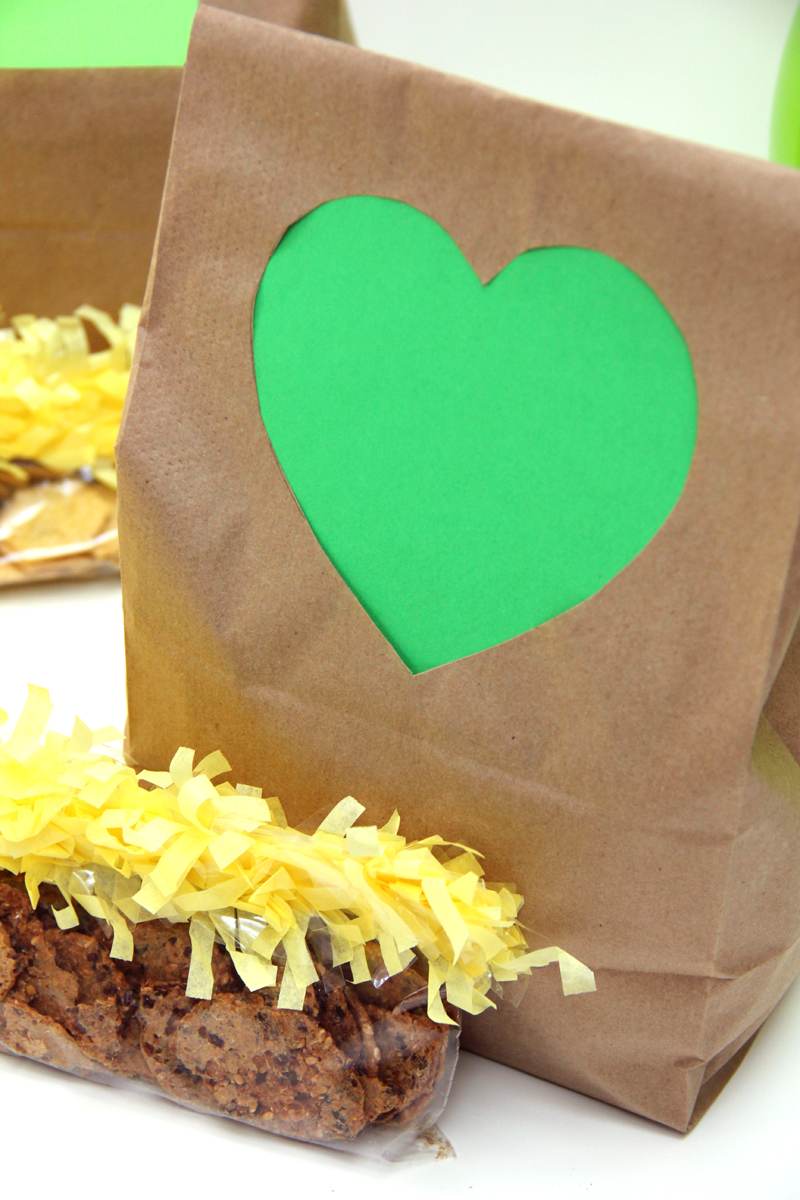
Blueberry Junkie has a great idea for keeping down the amount of wrapping paper thrown away this holiday season. We love that these bags are so cute and completely reusable! It's like putting a gift inside of a gift. Check out their blog for more DIY.

It’s that gift giving time of year again, which means a lot of
wrapping. Last year, tired of all the waste in packaging during the
Holidays, I decided to stop using wrapping paper, boxes, and other
materials that get discarded. Instead, I decided to sew several simple
felt bags to present my gifts in. Yes, this requires some work, but
these gift bags are extremely easy and quick to make, you will have
several in no time. The best part, once you make them, you can keep
reusing them year after year. They make a great environmentally
friendly alternative to paper wrapping.
Felt is a great material to work with, as it doesn’t fray, therefore,
it requires minimal sewing. This tutorial is for a bag that measures
8.5 x 11in (you can use a regular printer paper as a template) but you
can make it as bit or as small as you need to.
Materials and Tools
- red felt 2 (8×11.5 in), scrap of off white felt and pink felt
- embroidery floss in black and pink
- embroidery thread
- scissors, pins, ruler, chalk pencil
- sewing machine
- ribbon
- embroidery floss in black and pink
- embroidery thread
- scissors, pins, ruler, chalk pencil
- sewing machine
- ribbon

Gather all your supplies and materials. The sewing machine is
optional, as you can easily do this entire project by hand. I like to
use it to save time.
How-To

1. measure carefully and cut two pieces measuring 8.5 x 11in out of
the red felt. If you want to skip the measuring, just grab a sheet of
paper (printer paper will do the trick), pin it onto the red felt and
cut around it. Put the red felt aside for now.
2. Take your cookie cutter shape (I chose a star for this project) and trace it onto the off-white felt. Cut it.
3. Pin the star felt shape into place on the lower part one of your 8.5 x 11 piece of red felt. I chose to use my sewing machine to stitch on the star, but this can easily be done by hand using a running stitch.
4. Once the star has been stitched on, it is time to add some details. With embroidery thread and an embroidery needle I added eyes and a mouth.
5. Cut 2 small circles out of pink felt and using a running stitch them, secure them onto the star. Almost done.
6. Take your 2 pieces of red felt, align them carefully and pin the edges. Using your sewing machine (you can also do this by hand), stitch around the sides and the bottom edges. Leave the bottom edge open. Voila! your reusable felt gift back is ready.
2. Take your cookie cutter shape (I chose a star for this project) and trace it onto the off-white felt. Cut it.
3. Pin the star felt shape into place on the lower part one of your 8.5 x 11 piece of red felt. I chose to use my sewing machine to stitch on the star, but this can easily be done by hand using a running stitch.
4. Once the star has been stitched on, it is time to add some details. With embroidery thread and an embroidery needle I added eyes and a mouth.
5. Cut 2 small circles out of pink felt and using a running stitch them, secure them onto the star. Almost done.
6. Take your 2 pieces of red felt, align them carefully and pin the edges. Using your sewing machine (you can also do this by hand), stitch around the sides and the bottom edges. Leave the bottom edge open. Voila! your reusable felt gift back is ready.
All that is left to do now is insert your present, add a pretty
ribbon to close the bag and you are done. Customization options are
only limited by your imagination. Instead of a star, try monogramming it
with the recipient’s initial. You can also make bags in other colors
to match you Christmas color scheme.