We admit it - we are in love with paper flowers. We want so badly to try our hand at this one, but just haven't had the time with all of our other projects!! We will get on this one though after being so inspired by Jones Design Company's blog, we feel that we just might die if we don't try this since they make it look so simple...what do you think??

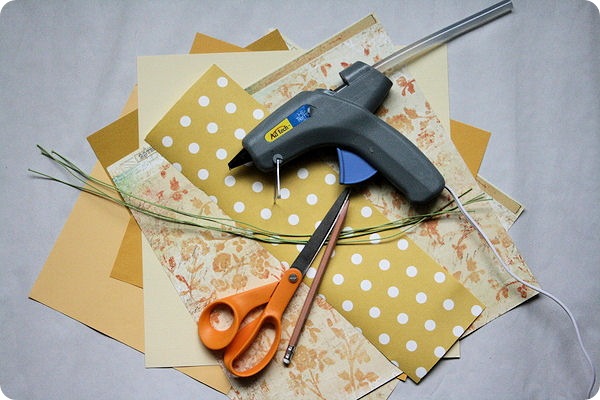
Here’s what you’ll need:
:: paper {either cover or text weight}
:: florist wire
:: scissors, pencil, glue gun
STEP ONE: cut irregular circle
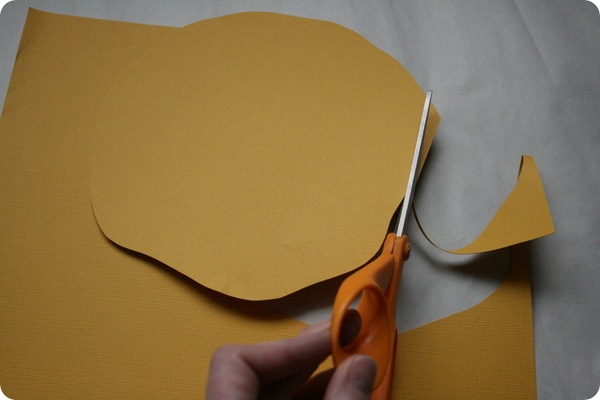
This circle is approximately 8 inches, but you can do any size you wish.

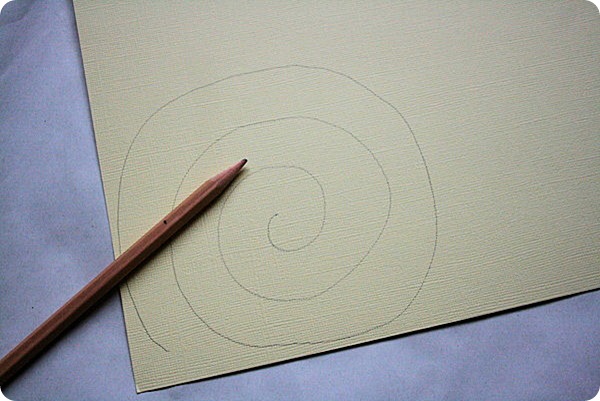
STEP TWO: cut spiral

Start at the outside edge and cut in a spiral fashion to the center.

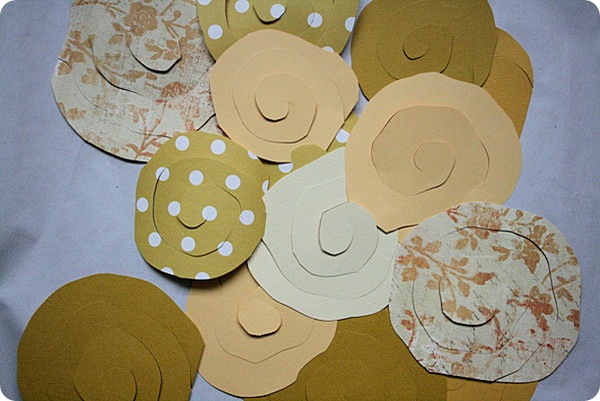
I like a sort of bumpy shape so that the petals end up a bit irregular

If you aren’t so sure about your cutting skills, feel
free to draw your spiral before cutting. I did this one with a straight
edge, but you could make it bumpy as well.
To add a little interest to my bouquet, I used a variety of yellow scrapbook papers {my favorite is that yellow dot}
STEP THREE: roll your blossom

start at the outside edge and coil tightly


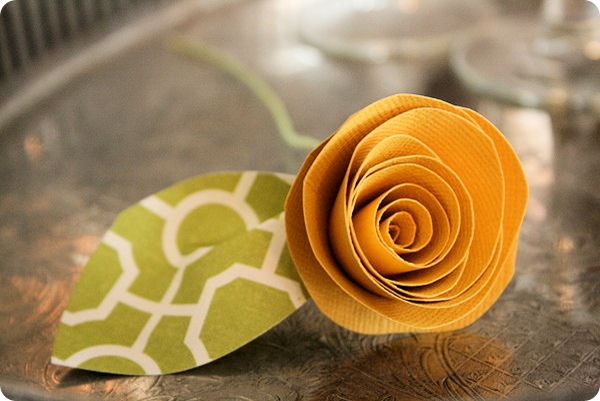
Continue rolling until you get to the center. You’ll have a tightly coiled rosette.

STEP FOUR: release coil

And your flower grows.
STEP FIVE: glue together

Add a glob of glue to the center and press to adhere the coiled paper

TO MAKE A LEAF:
cut a leaf shape out of green paper

Fold in an accordion-style fold

and adhere with a dab of hot glue.

TO ADD A WIRE STEM:
Cut a piece of floral wire to desired size {mine are about 6 inches} and bend a small piece at a 90 angle.

Glue wire to the bottom of the flower.

Then attach the leaf to cover the wire.

When grouped together, you have a very sweet bouquet of wilt-less blossoms.

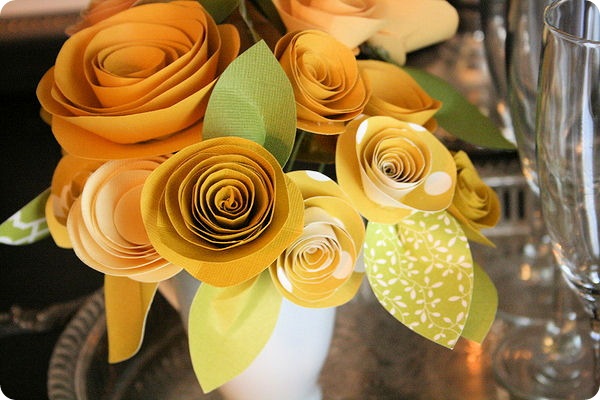

I also tried these with sheet music.

And attached to a wreath form covered in linen.
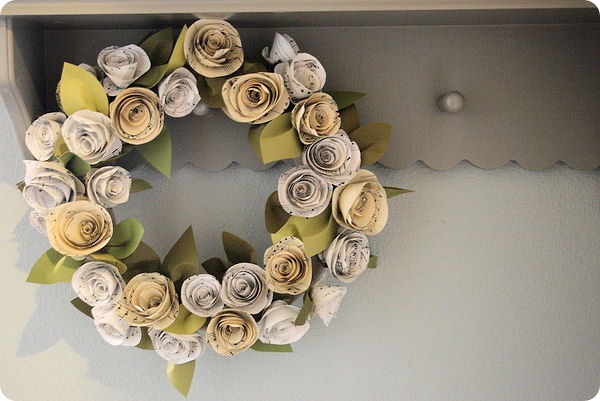
Aren’t those the cutest paper rosettes? Start rolling …
No comments:
Post a Comment