Showing posts with label fast. Show all posts

Wednesday, November 28, 2012

DIY: Pine Cone Garland

Twig & Thistle's blog has a great DIY that has a simple but elegant look.  I love the way that it has a natural look but really brings the holidays into the home.
Pine_Cone_Garland_1
Pine_Cone_Garland_2
Pine_Cone_Garland_3
Also, I spotted this door decoration that uses the same materials that would make a lovely companion to the garland. Instead of stringing the pine cones to the ribbon simply tie a ribbon to each hook then tie all the ribbons at the top and hang!
Pine_Cone_Garland_5
Pine_Cone_Garland_4
What You’ll Need:
Pine Cones
Ribbon
Screw Hooks
Hole Punch
Scissors
Instructions:
1. Begin by measuring your mantel or space that you’d like to hang your garland and cut your ribbon. Remember to leave extra for hanging. Once you’ve determined the length, space your pine cones out as you like on a flat surface. The pine cones I used were fairly large so I kept about 4 inches between each one. On the back of the ribbon discreetly mark where each pine cone will go, then punch a hole with a small craft punch. I used an 1/8″ round circle punch like this one.
2. Once you know how many pine cones you’ll need, screw in one screw hook into the top of each pine cone. This takes a little practice and you may need a little elbow grease but once you get the hang of it it goes pretty quickly.
3. Poke each hook through the hole you’ve made in the ribbon and hang! Easy as pie and something that will last for seasons to come!

Sunday, November 11, 2012

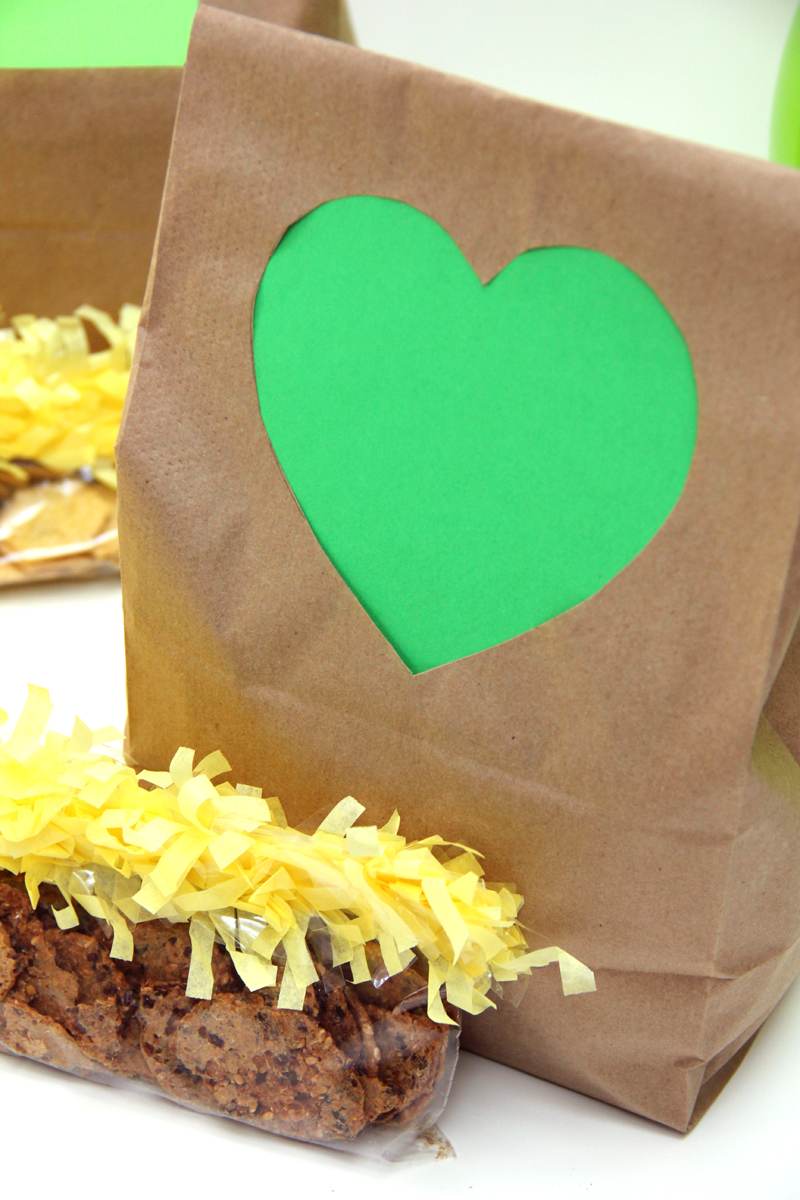
DIY: Colorful Lunch Bag Cutouts

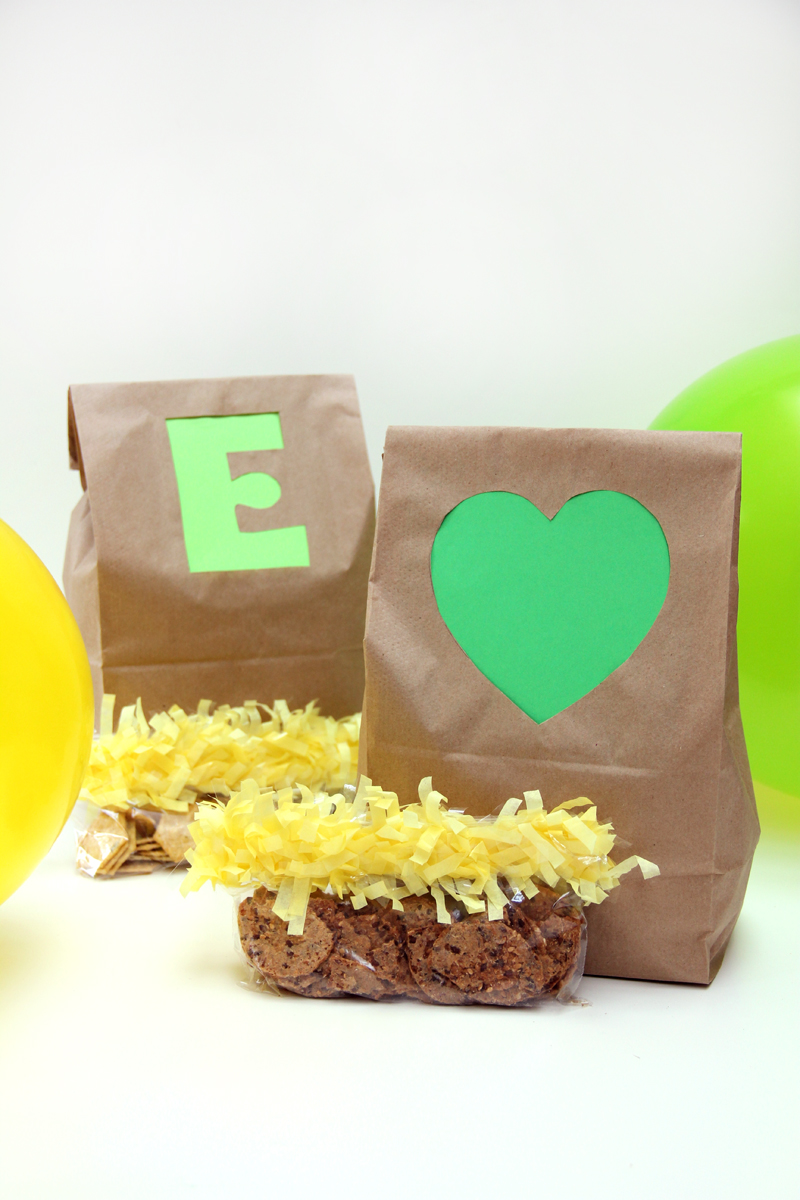
We are taking a brief hiatus from ornament DIYs today to show you a great project from Studio DIY's blog!  Be sure to check them out.  These lunch bags would be great for a pick me up during a long school day!
DIY Back to School Lunch Bags
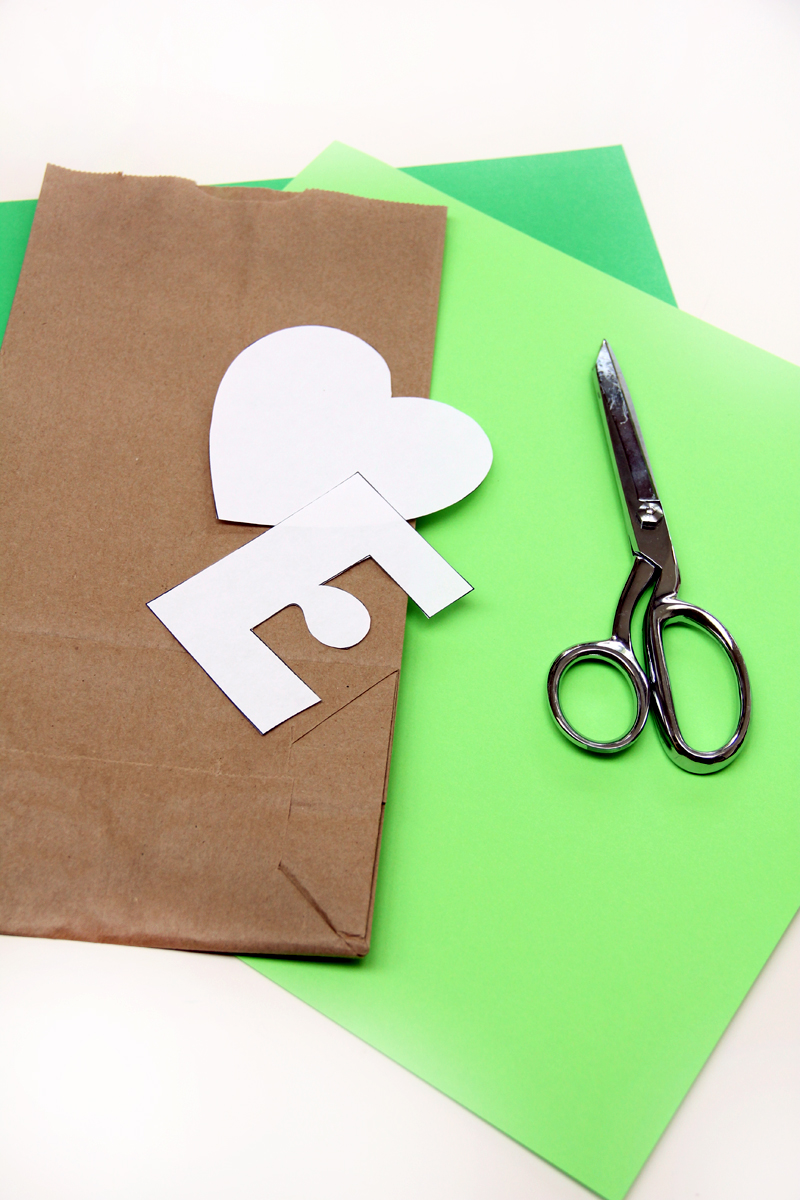
Supply List:
Brown Paper Lunch Bags
Letter or Shape Templates (Print out large letters from your computer, or free hand it!)
Pencil
Scissors (x-acto knife helps too!)
Colored Card stock
Tape and/or Glue
To Make:
Trace your shape onto your lunch bag. Make sure to leave enough room at the top so you can fold the bag over (I’d do mine even lower next time).
Back to School Lunch Bag DIY DIY Back to School Lunch Ideas
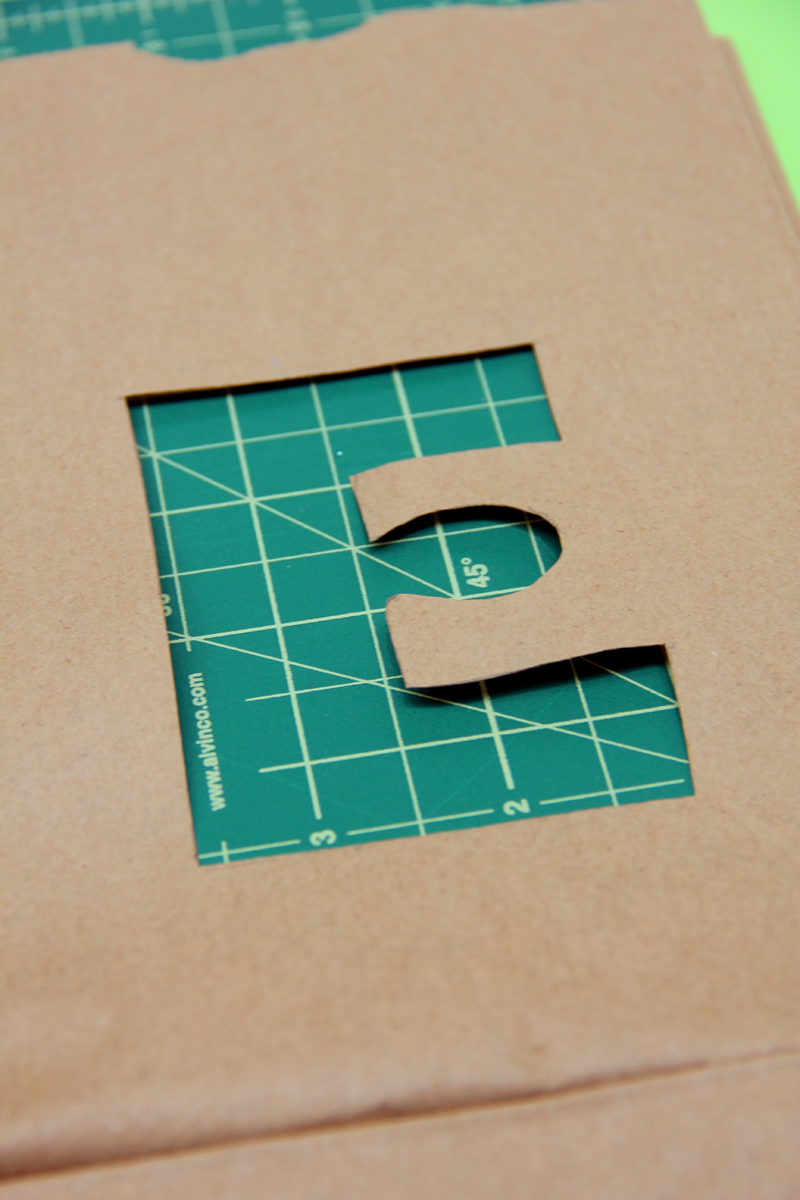
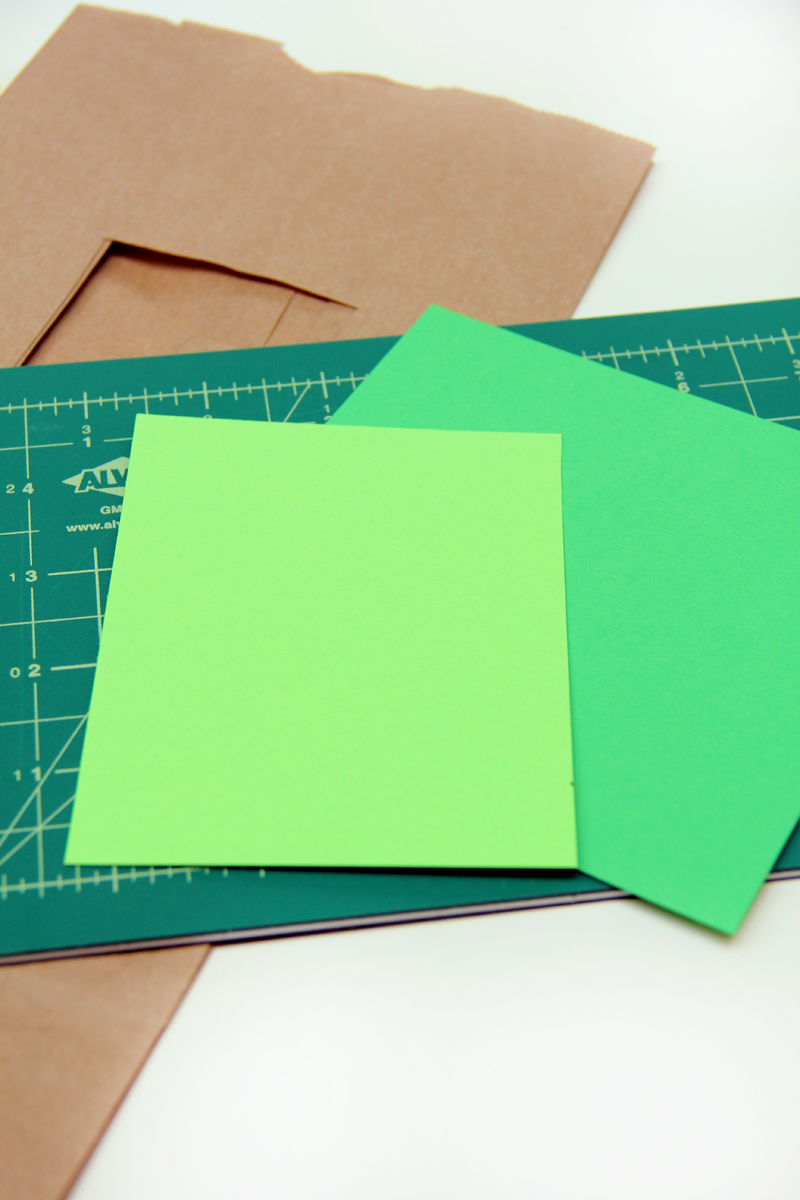
Cut out your shape, I did this with an x-acto and put a small cutting board inside the bag to prevent cutting through both sides. You could easily do this with scissors too. Then cut a rectangle of colored paper, just big enough to cover your entire cut out.
DIY Colorful School Lunch Bags DIY Graphic School Lunch Bags
Tape and/or glue your paper inside the bag behind your cut out. I taped mine first, then added glue (you can do this with a tooth pick or small glue stick) to seal down the loose edges.
DIY Graphic Lunch Bags DIY Colorful Lunch Bags


Tuesday, October 23, 2012

DIY: Glitter Word Art

Vanilla and Velvet's blog has a wonderful DIY for Glittery Word Art.  It's so simple and makes such a statement we think you could make this and then decorate a whole room off of this project!
Materials
Directions
First paint the canvas any color of your choice.  Next, create stencils for your word, my letteres were 10 inches in height and the  font I used was Arial Black in size 500, after printing the letters I doubled their size– I guess that makes it size 1,000. Trace stencil with a dull pencil on the painted canvas.  Fill outline in with glitter paint- this may take several layers depending on how much glitter you are looking for.
Paint Background, I used 1 bottle of Martha Stuart pearl paint  in mother of pearl and a small brush for a horizontal stripe effect.
Print out letters and create a large word stencil.  I used Arial Black in size 500, after printing the letters I doubled their size– I guess that makes it size 1,000, they ended up being 10 inches in height.
Lay stencils on the dry canvas, use a ruler to make sure you have everything centered.  There was 7 inches above and below and about 3 inches on the sides.
Using a dull pencil lightly trace the stencils.
Fill in outlined letters with glitter paint, this will take several layers.
Several layers later….

Wednesday, September 12, 2012

DIY: Recycled / Upcycled T-Shirt Bracelet

This is a great DIY tutorial that could easily go hand in hand with other t-shirt tutorials since it uses only a small part of the t-shirt after you've cut it up for other things!  We like multi-tasking with our materials.  Thanks to Dollar Store Crafts for coming up with and sharing this tutorial!
If you like cutting up t-shirts to transform them into necklaces, pillows, tote bags and other fun stuff, you often end up with a few extra pieces. Here's an easy project that uses up scrap pieces of a t-shirt to make a simple summer bracelet.
Project estimate:
  • T-shirt scrap, on hand
  • Aluminum conduit connector or similar hardware, $1 or less
  • Tape, on hand
Total: $1 or less
After cutting the  useful parts off a t-shirt, save the pieces around the sleeve or collar.  In my case, I was able to cut one long strip about an inch or two wide and about 12 inches long.
Wrap the ends of the strip with blue tape or masking tape.
Feed the strip through a hardware tube. Wrapping and twisting the fabric a bit, feed both ends through a second time.
Depending on the length of your scrap, tie any loose ends into a knot or bow or tuck them into the rest of the bracelet (a little like a turban).
Fabric glue or stitch into place.

Friday, August 31, 2012

DIY: Felt Poinsettia Hair Clip

Projectville has a fantastic tutorial that we found just in time for the upcoming holiday season!  This stunning Poinsettia Hair Clip would be the perfect accessory for any wardrobe in the winter time and beyond.  Not to mention she is stunning herself...


Here's what you'll need:

• felt
• yarn
• scissors
• hot glue gun
• glue sticks for said gun
• hair clip (optional)


Follow the picture tutorial and pattern. The larger circle in the pattern is used to glue all the petals to. Start with the biggest petals around the outside, then medium sized, then smallest in the middle. The smaller circle is for after you glue the top of your clip to the flower. Open the clip, glue it to the back of the flower, then glue the small circle over the top of the open clip to clean up the look. Tah dah!