Showing posts with label t shirt. Show all posts

Saturday, November 17, 2012

DIY: T-shirt Pom Poms

Lebenslus Tiger's blog is a fun DIY site for a litany of crafts!  We love t-shirt crafts and this one is definitely one we'll be doing.  Don't fret if you were hoping for another ornament tutorial today - we'll be doing two blogs today (the next one being an ornament tutorial)!  Check out their blog for more fun DIY if you need even more!


Don't they look like hundreds of little rosebuds bound together?
I did them traditionally with two cut out cardboard discs and gave them a little haircut afterwards...

Monday, October 22, 2012

DIY: Lined Paper Tee Tutorial

U Create has some amazing tutorials and DIY projects.  We highly recommend checking them out for more!  Today's highlighted tutorial is a lined paper tee.  These are so cute and would make a great gift for not just students, but teachers!
 
A little about me first . . .
 
My name is Rachel, and I blog over  Maybe Matilda. I'm from small-town New York, currently living in Utah with my soon-to-be-chiropractor husband and our soon-to-be-one-year-old son. When I'm not sweeping up Cheerios, I love sewing and crocheting for my etsy shop, and sharing what I make on my blog.
 
I think this lined paper tee is such a fun way to bring out the inner student, and possibly even encourage a little bookishness in a little one (maybe that's a stretch, but a girl can hope, right?).
 
 
It's really simple to put together, and you can easily make it in any size. And how cute would it be if you embroidered or stamped your child's name or a favorite quote onto the lines?
Here's what you'll need to make this tee:
 
a white tank, tee, or onesie
masking tape
foam brush
blue and red acrylic paint
fabric painting medium (available at craft stores--you'll find it with the paint supplies)
 
To start, place some cardboard between the front and back of the top so your paint doesn't bleed through to the back of your shirt, then place your tape in straight horizontal lines across your shirt to mark the areas where you'll paint your blue lines. I put my first strip of tape right beneath the sleeves. I spaced the tape strips about 1/4" apart from each other, but only painted in every other open space (on an adult size tee) to create a little more distance between the lines. For my little guy's onesie, I painted in the spaces between each tape strip.
 
Mix your blue paint and fabric painting medium according to the directions on the medium (usually a 2 to 1 mixture of paint to medium), and lightly sponge it between your tape strips. A little goes a long way, so try not to get too heavy-handed with your brush. (And personally, I really like the look of a lightly painted, sort of splotchy paint line!)
 
 
(You can see here that I only painted in every other open space for the adult tee. For a baby/toddler top, you can paint in each open space.)
Give it some time to dry, then carefully remove the tape. Place two long strips of tape vertically down the left side of the shirt where you'll paint your red line. Again, place the strips about 1/4" apart, and make sure they're running straight down the tee so you don't end up with a wavy line.
 
 
Mix your red paint with the fabric painting medium according to the directions on the package, and sponge it on as you did for the blue lines. Let it dry for a while and carefully remove the tape.
 
 
If you're making a baby onesie, don't forget to lift up the shoulder flap to tape and paint underneath it!
Make sure you read the directions on your fabric painting medium to find out how to finish your shirt--you'll probably need to let it air dry for 24-48 hours, then iron it to set the paint. You can just turn the shirts inside out and toss them in the washing machine, and the paint holds up just fine.
 

Sunday, October 21, 2012

DIY: Easy Screen Print T-Shirt

We just love this tutorial from Calico Skies blog showing how to make a quick and easy (and CHEAP) screen printed t-shirt!

Be sure to check out her blog for more!!

Here's what you need:
Shirt (thrifted), modge podge, fabric paint (this was my first time using Martha Stewart's all-purpose acrylic paint and it's amazing!), design, cardboard piece, embroidery hoop, nylon or panty-hose fabric, paintbrush, and permanent pen.
1. Create a design for your screenprint. I started with something simple since it was my first time using this method. Later, I did a more elaborate design for the front of the shirt, after I did this first heart as practice. Make sure that your that your embroidery hoop is large enough for your design.
2. Stretch the nylon over the hoop so that it is taut.
3. Trace your design using a a permanent pen.
4. Using Mod Podge, paint the "negative space", or, the space that you do not want to be painted.
5. Fill in the whole area, making sure there are no holes or gaps. I was obsessive about this because I didn't want the paint to seep through. Let dry completely. It took about 3 hours for this little one to dry.
6. Lay the hoop flat on the shirt and position where you want the design to be, and place a piece of cardboard beneath the area so that the paint doesn't bleed through the back. Squirt a generous amount of paint over the design.
7. Use the cardboard to spread the paint over evenly.
8. Carefully lift the hoop off the shirt and voila!
9. Let the paint dry completely before wearing.


Wednesday, October 10, 2012

DIY: Upcycled Watermark T-Shirt

U Create's blog has a great DIY that we honestly never would have thought of - who knew that just using some glue could make a t-shirt look so much more fun!

Check out their blog for more DIY!!

What I love about this project is that it's completely customizable. I used favorite quotes to decorate my shirt but you could also use song lyrics, bible verses, favorite book excerpts, etc. You can also choose whatever color you like. I think it would be a very kid-friendly project as well. There are so many possibilities!
 Materials:

Elmer's Blue Gel Glue (it must be the blue gel, white won't work)

Fabric Dye (RIT is my tried and true brand)

A white cotton Tee, Tank, Dress etc.
 Tutorial:

If you're unfamiliar with Batiking, it's a method of dyeing fabric in which you create a design with a dye- resist. When you dye your garment in cold water, all will be colored except where you've placed your dye resist. In traditional batiking, you would use wax as a resist. I tried this out and found it to be messy and difficult to control. Using store bought glue is much more convenient and very easy to control.

Step 1: Prepare
Wet your tee with cool water and place a water resistant board between the layers of fabric. I used the lid of a bin.


Step 2: Design
I'm not much of an artist, so what worked best for me was writing favorite quotes right across the front of the shirt.


This quote was found via Pinterest
Source
You could also try drawing a simple design like my very amateur sailboat:
Let dry completely. This will take several hours.

Step 3: Dye 
Your dye bath should be prepared using cool water. Experiment with different amounts of dye until you find the right concentration. Keep in mind that the color that comes out of the dye bath will be a couple of shades darker than the dry, finished garment.


When you get the color you want, lay your tee flat to dry.


Step 4: Wash
When your tee is dry (to let the dye set) soak it in cool, soapy water for about 15 minutes. This soak washes the extra glue out. Throw it in the washer and dry as you would normally.


Step 5: Wear and Enjoy!

Sunday, September 16, 2012

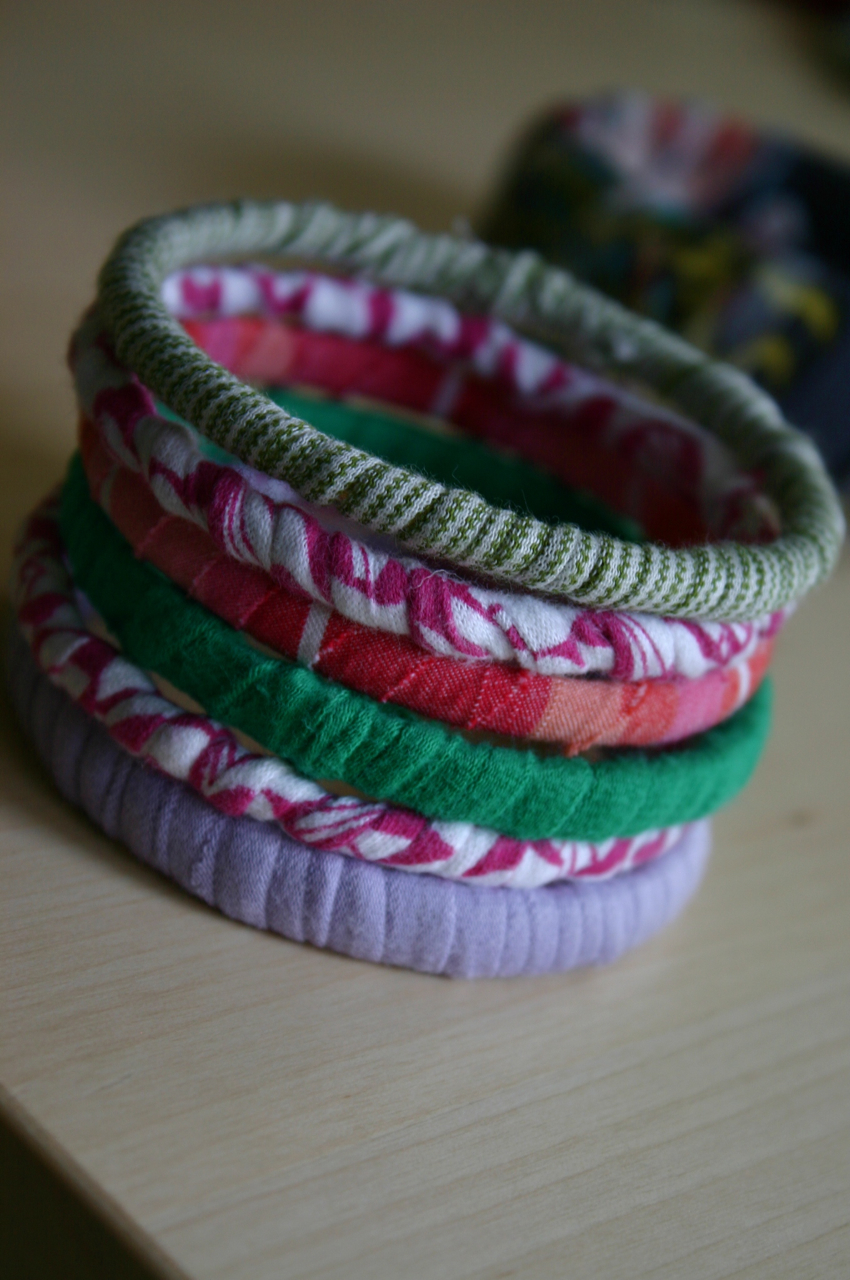
DIY: T-Shirt Bracelet Makeover

Here is another option for t-shirt upcycling into jewelry that we think just couldn't be easier to do.  This is from Family Chic's blog and there are plenty more tutorials on there, so be sure to pop over and check 'em out!  

These would be great bracelets to make out of the sleeves of your t-shirts that you may have used for other DIY t-shirt projects...


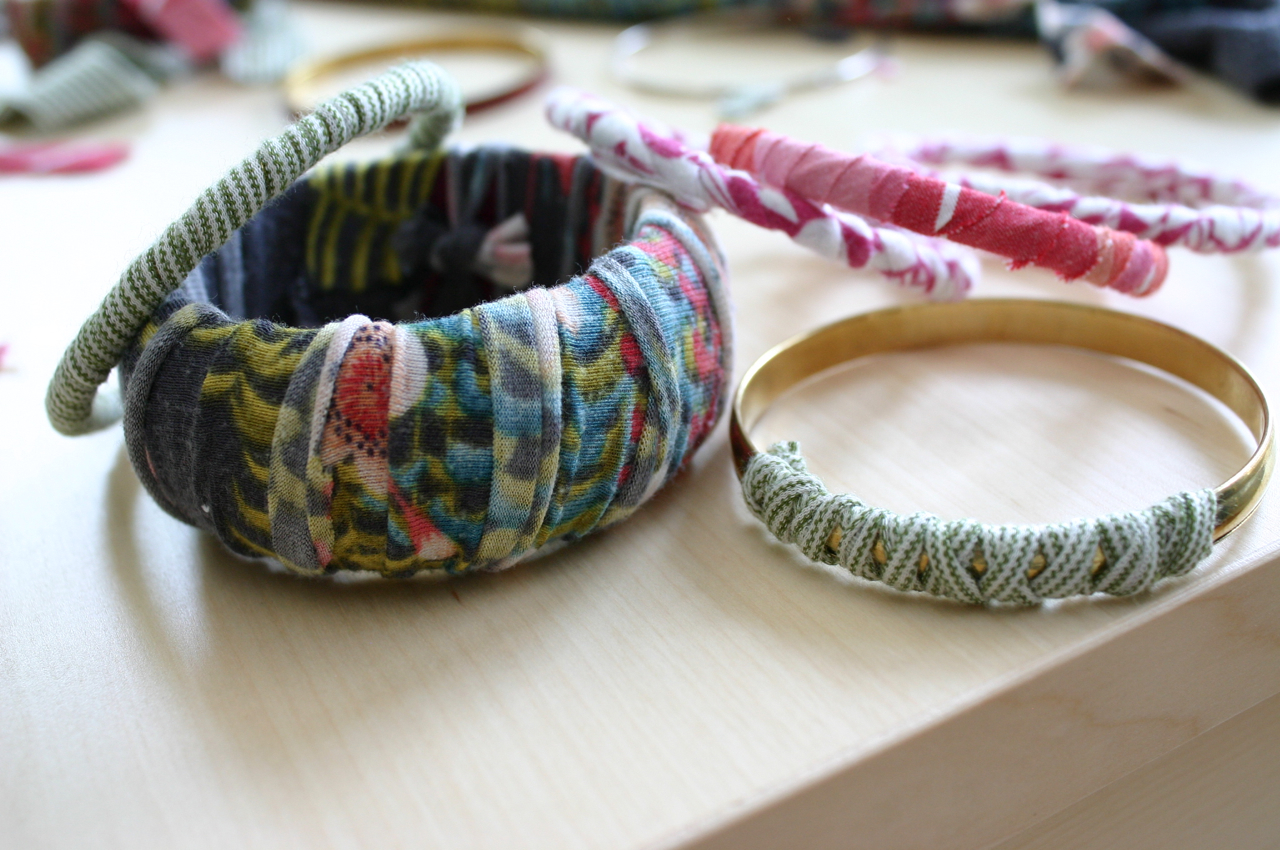
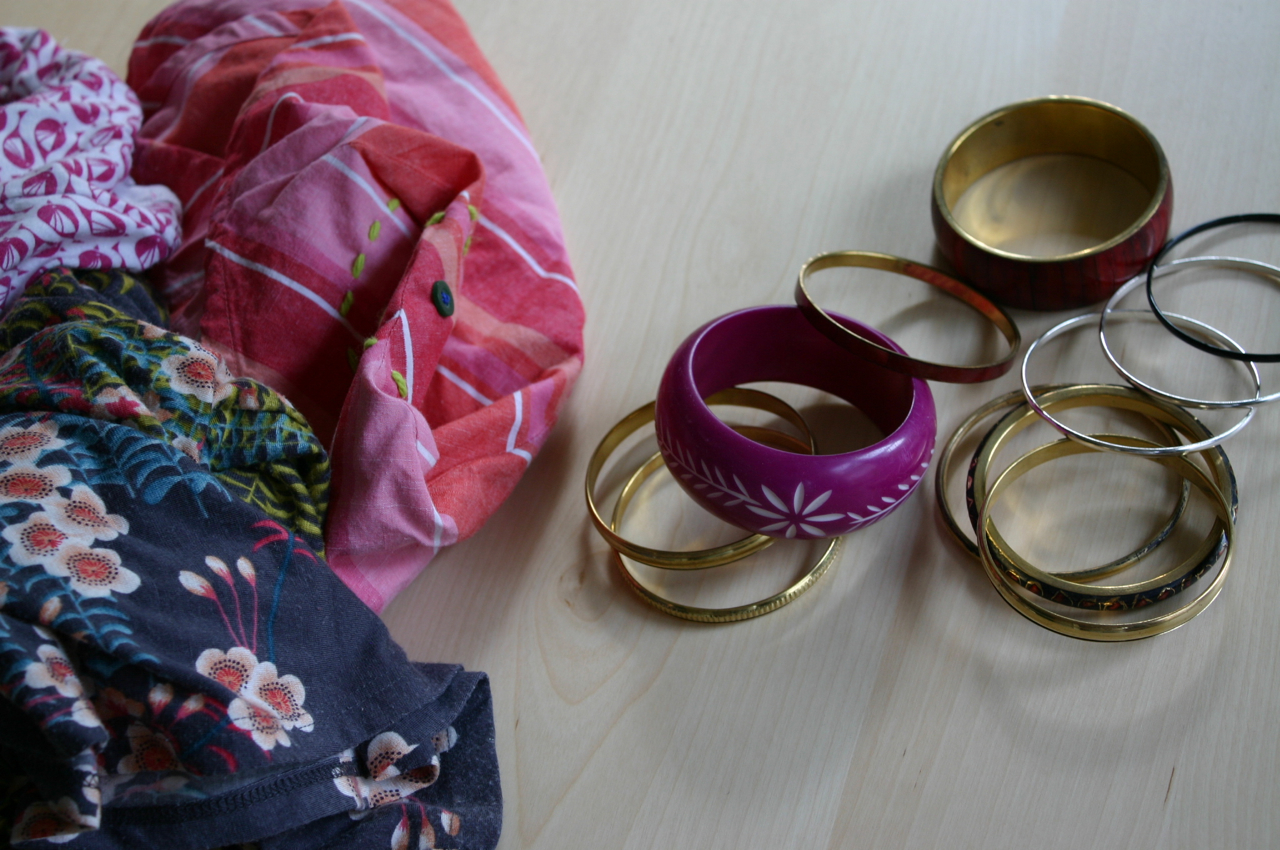
For this project you will need some old t-shirts and a bunch of bangle bracelets. Try using old bangles that you already own, check thrift stores or pick up some up for a few dollars at Target, Walmart – or even the sale bins at Old Navy.

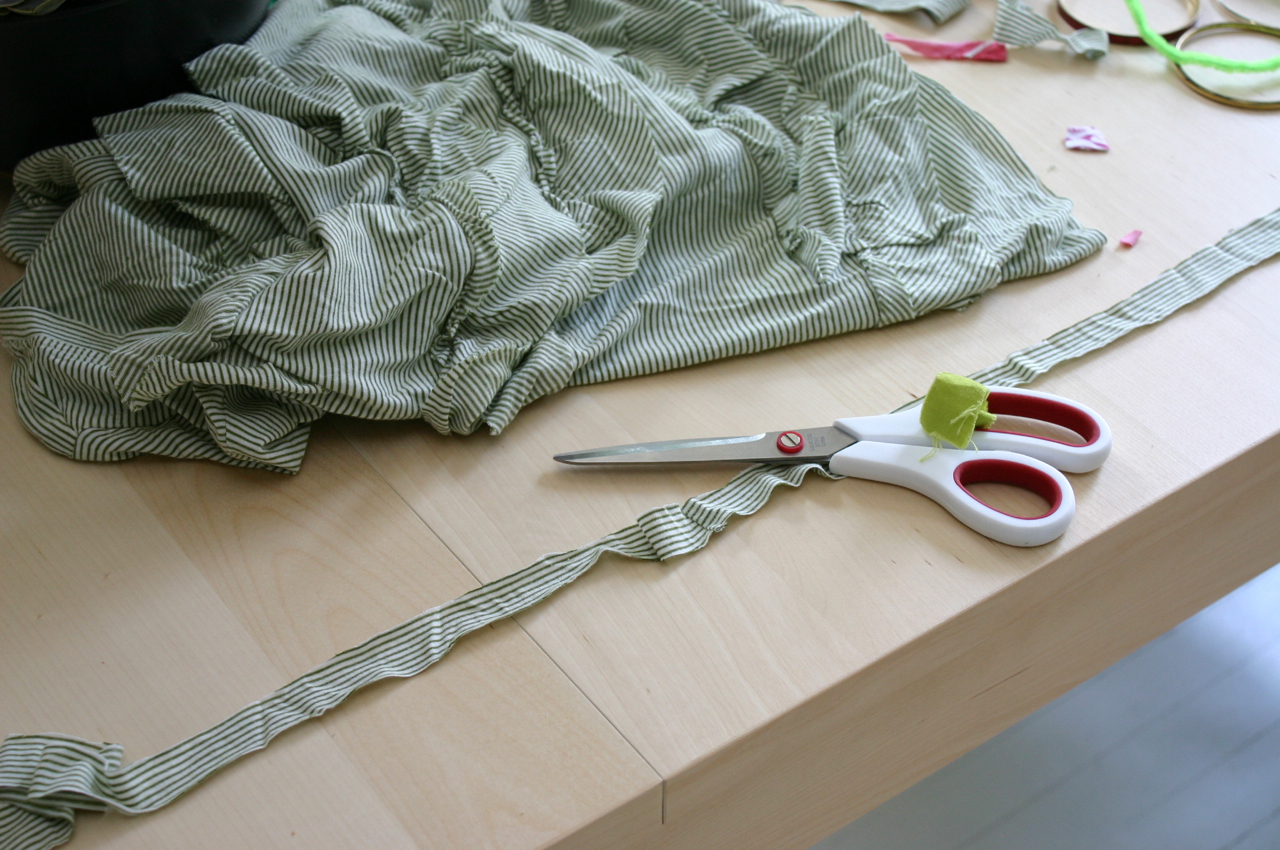
Cut t-shirt in 1/2" to 1" wide strips. Depending on the thickness of the bangle – a thick bracelet will need thicker strips.

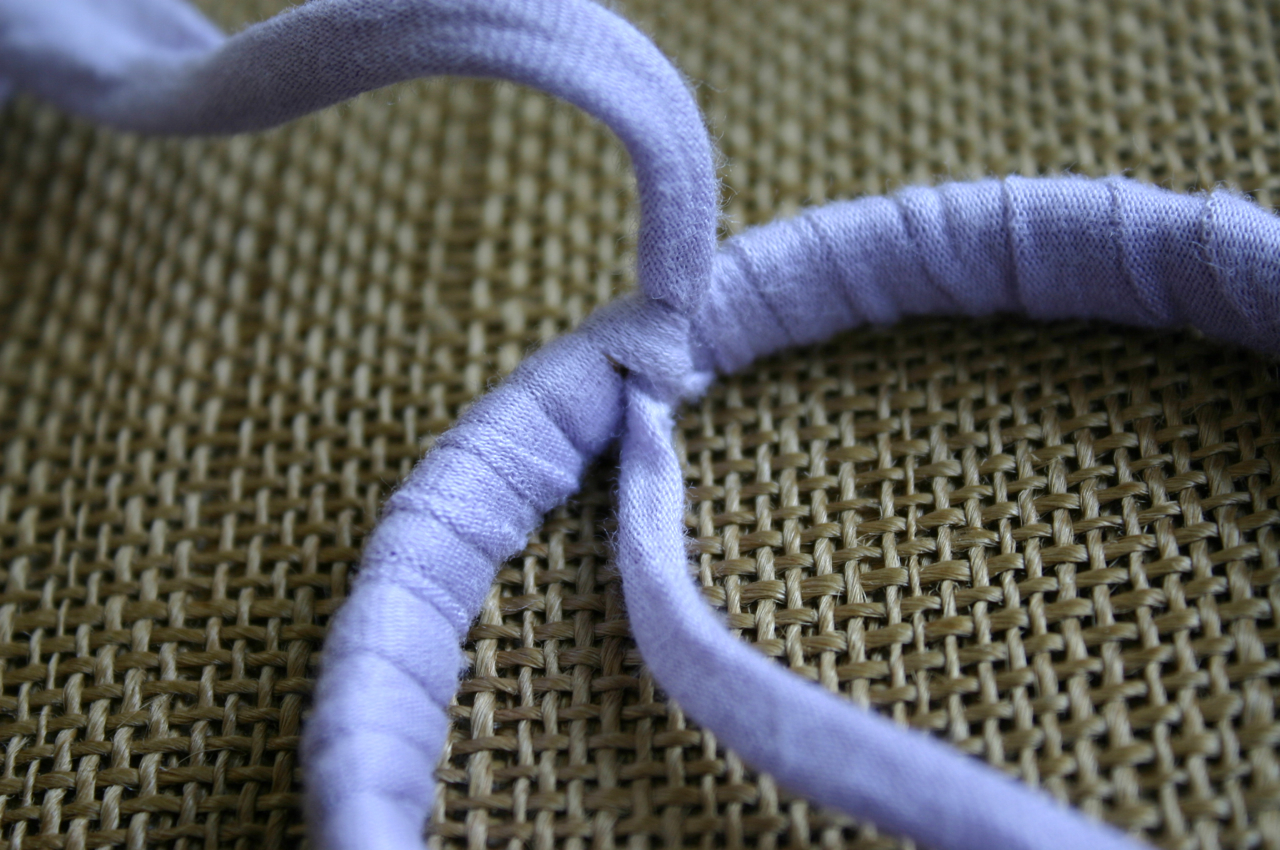
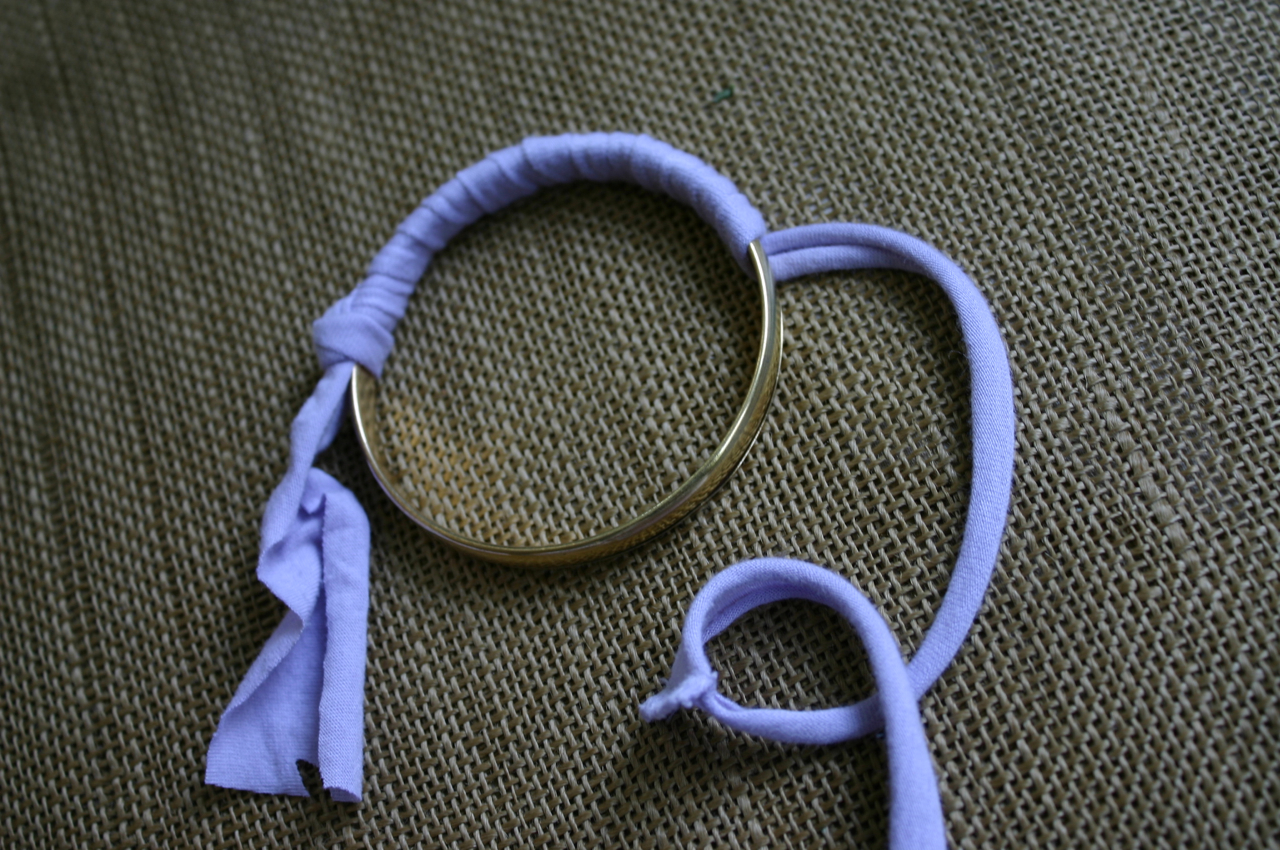
Loosely tie one end of the t-shirt strip to the bangle and start wrapping fabric around bracelet – the tighter the better.

Wrap fabric all the way around until you meet the first knot – untie the knot and tie both ends together to close. Make a double knot, pull it tight and make sure the knot is positioned on the inside of the bracelet. Trim ends with scissors.

I found this technique worked well for us – but you could also use a glue gun to secure ends.

Wednesday, September 12, 2012

DIY: Recycled / Upcycled T-Shirt Bracelet

This is a great DIY tutorial that could easily go hand in hand with other t-shirt tutorials since it uses only a small part of the t-shirt after you've cut it up for other things!  We like multi-tasking with our materials.  Thanks to Dollar Store Crafts for coming up with and sharing this tutorial!
If you like cutting up t-shirts to transform them into necklaces, pillows, tote bags and other fun stuff, you often end up with a few extra pieces. Here's an easy project that uses up scrap pieces of a t-shirt to make a simple summer bracelet.
Project estimate:
  • T-shirt scrap, on hand
  • Aluminum conduit connector or similar hardware, $1 or less
  • Tape, on hand
Total: $1 or less
After cutting the  useful parts off a t-shirt, save the pieces around the sleeve or collar.  In my case, I was able to cut one long strip about an inch or two wide and about 12 inches long.
Wrap the ends of the strip with blue tape or masking tape.
Feed the strip through a hardware tube. Wrapping and twisting the fabric a bit, feed both ends through a second time.
Depending on the length of your scrap, tie any loose ends into a knot or bow or tuck them into the rest of the bracelet (a little like a turban).
Fabric glue or stitch into place.