Showing posts with label painted. Show all posts

Saturday, November 17, 2012

DIY: Paint Chip Upcycled Ornaments

As promised, here is the follow up DIY for the day featuring an ornament craft!  This one comes from Elsie Marly's blog and we love the upcycling feature that they include on these ornaments.

Be sure to check out her blog for more DIY!

paper christmas ornaments

a paper christmas tree ornament

This as simple as it gets. A few scraps of paper, one seam and in minutes you've make a pretty, handmade ornament. I used paint chips (in lovely martha stewart colors) from the hardware store because I had them on hand, but cardstock or thin cardboard or old christmas cards would all work well.
an ornament from paint chips
Cut out one star and three to five strips of paper.  If you'd like to use the same measurements I used, you can download the pattern pictured below. If you would rather do it freehand, cut progressively longer strips for the tree, as wide as you like, and cut a good size trunk.
paper tree pattern

You are going to sew a seam down the middle of everything on your sewing machine. Sewing on paper is really not that much different than sewing on fabric, except that you use a slightly longer stitch and it's ok to use a dull needle. If you are anything like me, there is one in your machine right now! Make a bunch of paper tree ornaments with that perfectly dull specimen and then do yourself a favor: take it out! And get a nice, new sharp one in there for the rest of your christmas sewing.

First make sure you have about three inches of slack from the bobbin and past the needle before you begin sewing. Then place the star under the presser foot of your machine take one stitch forward and then one stitch back (a little sewing dance!) to secure the thread and then sew down the middle of the star. Before you get to the bottom nudge the shortest strip of paper under the presser foot and sew down the middle of it.  And so on, with the rest of the strips and the trunk.
sewing paper trees
When you get to the bottom of the trunk, sew back and forth a few times to secure the thread again. Tie the ends on top of the ornament together, so it makes a loop for hanging. Snip the thread ends on the bottom of the trunk and you're done!
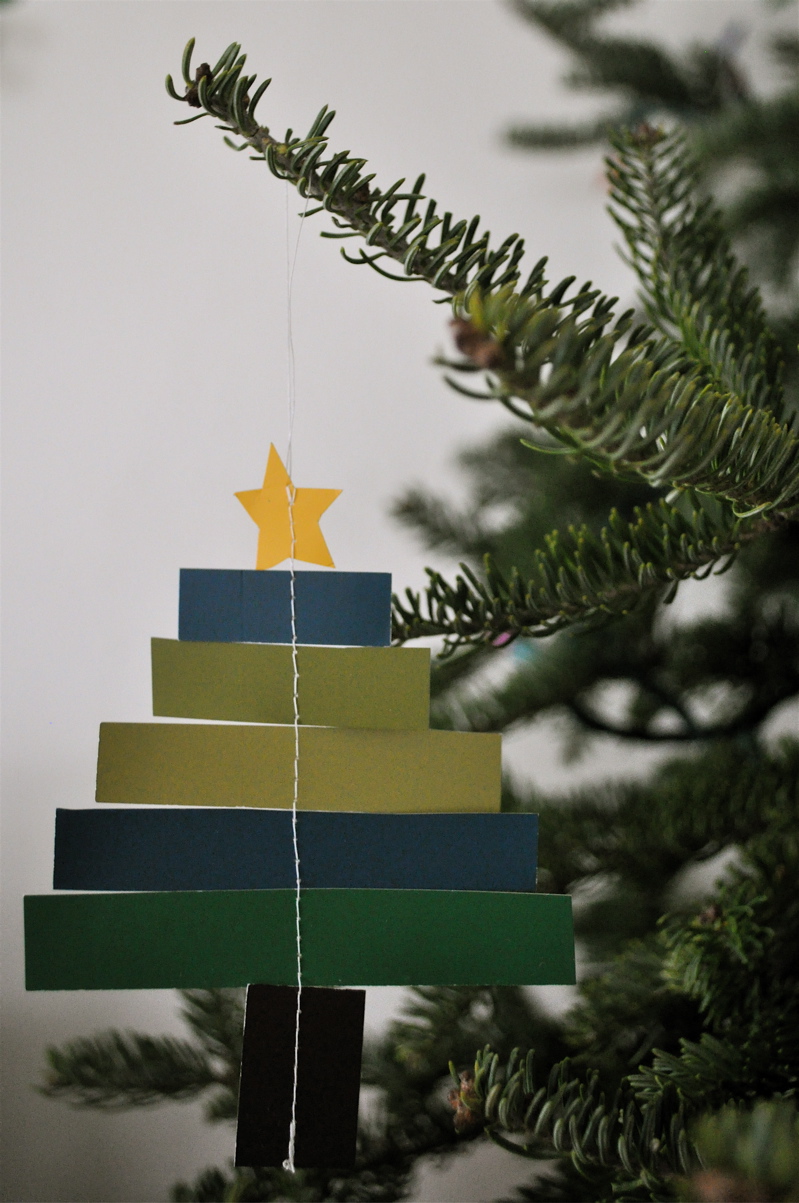
christmas tree ornament made out of paint chips

variations

I included a pattern for a snowman in the PDF pattern as well, but a million other things are possible: candy canes, bells, santas, pretty much anything you can think of to cut out and sew together!
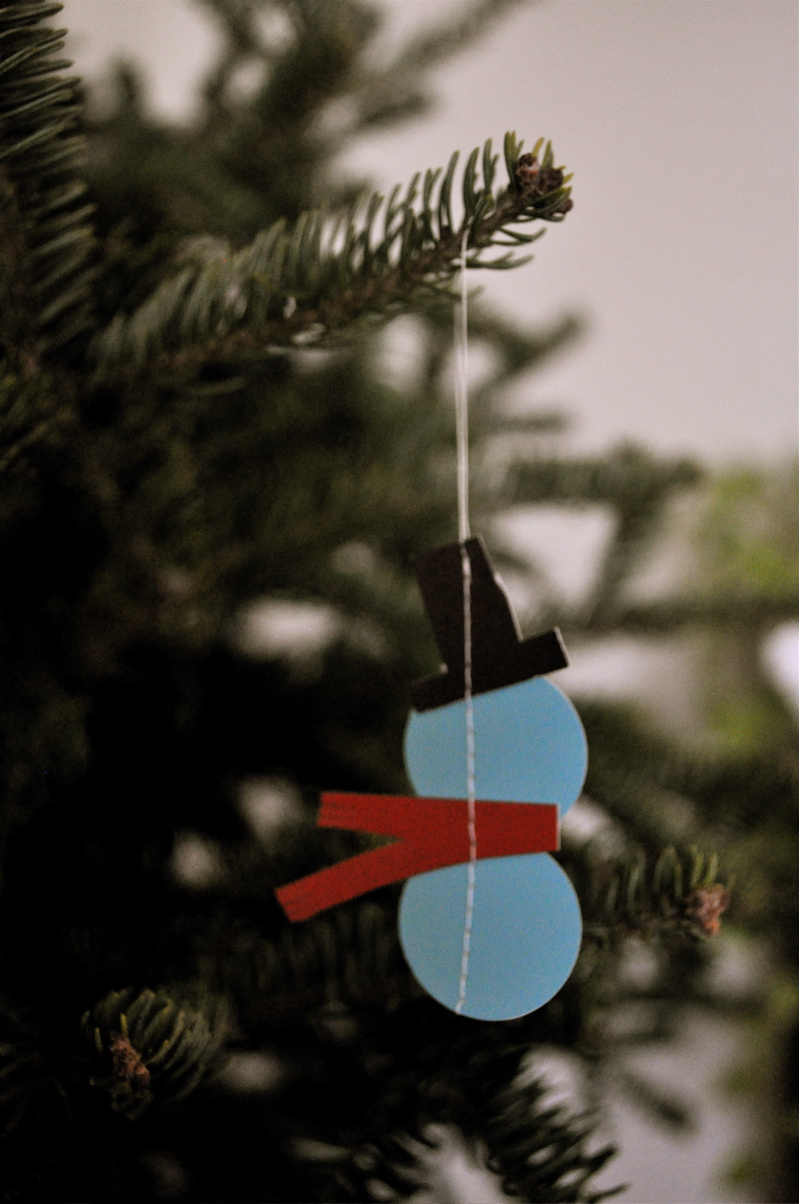
snowman ornament made from paint chips

Tuesday, October 23, 2012

DIY: Glitter Word Art

Vanilla and Velvet's blog has a wonderful DIY for Glittery Word Art.  It's so simple and makes such a statement we think you could make this and then decorate a whole room off of this project!
Materials
Directions
First paint the canvas any color of your choice.  Next, create stencils for your word, my letteres were 10 inches in height and the  font I used was Arial Black in size 500, after printing the letters I doubled their size– I guess that makes it size 1,000. Trace stencil with a dull pencil on the painted canvas.  Fill outline in with glitter paint- this may take several layers depending on how much glitter you are looking for.
Paint Background, I used 1 bottle of Martha Stuart pearl paint  in mother of pearl and a small brush for a horizontal stripe effect.
Print out letters and create a large word stencil.  I used Arial Black in size 500, after printing the letters I doubled their size– I guess that makes it size 1,000, they ended up being 10 inches in height.
Lay stencils on the dry canvas, use a ruler to make sure you have everything centered.  There was 7 inches above and below and about 3 inches on the sides.
Using a dull pencil lightly trace the stencils.
Fill in outlined letters with glitter paint, this will take several layers.
Several layers later….

Sunday, August 19, 2012

DIY: Upcycle Glass Vases

What a great and inexpensive way to upcycle a glass vase!  We love this idea from Starshine using just some glass vases and a touch of cheap paint from the local craft store.  We are sure you can find vases in pretty much any Goodwill in your area!  So, go grab one and jazz up your living room on the cheap!

I picked up 3 clear glass vases from my local thrift store for 50 cents each.

Then I bought the cheapest craft paint from Michael's. This was 59 cents a bottle. I got Robin's Egg Blue.
Squirt some paint inside the bottle & keep turning the bottle until the inside is coated with paint. Just squirt a little bit of paint at a time. You don't want to use too much or you'll have a ton at the bottom. I did turn upside down & poured out the extra paint. Be sure to wipe the paint off the lip of the vase. And no, this is not my hand. I had hubby demonstrate while I took the photo.

After each vase was coated with the paint, I placed on their side to dry. I kept turning them every 5 minutes or so for an hour. You don't want them to lay on one side for very long or all the paint will go to that one side. Darn that gravity. Keep turning them every few minutes. After an hour or so I felt it was dry enough to stand up.