Monday, November 19, 2012

DIY: Plastic Animal Topped Glass Jars

These would make the cutest party favors or decoration for a room!  So easy to make there are only a few lines of instructions from Sweet Paul's blog.  Be sure to check their site out for more DIY!
Jars009


I saw this idea a while back somewhere online and though it was so cool.
I wanted to give it a try.
All you need is some jars with lids, small plastic animals, superglue and spray paint.
Glue the animals to the lid with superglue and spray the whole lid with paint.
Let it dry and you have the cutest jars ever.
Have a great weekend all.
Jars013

Sunday, November 18, 2012

DIY: Pencil Holder Using an Upcycled Can

Hello Inspirations by D's blog has a great upcycle DIY for those metal cans you get your veggies or other groceries in.  We love this and think it'd make a great gift for someone that loves crafts (ex. YOU!). 
Hi everyone!  Today I'm sharing a tutorial on how to make your own pencil holder
with a recycled can.  Are you ready?  Here we go...
First you will need these items:


* A recycled soup or bean can (cleaned)

*Scrapbook paper, wall paper
or gift wrap paper
* Scissors or other cutting device
* Spray adhesive or mod podge
*Clear tape
This is what I did...

I purchased scrapbook paper which runs about 50 to 60 cents a sheet.
I grabbed a soup sized can from the recycling bin.
I Removed the wrap from the can.
I Cleaned the can with soap and water and set it to air dry.
I measured the original can wrap against the scrapbook paper with a ruler.
Made marks with a pencil and erased later.
Once I had my measurements, started cutting the paper.
I Wrapped the paper around the can, to keep it sturdy,
I took a small piece of tape and taped down one end of the sheet of a paper on the can,
then wrapped the sheet of paper around the can and sealed it with clear tape, you can use mod podge.
Hello new pencil holder and it holds magnets too!!
Be creative!!  You can add extra decor by using buttons, ribbons and other decorative items.

Saturday, November 17, 2012

DIY: Paint Chip Upcycled Ornaments

As promised, here is the follow up DIY for the day featuring an ornament craft!  This one comes from Elsie Marly's blog and we love the upcycling feature that they include on these ornaments.

Be sure to check out her blog for more DIY!

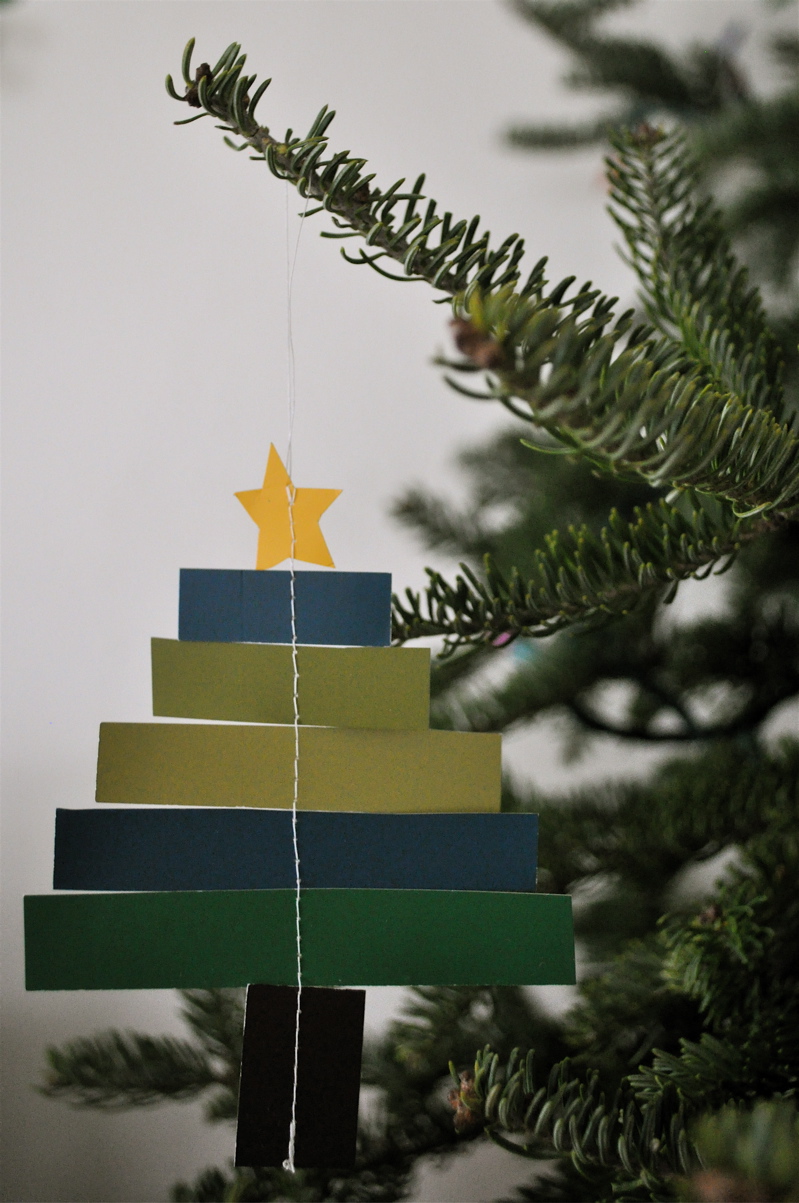
paper christmas ornaments

a paper christmas tree ornament

This as simple as it gets. A few scraps of paper, one seam and in minutes you've make a pretty, handmade ornament. I used paint chips (in lovely martha stewart colors) from the hardware store because I had them on hand, but cardstock or thin cardboard or old christmas cards would all work well.
an ornament from paint chips
Cut out one star and three to five strips of paper.  If you'd like to use the same measurements I used, you can download the pattern pictured below. If you would rather do it freehand, cut progressively longer strips for the tree, as wide as you like, and cut a good size trunk.
paper tree pattern

You are going to sew a seam down the middle of everything on your sewing machine. Sewing on paper is really not that much different than sewing on fabric, except that you use a slightly longer stitch and it's ok to use a dull needle. If you are anything like me, there is one in your machine right now! Make a bunch of paper tree ornaments with that perfectly dull specimen and then do yourself a favor: take it out! And get a nice, new sharp one in there for the rest of your christmas sewing.

First make sure you have about three inches of slack from the bobbin and past the needle before you begin sewing. Then place the star under the presser foot of your machine take one stitch forward and then one stitch back (a little sewing dance!) to secure the thread and then sew down the middle of the star. Before you get to the bottom nudge the shortest strip of paper under the presser foot and sew down the middle of it.  And so on, with the rest of the strips and the trunk.
sewing paper trees
When you get to the bottom of the trunk, sew back and forth a few times to secure the thread again. Tie the ends on top of the ornament together, so it makes a loop for hanging. Snip the thread ends on the bottom of the trunk and you're done!
christmas tree ornament made out of paint chips

variations

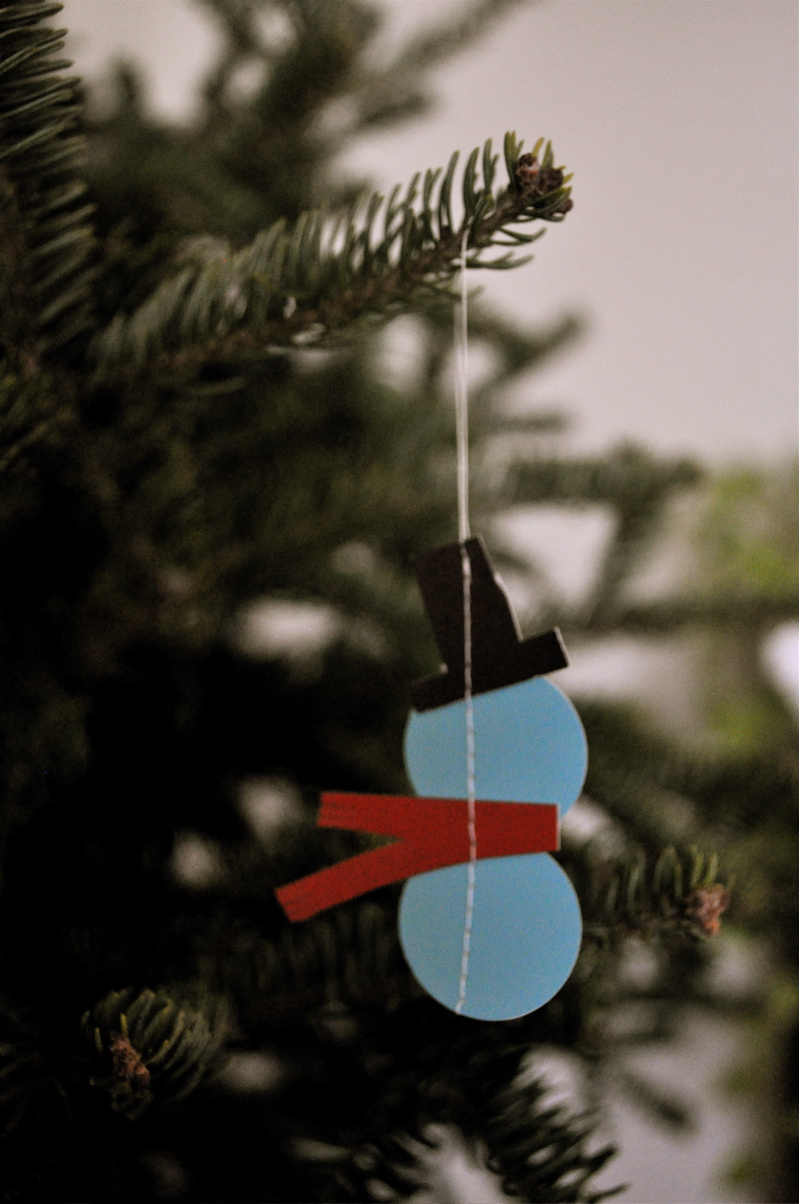
I included a pattern for a snowman in the PDF pattern as well, but a million other things are possible: candy canes, bells, santas, pretty much anything you can think of to cut out and sew together!
snowman ornament made from paint chips

DIY: T-shirt Pom Poms

Lebenslus Tiger's blog is a fun DIY site for a litany of crafts!  We love t-shirt crafts and this one is definitely one we'll be doing.  Don't fret if you were hoping for another ornament tutorial today - we'll be doing two blogs today (the next one being an ornament tutorial)!  Check out their blog for more fun DIY if you need even more!


Don't they look like hundreds of little rosebuds bound together?
I did them traditionally with two cut out cardboard discs and gave them a little haircut afterwards...

Friday, November 16, 2012

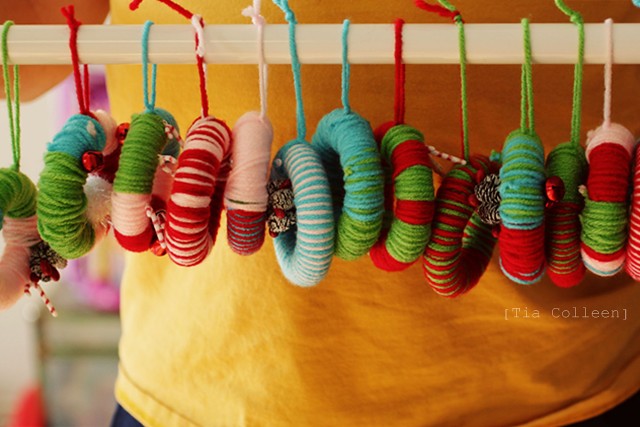
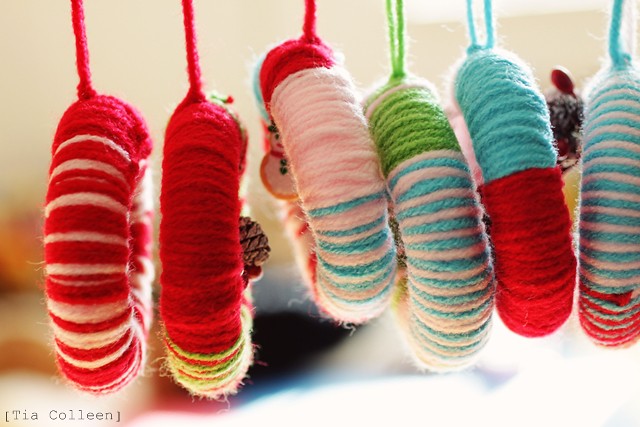
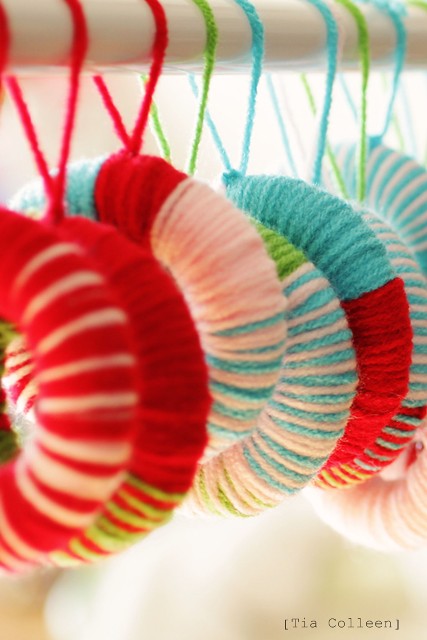
DIY: Yarn Wreath Ornaments

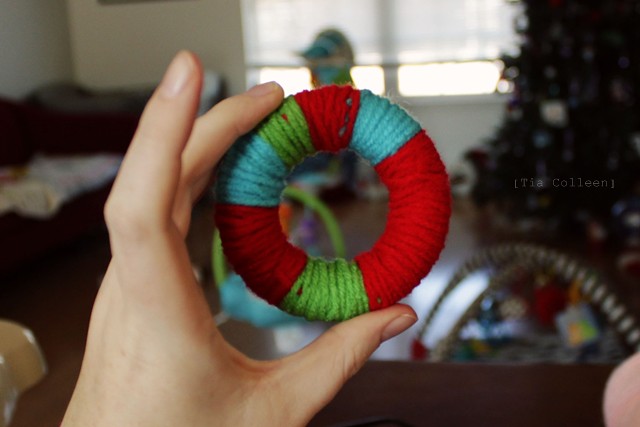
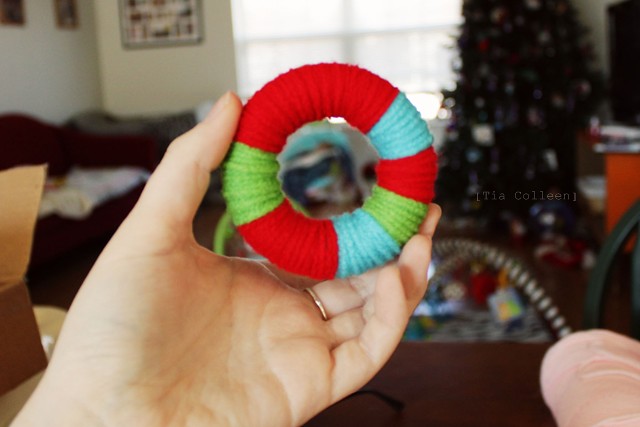
We found this archived ornament tutorial that is so easy it's kind of ridiculous!  We love love love it.  Christopher & Tia have these step by step direction on this budget friendly ornament tutorial.  Be sure to check out their blog for more.
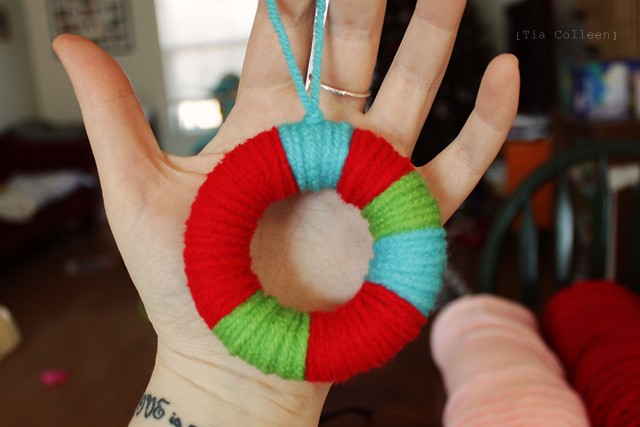


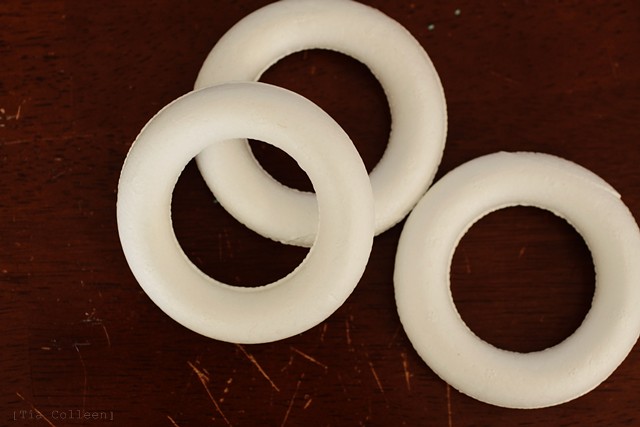
What you will need:


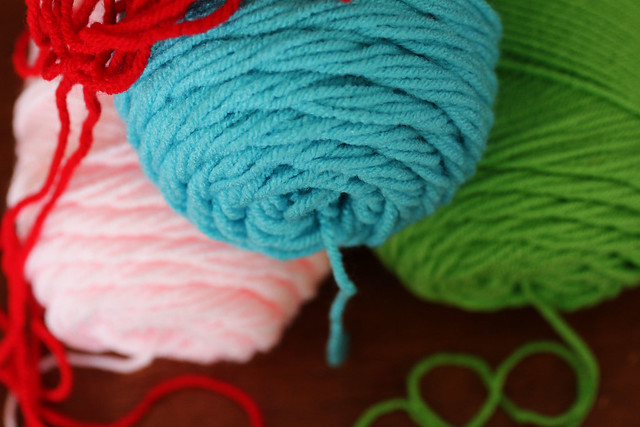
I went to Hobby Lobby and picked out 4 Christmas-ish colors that I thought would be fun to mismatch on all 30-something of my ornaments.


I ordered mine from here. I had looked at both Hobby Lobby and Michaels, but didn't find any that were nearly as affordable. Plus I like ordering things and then getting mail as a result :)


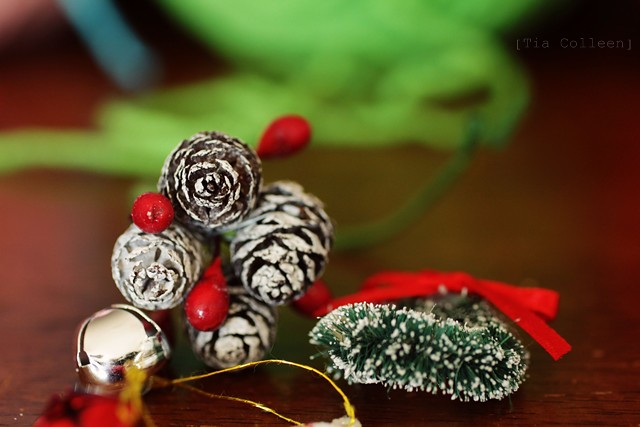
...ok those are totally optional. I did some with, and some without. The ones that I did without, were easier to wrap and send off, and took much less time to make, because- have you ever tried stringing up a jingle bell onto a piece of yarn (ya know how the end of yarn frays and is all puffy and stuff)? It wasn't my favorite part of the craft project, I'll tell ya that much.

Ok now heres how you do it...
Well actually, I'm going to show you how to do two different styles. The "candy cane" style, and then a regular multi color style. Lets start with candy cane...


Start with 2 different colors of yarn. I chose pink and red, because together I think they look a little bit like a candy cane swirl.

So- take two different colors of yarn, put the ends together, and give the strings a good yank. About 4 arms length pulls should do it. And then cut them.

Remember, these are no-glue ornaments. I know that a lot of yarn wreaths are made using hot glue or whatever, but I'm making these with my kids- so the easier, the better.

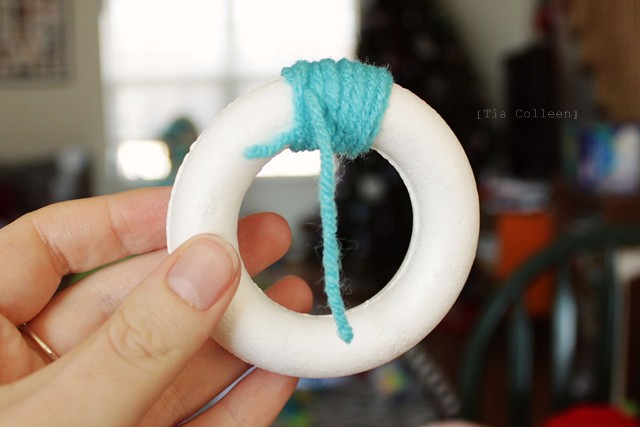
-Wrap your yarn around your styrofoam.

-Tie a knot.

Simple.

-Pull the short end of the excess string off to one side.

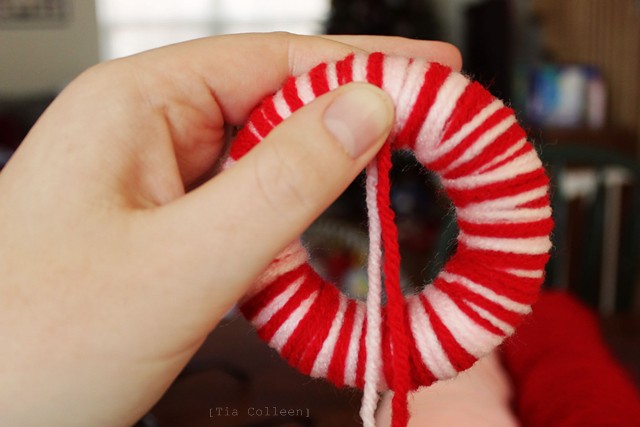
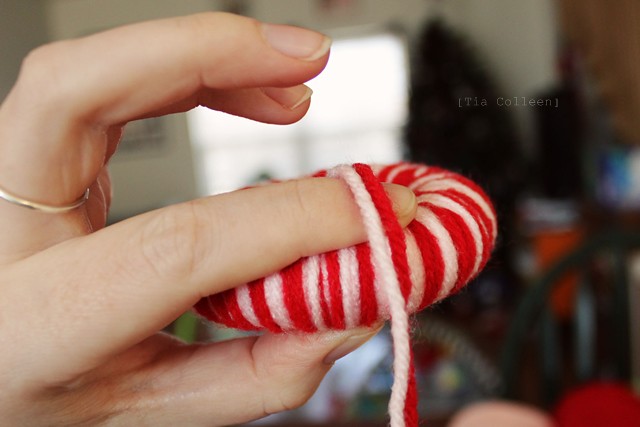
-Now start looping the long end of the yarn around the wreath, going in the direction that your loose ends are facing. Does that make sense?

Here, kind of like this...


See what I mean? If not, then I'm sure you can figure it out as you go. Really, all you're doing is wrapping yarn in a loop over and over again- theres really no way to mess it up.

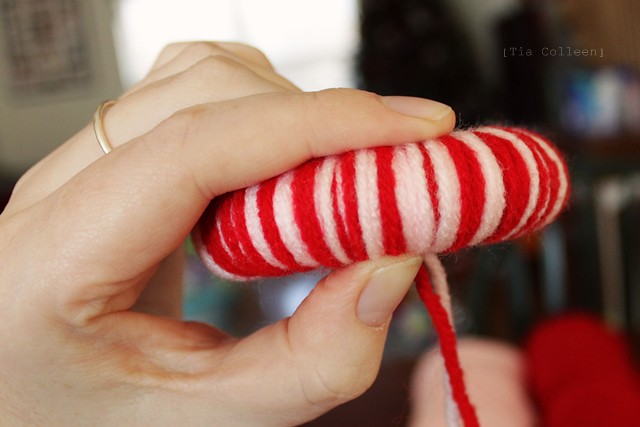
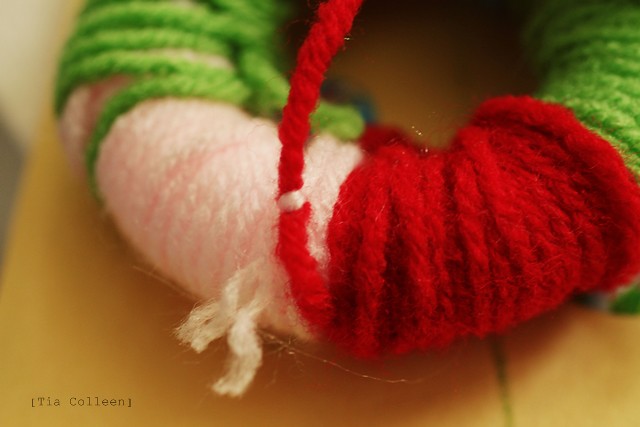
-So keep wrapping your yarn around your styrofoam. You can do a tight wrap, doing just a single layer of yarn. Or you can do a sort of messy wrap, doing layer over layer. I like the messy look, I think it looks more handmade, and its brighter and bolder from farther away.


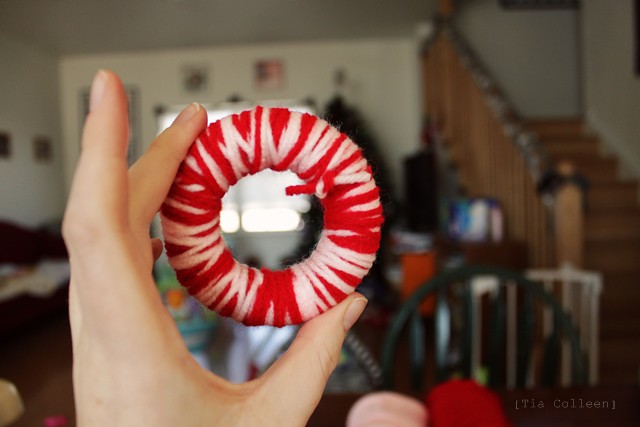
After you get all the way around, your wreath should look something like that.

-Now tie it off.

Heres how you do that...
(even though its sort of self explanatory)


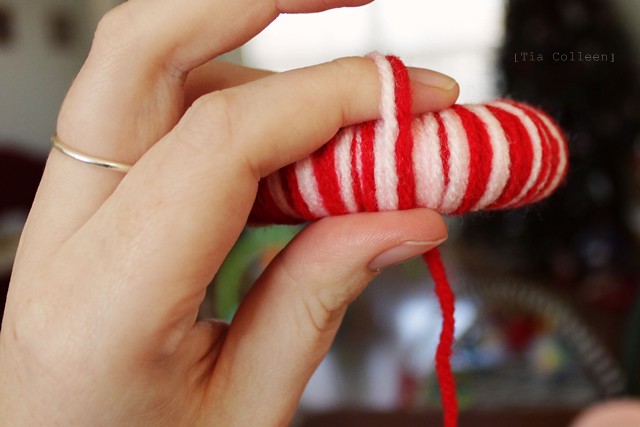
-Wherever you decide to end your wrapping, put your thumb down on the yarn, and let the excess hang down.


-Put your index finger on the back.

-With your other hand, wrap the string that was hanging down around again, up and over your index finger that you were holding in place.


-Now take that piece of string that you just wrapped around, and put your thumb on it, like in the above picture.

-Wrap the excess string around again, and then pull your index finger away(we're tying a knot here).

-Pull the excess through the loop. Pull it tight. Make sure you're doing this on the "back side" of the wreath (the side that you weren't looking at, when wrapping).


See, like that.
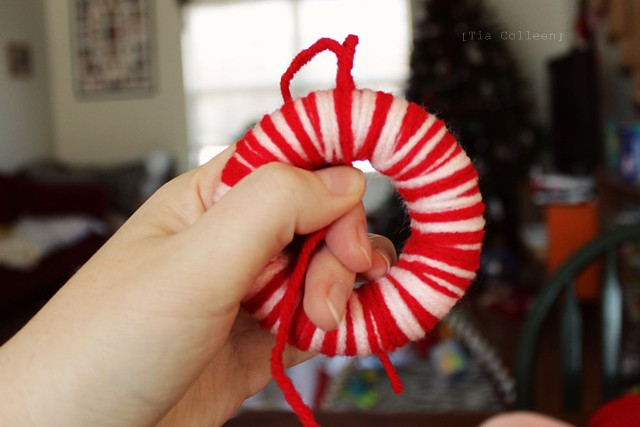
-Now cut off the excess string with a little bit to spare, and tie those pieces in a knot.
Picture on the way...


It should look something like that.

Now you need a way to hang it up!


-Cut another piece of yarn. Fold it in half. Tie a knot.


-Now tie that, around your wreath (and when you do, make sure that your knot is on the back, so you can't see it). Cut the ends-

And voila!
...Okay, I realize that I could have just said "tie a knot", rather than posting 8 billion pictures describing how to do so, but... that wouldn't make for a very interesting tutorial, now would it? Haha.

But now that you get the point, I'll just post pictures for the single strand style? I'm sure you'll get the idea.


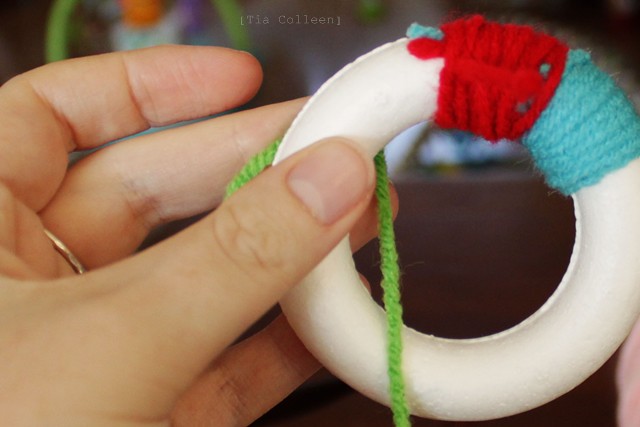
You start with one color, tie it onto the wreath, wrap the yarn to cover the area that you want covered, tie it off.

Lather rinse, repeat.

The back will look messy like this...


But the front should look a little more tidy, like this...


Tie a string on, the way that I showed you up there with the candy cane style, and-

Another one done!
Yarn!
Styrofoam wreaths!

Little decorations and charms!


Wrap wrap wrap, wrap wrap wrap.


Thursday, November 15, 2012

DIY: Tea-Stained Coffee Filter Wreath

Design Dining + Diapers Tea-Stained Coffee Filter Wreath is just breath taking.  We love this idea for our decorations for the holidays!

Coffee Filter Wreath
Tea Stained Coffee Filter Wreath

Instructions:
1. Place 5 dark color tea bags into a large pot. Bring to boil and then place on low-medium heat.
2. Place 20 coffee filters into the pot and use a spoon to make sure they are fully submerged. Soak them for 10-20 minutes or until you get the color that you want. Repeat until all of the coffee filters are stained ( I used about 100 for this wreath).
I clipped the coffee filters onto pant hangers and hung them in the laundry room to help them dry faster. I also spread a few out on top of paper towels and that worked too.
3. Let the coffee filters dry completely so they are not as fragile.
4. Wrap the coffee filter around a screw driver and push it into the wreath. You may need to do a few extra jabs to really get it secure in there.
5. Place the coffee filters about 1-1 1/2″ a part (to get the fullness of this wreath).
Repeat until the wreath is completely covered and add some bling of your choice!
Tea Stained Coffee Filter Wreath