Showing posts with label coffee. Show all posts

Thursday, November 15, 2012

DIY: Tea-Stained Coffee Filter Wreath

Design Dining + Diapers Tea-Stained Coffee Filter Wreath is just breath taking.  We love this idea for our decorations for the holidays!

Coffee Filter Wreath
Tea Stained Coffee Filter Wreath

Instructions:
1. Place 5 dark color tea bags into a large pot. Bring to boil and then place on low-medium heat.
2. Place 20 coffee filters into the pot and use a spoon to make sure they are fully submerged. Soak them for 10-20 minutes or until you get the color that you want. Repeat until all of the coffee filters are stained ( I used about 100 for this wreath).
I clipped the coffee filters onto pant hangers and hung them in the laundry room to help them dry faster. I also spread a few out on top of paper towels and that worked too.
3. Let the coffee filters dry completely so they are not as fragile.
4. Wrap the coffee filter around a screw driver and push it into the wreath. You may need to do a few extra jabs to really get it secure in there.
5. Place the coffee filters about 1-1 1/2″ a part (to get the fullness of this wreath).
Repeat until the wreath is completely covered and add some bling of your choice!
Tea Stained Coffee Filter Wreath

Monday, November 5, 2012

DIY: Monogram Mugs

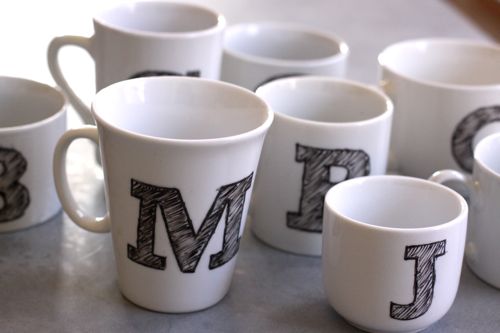
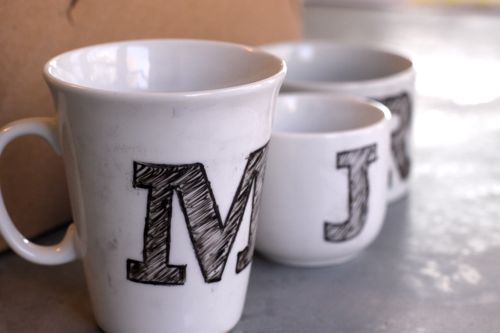
Design Mom's blog has taken the look of the Anthropologie mugs and shifted them into a homemade tutorial that looks just gorgeous!  Who doesn't enjoy the idea of taking an expensive item that they want and making it into a cheap DIY!  Whoo!

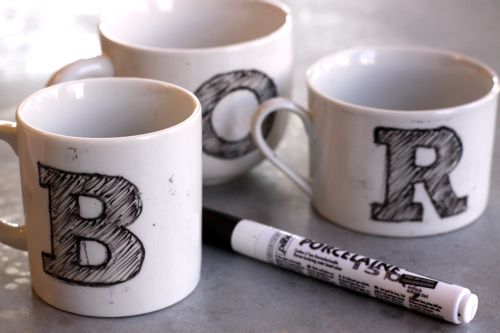
DIY monogram mug

It’s a very doable project. Inexpensive. Eco-friendly. And family-friendly too — these mugs are dishwasher safe. I can’t wait to tell you all about it.

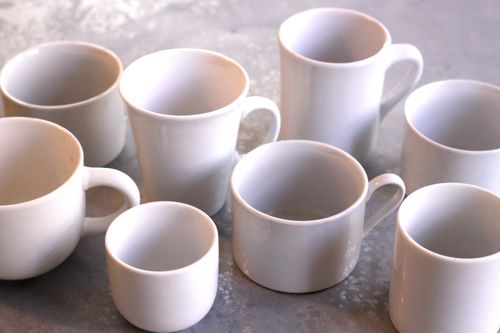
1) We started with a trip to Goodwill, where we collected 8 plain white mugs. Enough for the entire family. There was even a little one without a handle that we thought would be perfect for baby food for June. Mugs were 50 cents each and we had dozens and dozens to choose from.
DIY monogram mug
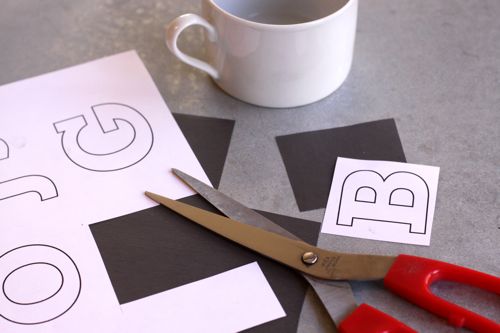
2) Then we gathered supplies. Scissors, pen, tape, graphite transfer paper, Black Pebeo Porcelaine Pen in Fine Point ($4 at Michaels, also available here) and a print out with the family’s initials.
For the font, I had something very specific in mind. I love the look of this Sketch Block Font and had it mentally filed away as the sort of thing a kid could replicate well — because it’s inherently imperfect. For this project, it worked like a charm! Since we were adding our own sketchiness, I started with a similar, but non-sketchy Rockwell font. Look for any slab-serif font (with names like Egyptian or Glypha) and they should work equally well.

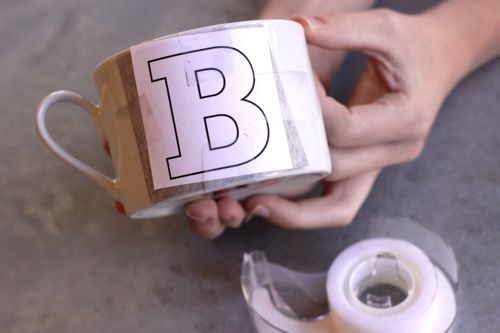
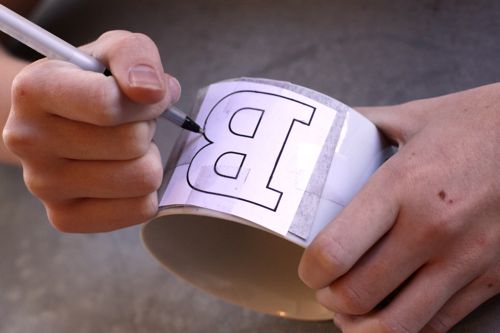
3) Cut out an initial and a piece of transfer paper. Tape the initial and the transfer paper (dark side down) to the mug.
DIY monogram mugDIY monogram mug
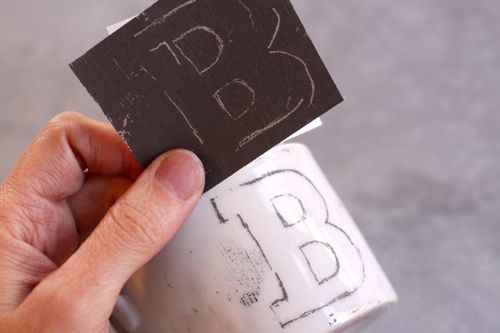
4) Trace the initial. Any pen or pencil will work and you’ll want to experiment with different pressures to see what’s best. You’ll just need a light outline. If you want, you can make your own transfer paper by rubbing a graphite pencil all over a sheet of plain paper.
DIY monogram mugDIY monogram mugDIY monogram mug
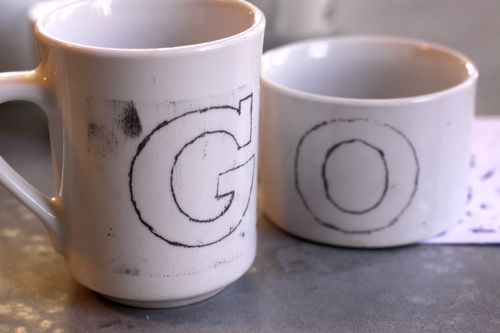
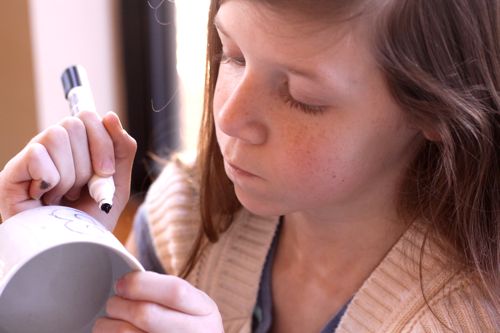
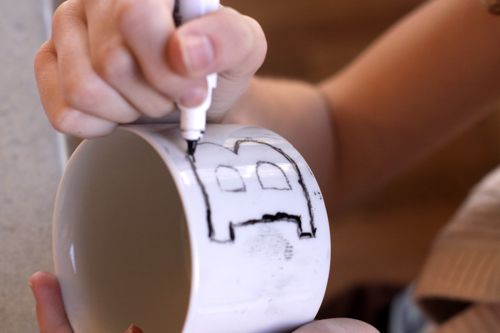
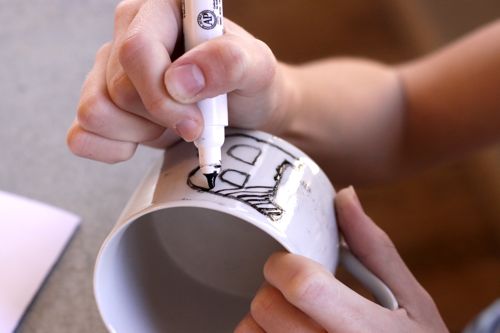
5) Take your Porcelaine pen and trace over the lines of the initial. Get the edges nice and thick then fill in with diagonal sketchy strokes. A few notes:
- The sketchy strokes look best if they’re all one direction.
- The pen didn’t produce very smooth lines for us — which was fine because of the sketchy nature of the lettering. But later, I tried a red Porcelaine pen and produced very smooth strokes. So, I’m thinking my black pen was an old, dried out one. Who knows? This was my first experience with Porcelaine, so I’m not sure.
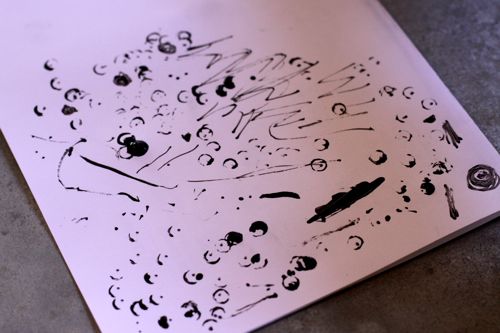
- It helped to have a blank paper handy where we could test the paint pen.
- We definitely got better at it as we practiced. So plan on it. Until it’s baked, the paint will scrub right off in soap and water. We redid mugs at least 4 times.

DIY monogram mugDIY monogram mug
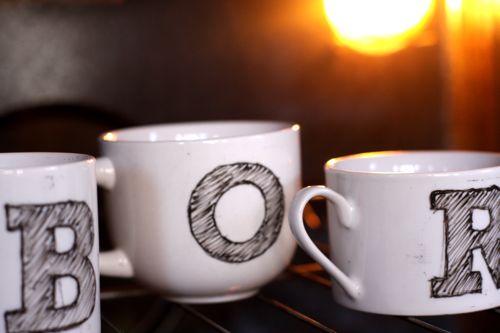
6) Once the lettering is done, let the mugs sit for 24 hours. Then bake them at 300 degrees for 35 minutes. It’s fine to bake them with graphite residue. The graphite will wipe right off even after they’re done baking.
DIY monogram mugDIY monogram mugDIY monogram mug
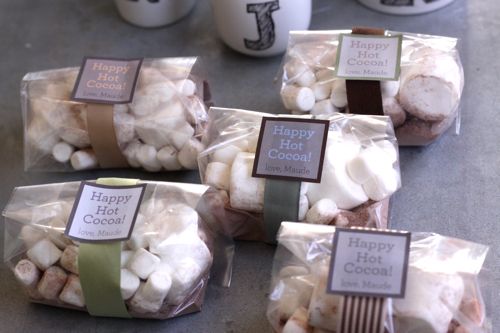
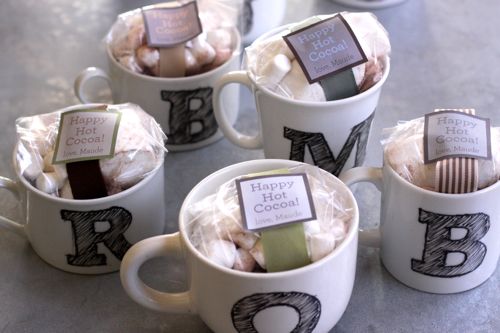
7) And that’s it! Once they’re baked, they’re done. We pulled them from the oven, wiped them up and they were ready to go. For fun, we filled cellophane bags with hot cocoa mix and marshmallows and put them in the mugs.
DIY monogram mug hot cocoa packagingDIY monogram mug

Thursday, November 1, 2012

DIY: Snowman Cups

Well hello there November!  We would like to welcome you into 2012 by featuring a snowman tutorial.  These festive favor cups are wonderful and CUTE!  Take these into work filled with hot cocoa packets and you'll be the hit of the office - or take them into school filled with candy treats for your children's friends and you'll be the hit of the class (maybe bring them at the end of the day so the teacher doesn't hate you for it).  ;)

Check out Blue Cricket Design's blog for even more fun DIY!!


Ever seen such an adorable little face! Well if you’ve been reading my blog for a while you may have remembered my “Chinese take out Snowman gift box” and these I guess you can call their little offspring!
I thought I could come up with a smaller version perfect for sending little treats to my girls school class rooms! These darling little Snowman fit the bill and were a breeze to create!
6 oz Styrofoam cups and lids found at Orson Gygi were just what I needed and you can’t beat the cost of this project. 25 pack of cups: $1, 100 pack of lids: $1.55,  stiff felt: $1. And we all seem to have paint on hand! Even if you make 100 little gift cups it would cost you about $7 before you fill them with goodies!
 
First things first! Fill all your cups with goodies and close them with the lids! This makes them easier to hold when you paint them giving the super light Styrofoam a little more weight and with the lids on you can stack them!
 
Using pink paint and a small round sponge, you’ll  add your rosie cheeks! Next you’ll use the end of a paintbrush and black paint to add your coal smile and eyes! Lastly you’ll hot glue on your felt nose cut from a sheet of stiff felt. I painted all my cheeks then all my mouths and eyes and then glued on my noses. By the time I moved onto the next step, the step I just finished was dry!

I loved this little army of smiling snowman!

It took me about an hour to create 75 Snowman cups! These are perfect for Holiday classroom party favor or little treats for your kids to pass out to their friends!