Showing posts with label whimsical. Show all posts

Friday, November 2, 2012

DIY: Quick and Easy Felt Magnets

Everything Etsy is a ridiculously cute blog with great DIY projects you need to see.  We especially love this one showing how to make quick and easy DIY magnets in a variety of designs.  Go grab some felt and start making (this would make some awesome stocking stuffers...)!

felt magnets 3
Felt Magnets are a sweet and simple project…perfect for Summer Camps and sleepovers, or while you’re enjoying a little afternoon coffee break.   It’s no surprise to see another felt project on my blog, I’m sure. I love felt!
Here’s how I put together these fun little magnets…
5263041100_e2180f1ccb_b
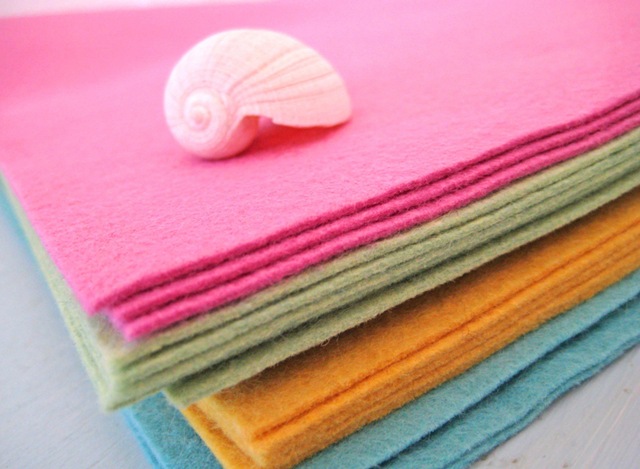
Gather up a selection of beautiful felt for inspiration.  This is all wool felt…I love the colors!
5185403041_1a5f0d157c_b (1)
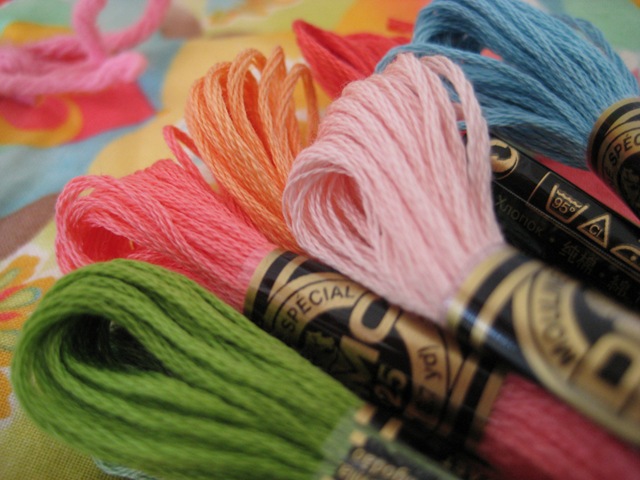
Bring out you collection of embroidery floss…more pretty colors!
felt magnets 5
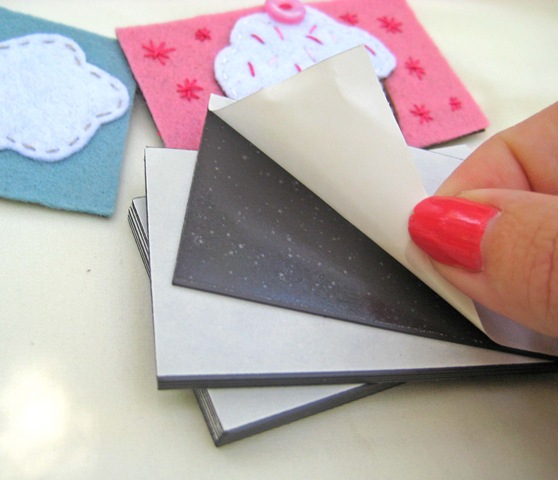
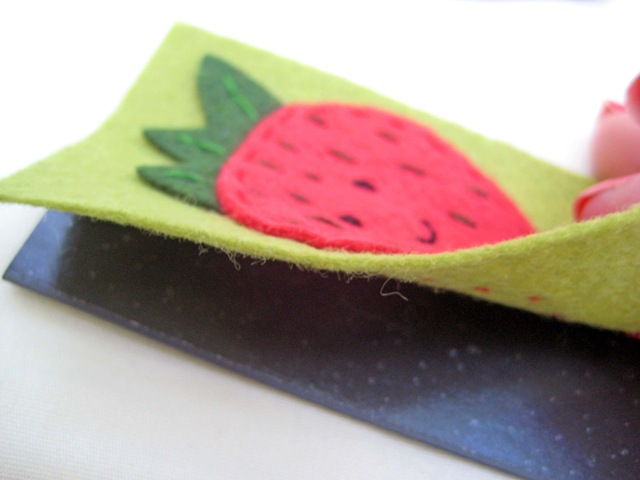
You can find these business card magnets at your local office supply or craft store.  Just peel off the back and use it as a template for your background felt.
felt magnets 4
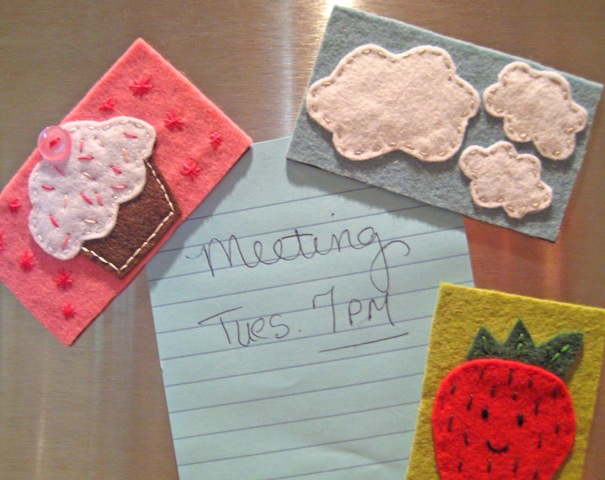
Cut you rectangle out and stitch a sweet little something on it.  Then carefully line up your felt creation and stick it to your magnet.  How easy is that?
felt magnets 1
Quick and easy felt projects never fail to make me smile!
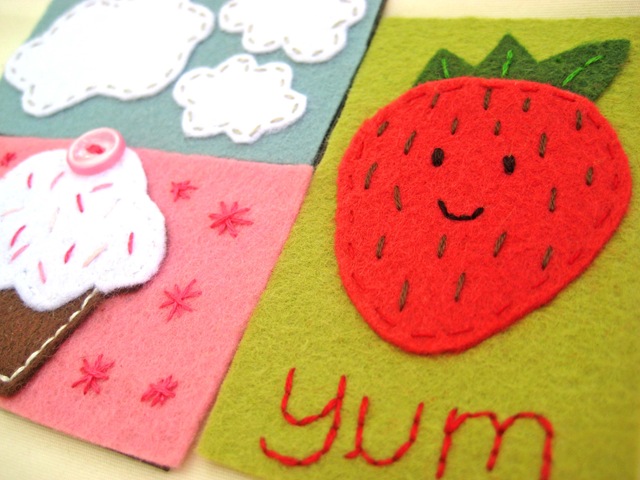
I’m planning to make a few more to keep on hand for gifts.  Tie a few together with some pretty ribbon and you’re sure to make someone’s day.
felt magnets 6

Monday, September 24, 2012

DIY: Glittered Pumpkin Place Card Holder

Infarrantly Creative's blog has stunning DIY Glittered Pumpkin Place Card Holders that would be ideal for any Halloween party!  Or we think it'd be super simple to just leave off the place card holder portion and have a snazzy glittered pumpkin!
glittered pumpkins (14)

Supplies:

Styrfoam pumpkins

Hole saw and drill

Spray primer

Krylon’s Glitter Blast Spray Paint

Krylon Clear Spray

Votive candle

Tea light candles

Brad or Thumbtack

I purchased two different size pumpkins from Dollar Tree.   I used my hole saw bit (the size of the tea light candles) attached to my cordless drill to make a hole in the top of the mini pumpkins. Using a knife I scraped out the excess Styrofoam to create a nice even hole for the tea light to fit in. Then I spray primed the pumpkins and then used the Glitter Blast spray all over them.   I let them dry and then I sprayed a clear coat over the top of them.   You can seriously rub your hand all over it now and not a sparkle will come off.
Next I printed out the guest’s name on cardstock and cut it to size.   Then I stuck a scrapbook brad or thumbtack into the pumpkin to hold it in place.
thanksgiving placecard holders
I also used the larger pumpkin with a votive (drilling with the same hole saw bit) thinking it would make a nice fall centerpiece.
glittered pumpkins (15)
fall centerpiece
Look at the depth of color in this.   It has lots of golds, orange and brown flecks in it. So rich and beautiful!
glittered pumpkins (18)

Tuesday, September 4, 2012

DIY: Animal Bookends

We read all the time - we actually have so many books that it has gotten pretty ridiculous...so this book end tutorial is wonderful for us!  Perhaps we could find it in our hearts to get rid of two or three books to make space for these to sit on the shelf??

Thanks to Hi Sugarplum's blog we just might get motivated to donate a few books just to have these bad boys on display.

100_7066

.....Plastic elephants from the dollar bin! I found these at the Target Danger Dollar Zone for $1 each, and the spray paint I already owned (duh). As for the rocks, you can find them in the garden department of the hardware store, on walks in park, or stone yards. I happen to have a stone yard nearby (kind of random, right?!), so I grabbed my 'Rattlesnake Rocks' (that's really what they're called) there. The poor guys were so confused by my request, they just let me wander around and take whatever scraps I wanted.
100_7048
I originally planned to use stone tiles as the bases, but they were too small and not heavy enough to hold the weight of books.

I didn't love the tusks, so I trimmed them off with scissors, then gave each animal a few light coats of spray paint. I wanted the rocks to sit straight, so I filed the bottoms down using our concrete driveway. A dot of super glue to the bottom of each foot adheres the plastic to the stone.
bookend collage

Here are the mighty elephants now!
100_7069

100_7082

100_7071

Monday, September 3, 2012

DIY: Snowman Garland

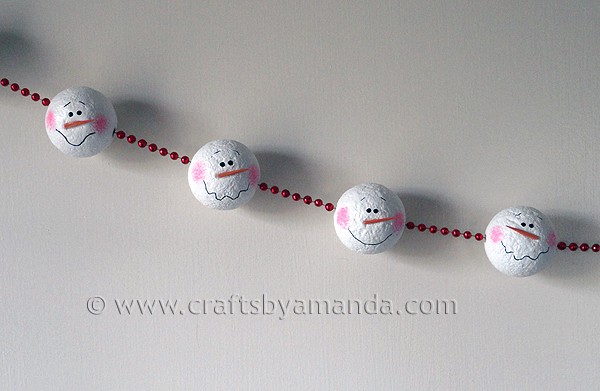
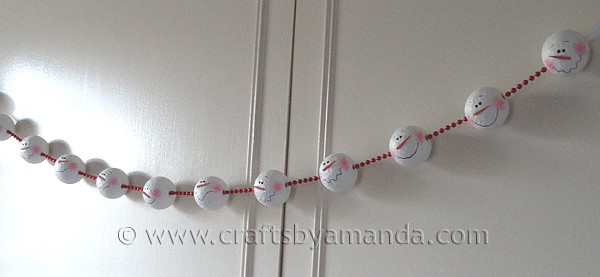
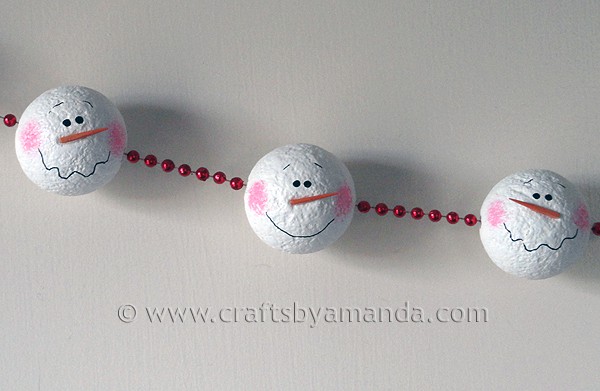
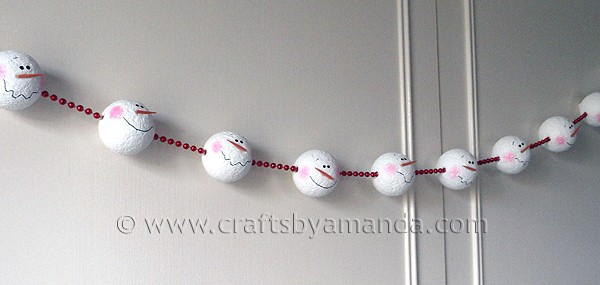
Craft by Amanda's blog has a wondrous tutorial on how to make some unbelievably adorable garland for the house or tree!  We cannot wait to make these and show them off in our office cubicle (Holiday Cubicle Decorating Contest, here we come)!

Check out her blog - she has some amazing things!
Snowman Garland

Snowman Garland
Snowman Garland 
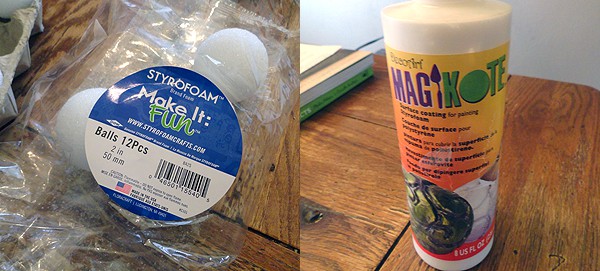
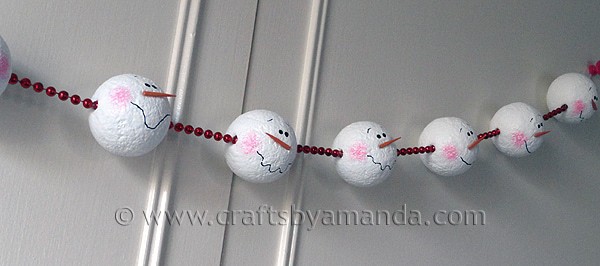
For this garland I used a bag of 2 inch Styrofoam balls and some Magikote. In case you haven’t heard of Magikote yet, it’s a product developed by Decoart that gives Styrofoam a paintable, sandable surface. I love working with these two items. 
Snowman Garland 
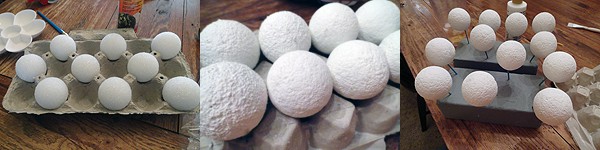
For this project, I gave each ball a good coat of Magikote. Now Magikote requires a solid 2-3 hours of drying time, so plan ahead. After the first coat I added a second. When they were dry, I sanded the balls to get rid of the rough edges. Then I inserted a toothpick into each ball (which goes right into the Magikote without cracking or anything, just like corkboard) and placed them in floral foam blocks. And that’s where they sat for about 3 weeks!
Snowman Garland 
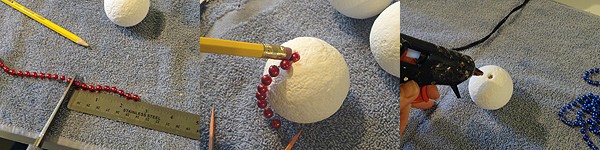
I used some red Mardi Gras beads I had sitting around. I measured them first and figured out how many sections I would need. After cutting the beads into sections, I used my thumb to press the end bead into the hole that the toothpick had been in. To coax that bugger in there more, I applied firm but gentle pressure with the eraser of a pencil. Once it was firmly inside the ball, I removed it and added some hot glue.
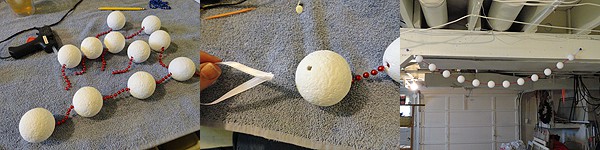
Snowman GarlandThen I was able to easily press the end bead back into the hole. I did this for all of the balls. When done with each individual ball, I connected them all to each other using the same method. Then I looped some ribbon and inserted them into the end heads to create the hangers. To make sure that the faces were all facing the same way, I hung the garland up temporarily.
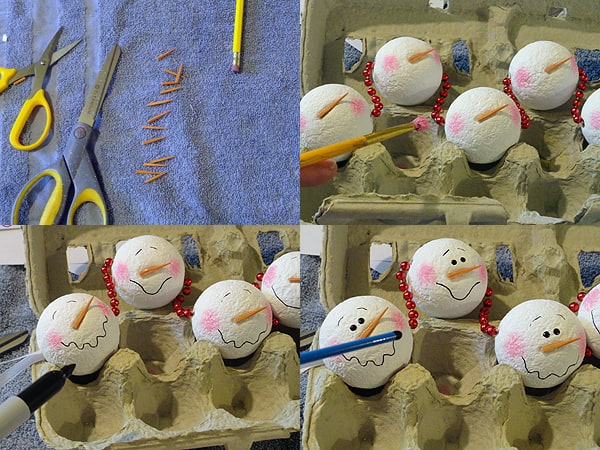
Snowman GarlandNext I cut orange toothpicks in half (I have several boxes of colored toothpicks, not sure if you can get them anymore, but you could always paint plain ones.) then trimmed them down a bit to get them to the size that I wanted. While the garland was hanging up I hot glued the noses on. Then I took the garland down to finish decorating. I applied pressure to the noses to create an indent and sink them into the ball a bit. Then I used a scruffy brush and Americana Pink Bubblegum paint to add the cheeks. I used a fine point Sharpie to add the mouths and eyebrows and the handle end of a paintbrush dipped in black paint for the eyes.
Snowman GarlandThat’s it. Once they were dry I hung it up again and sprayed two coats (dried in between) of acrylic matte sealer.
Snowman Garland

Saturday, August 25, 2012

DIY: Party Animal Necklace

These are whimsical, creative, and we adore Flamingo Toes blog for putting them together!  What do you think?  Do you love them like we do??  We must find an occasion to wear one of these bad boys...

Here is what you’ll need:
• Animals (I got these at Michael’s – and I think they are the same animals they used. They were in a tube – take your 40% off coupon)
• Beads, chain, ribbon, fabric, rhinestones, wire, etc for embellishment
• 22″ chain and closure findings for necklace
• bails (to make the animals into pendants)
• Glue (I used E-6000)
We’re going to start with the elephant so you can see what I did, then I’ll show you closeups of all of them.
The beauty of these though is that you can dress them up any way you want!
Start by gluing a rhinestone spacer to the top of the elephant’s head.
Add a colorful bead on top of that.
I think he likes his hat. :)
Cut a piece of ribbon for his blanket.
(I got this gorgeous jacquard ribbon from my lovely sponsor, The Ribbon Retreat. I have a nifty project planned with it but this little scrap made a perfect blanket piece.)
Glue to the back of the elephant.
Trim the blanket with a small piece of chain.
Add a strip of rhinestones between the blanket and the tail.
Wrap a bit of wire around each foot.
Glue a bail to the elephant’s back, towards the top.
Let everything dry thoroughly before you add your chain.
Cut a piece of chain the length you want your necklace to be (I cut mine 22″).
Feed the chain through the bail.
Add the closure pieces to the ends of the chain. I used a lobster clasp on one side and a jump ring on the other.
Now you have a super cute Party Animal Necklace!!
Here are some shots of the others so you can see how they’re dressed up.
Our zebra has a crown (lucky him!) and a fabric blanket.
Our giraffe likes rhinestones and sequins. Snazzzzy.
Our tiger is wearing a pompom collar (all the cool tigers do) and some chain around his middle. He has a flat bail, which was easy to cover with the chain.
Here’s a pic before I wrapped it.
Aren’t they fun??