Showing posts with label gifts. Show all posts

Friday, February 1, 2013

DIY: Free Printables (Chevrons)

Who doesn't love free stuff?  Who doesn't love free printable / customizable stuff?  That's what we thought.  ;)

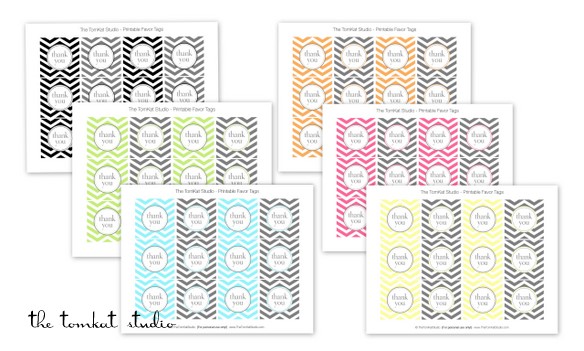
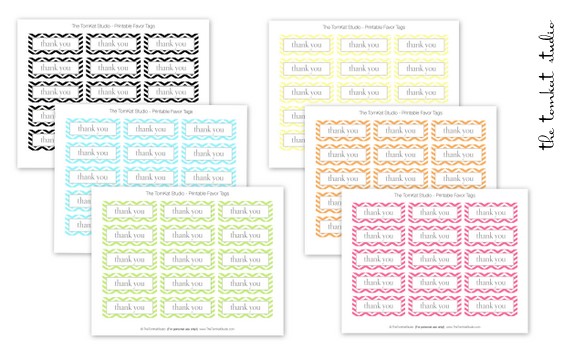
So, we are happy to share HGTV's wonderful (and FREE) printable chevron invitations and favors in 6 different color choices.  You.  Are.  Welcome.
I was recently asked to design a few all occasion invitations and favor ideas for the entertaining section of HGTV’s website. Both stories just went live, so you can download these fun, easy printables for any event! Available in pink, orange, lemon, lime, aqua or black. The invitations for free download are fill-in invitations. If you would like the text customized, they will be available in our shop!
I designed coordinating favor tags in two shapes. Our regular party circle size, as well a rectangular version.

Monday, January 28, 2013

DIY: Plantable Paper

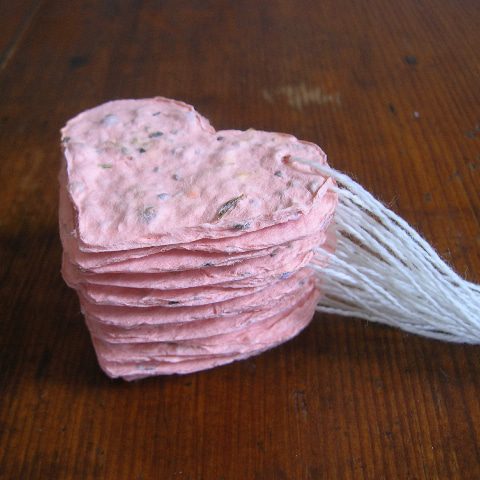
Hill City Bride has a wonderful DIY that incorporates plantable paper and Valentine's Day tags / cards!  We love the eco-friendliness of this idea and also how adorable these little hearts are - so head on over to their blog for more!!
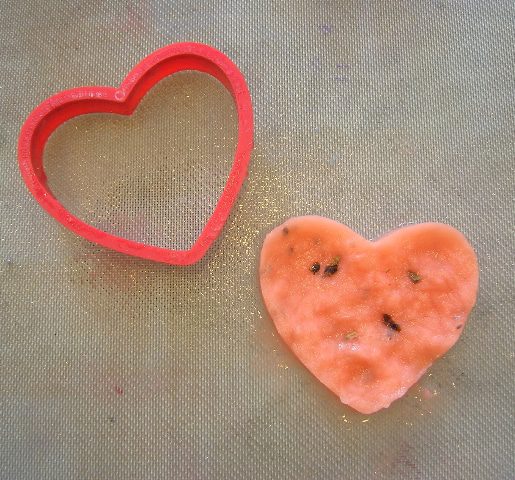
To make your paper, gather everything you will need: a blender, a packet of seeds, a heart-shaped cookie cutter, paper scraps and a mold. A mold is a piece of professional papermaking equipment: a screen is pulled very taught across a wooden frame. You can make your own with an old picture frame without the glass and some screen from the hardware store (you can find directions on the internet) or you can buy them through papermaking suppliers. A mold must have a very tight screen so that there are no sags where water might puddle and create uneven thickness in your handmade paper.
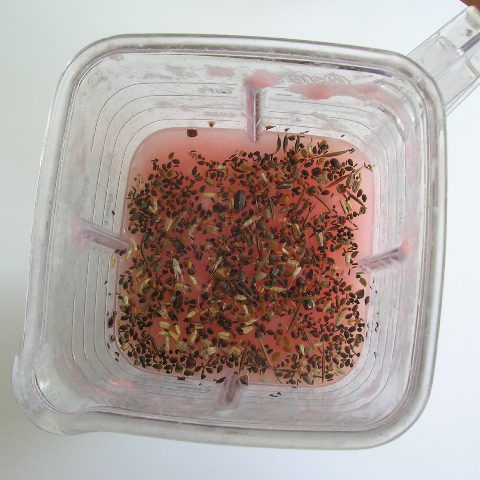
Begin by tearing your paper scraps into small pieces. Make sure to remove any staples, plastic windows from envelopes and any other non-paper materials. Soak them briefly in water to soften the paper so that your blender motor doesn’t have to work too hard. (Make sure to use a blender that is dedicated to papermaking. Because paper is made with chemicals, you will want to buy an inexpensive blender at a yard sale that will never be used for food preparation.) Toss the scraps into a blender with some water and pulverize. You can make a fine pulp or keep the paper in smaller chunks. Once you are happy with the consistency, add a handful of seeds to the blender, and give it a quick pulse to blend the seeds throughout.
Place your cookie cutter on top of the screen, and place in a sink. Slowly pour the pulp into the cookie cutter, using your finger to push the pulp into an even layer as the water drains into the sink. When most of the water has drained off, lift the cookie cutter, move to another part of the screen and repeat. When your screen is full, place the screen in a warm place or outside in the sun until dry. As the paper dries, the individual fibers will start to lock together and get stronger. To dry the paper more quickly and make a stronger paper, put another piece of screen on top of the heart and press the water out with a sponge. Once dry, lift the paper off the screen, punch a hole in it and thread a piece of string through the hole.
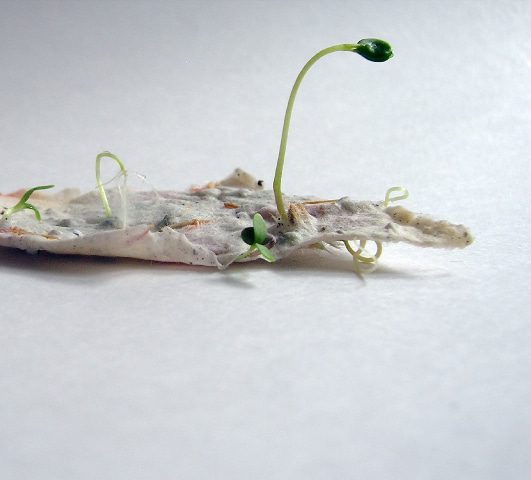
Remember to give your guests directions on how to plant their paper: place the paper into raked ground, cover with a quarter inch of soil then water and keep moist until germination, about 6 to 8 weeks. Take a look at the last photo to see seedlings popping out of some white plantable paper!
I love this idea, and the little seedlings bursting through with life convince me that this indeed is a darling little project. If you love the thought of doing something “green” for your wedding, but you do not want to tackle a project, be sure to visit Pulp Art and check out what have for your wedding day! They make place cards and rectangle hang tags in addition to the heart shaped ones featured today. Thank you again, Pulp Art, for inspiring us to make some plantable paper of our own!

Friday, November 2, 2012

DIY: Quick and Easy Felt Magnets

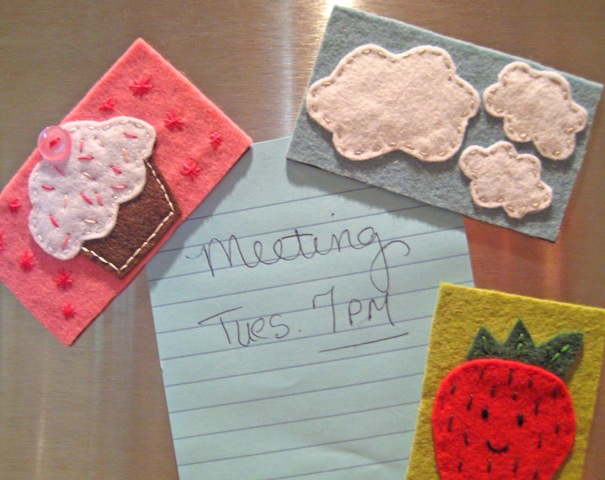
Everything Etsy is a ridiculously cute blog with great DIY projects you need to see.  We especially love this one showing how to make quick and easy DIY magnets in a variety of designs.  Go grab some felt and start making (this would make some awesome stocking stuffers...)!

felt magnets 3
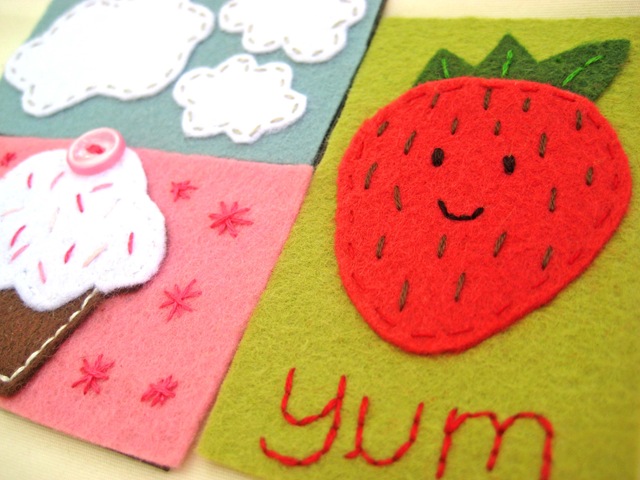
Felt Magnets are a sweet and simple project…perfect for Summer Camps and sleepovers, or while you’re enjoying a little afternoon coffee break.   It’s no surprise to see another felt project on my blog, I’m sure. I love felt!
Here’s how I put together these fun little magnets…
5263041100_e2180f1ccb_b
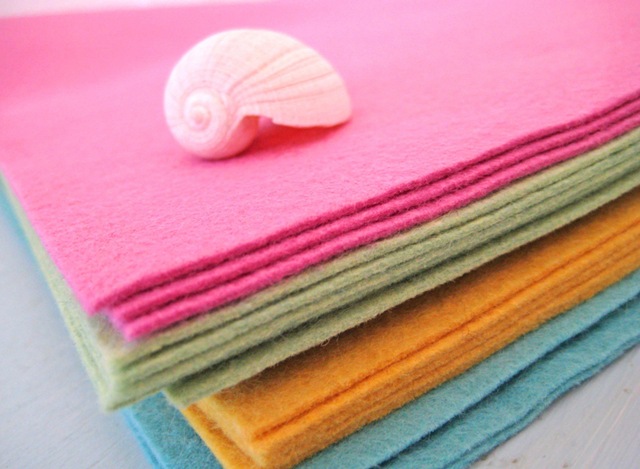
Gather up a selection of beautiful felt for inspiration.  This is all wool felt…I love the colors!
5185403041_1a5f0d157c_b (1)
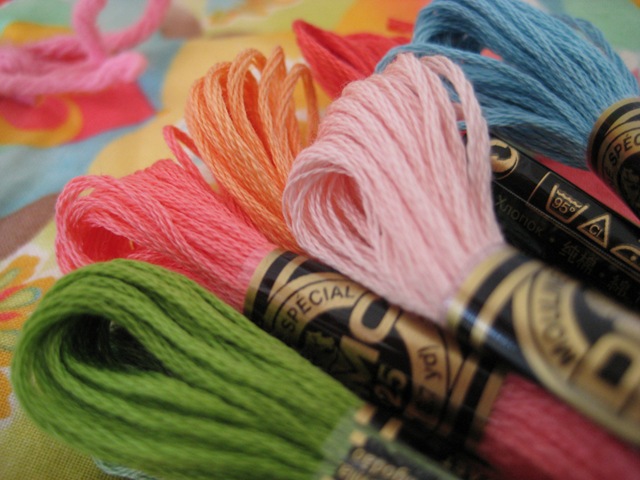
Bring out you collection of embroidery floss…more pretty colors!
felt magnets 5
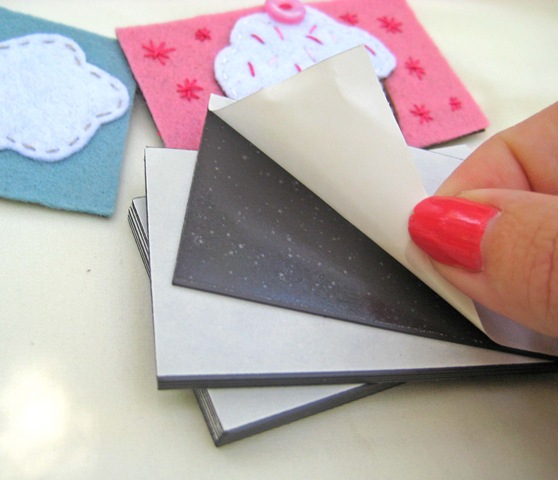
You can find these business card magnets at your local office supply or craft store.  Just peel off the back and use it as a template for your background felt.
felt magnets 4
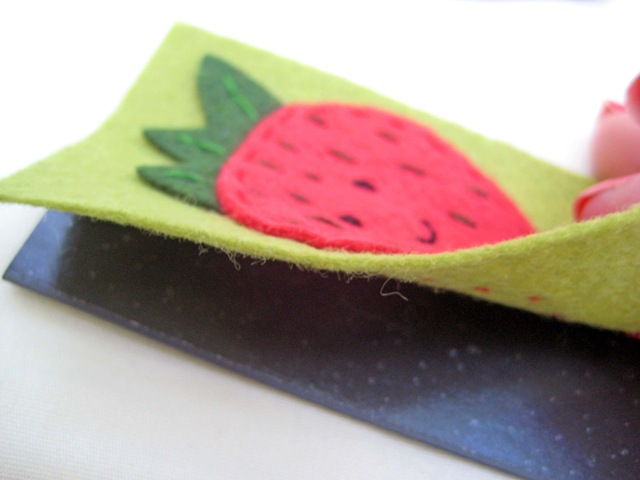
Cut you rectangle out and stitch a sweet little something on it.  Then carefully line up your felt creation and stick it to your magnet.  How easy is that?
felt magnets 1
Quick and easy felt projects never fail to make me smile!
I’m planning to make a few more to keep on hand for gifts.  Tie a few together with some pretty ribbon and you’re sure to make someone’s day.
felt magnets 6

Thursday, November 1, 2012

DIY: Snowman Cups

Well hello there November!  We would like to welcome you into 2012 by featuring a snowman tutorial.  These festive favor cups are wonderful and CUTE!  Take these into work filled with hot cocoa packets and you'll be the hit of the office - or take them into school filled with candy treats for your children's friends and you'll be the hit of the class (maybe bring them at the end of the day so the teacher doesn't hate you for it).  ;)

Check out Blue Cricket Design's blog for even more fun DIY!!


Ever seen such an adorable little face! Well if you’ve been reading my blog for a while you may have remembered my “Chinese take out Snowman gift box” and these I guess you can call their little offspring!
I thought I could come up with a smaller version perfect for sending little treats to my girls school class rooms! These darling little Snowman fit the bill and were a breeze to create!
6 oz Styrofoam cups and lids found at Orson Gygi were just what I needed and you can’t beat the cost of this project. 25 pack of cups: $1, 100 pack of lids: $1.55,  stiff felt: $1. And we all seem to have paint on hand! Even if you make 100 little gift cups it would cost you about $7 before you fill them with goodies!
 
First things first! Fill all your cups with goodies and close them with the lids! This makes them easier to hold when you paint them giving the super light Styrofoam a little more weight and with the lids on you can stack them!
 
Using pink paint and a small round sponge, you’ll  add your rosie cheeks! Next you’ll use the end of a paintbrush and black paint to add your coal smile and eyes! Lastly you’ll hot glue on your felt nose cut from a sheet of stiff felt. I painted all my cheeks then all my mouths and eyes and then glued on my noses. By the time I moved onto the next step, the step I just finished was dry!

I loved this little army of smiling snowman!

It took me about an hour to create 75 Snowman cups! These are perfect for Holiday classroom party favor or little treats for your kids to pass out to their friends!

Monday, October 22, 2012

DIY: Lined Paper Tee Tutorial

U Create has some amazing tutorials and DIY projects.  We highly recommend checking them out for more!  Today's highlighted tutorial is a lined paper tee.  These are so cute and would make a great gift for not just students, but teachers!
 
A little about me first . . .
 
My name is Rachel, and I blog over  Maybe Matilda. I'm from small-town New York, currently living in Utah with my soon-to-be-chiropractor husband and our soon-to-be-one-year-old son. When I'm not sweeping up Cheerios, I love sewing and crocheting for my etsy shop, and sharing what I make on my blog.
 
I think this lined paper tee is such a fun way to bring out the inner student, and possibly even encourage a little bookishness in a little one (maybe that's a stretch, but a girl can hope, right?).
 
 
It's really simple to put together, and you can easily make it in any size. And how cute would it be if you embroidered or stamped your child's name or a favorite quote onto the lines?
Here's what you'll need to make this tee:
 
a white tank, tee, or onesie
masking tape
foam brush
blue and red acrylic paint
fabric painting medium (available at craft stores--you'll find it with the paint supplies)
 
To start, place some cardboard between the front and back of the top so your paint doesn't bleed through to the back of your shirt, then place your tape in straight horizontal lines across your shirt to mark the areas where you'll paint your blue lines. I put my first strip of tape right beneath the sleeves. I spaced the tape strips about 1/4" apart from each other, but only painted in every other open space (on an adult size tee) to create a little more distance between the lines. For my little guy's onesie, I painted in the spaces between each tape strip.
 
Mix your blue paint and fabric painting medium according to the directions on the medium (usually a 2 to 1 mixture of paint to medium), and lightly sponge it between your tape strips. A little goes a long way, so try not to get too heavy-handed with your brush. (And personally, I really like the look of a lightly painted, sort of splotchy paint line!)
 
 
(You can see here that I only painted in every other open space for the adult tee. For a baby/toddler top, you can paint in each open space.)
Give it some time to dry, then carefully remove the tape. Place two long strips of tape vertically down the left side of the shirt where you'll paint your red line. Again, place the strips about 1/4" apart, and make sure they're running straight down the tee so you don't end up with a wavy line.
 
 
Mix your red paint with the fabric painting medium according to the directions on the package, and sponge it on as you did for the blue lines. Let it dry for a while and carefully remove the tape.
 
 
If you're making a baby onesie, don't forget to lift up the shoulder flap to tape and paint underneath it!
Make sure you read the directions on your fabric painting medium to find out how to finish your shirt--you'll probably need to let it air dry for 24-48 hours, then iron it to set the paint. You can just turn the shirts inside out and toss them in the washing machine, and the paint holds up just fine.