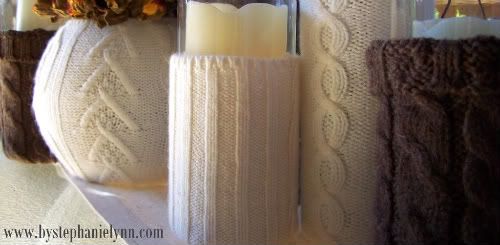
Under the Table and Dreaming has such a unique DIY we just couldn't pass it up! This is such a brilliant idea for upcycling an old sweater. Check them out for more!
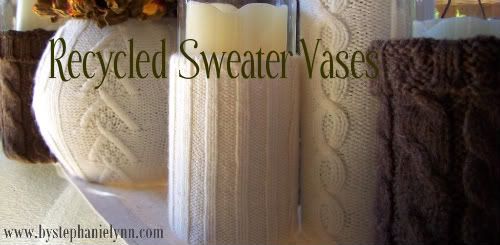
I have a little thing for cable knit sweaters {the chunkier, the better}. Now that I can feel the crisp chill in the air...it's the perfect time to re-visit this incredibly easy craft that I'm sure most of you already have the supplies to make.

The original March tutorial {here} was nothing short of cutting off the sleeve of a sweater and sliding it onto a glass vase. So easy peasy anyone armed with a glue gun could handle it. You can easily get two covered vases using both of the sleeves from one sweater. So what do you do after that; well here are a few options for the scraps before you go searching for another sweater to recycle.
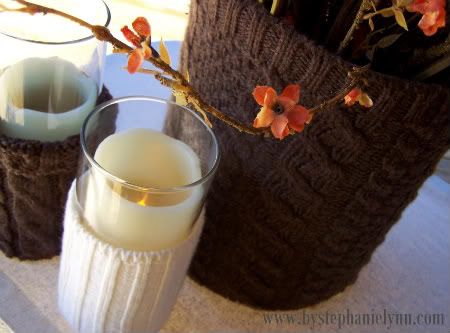
The body portion of any sweater can be easily cut and sewn to cover larger vases that do not fit into a sleeve.

Larger Vase How to:
{1} Cut a sweater just below the arms, turn inside out. {2} Slide over the container you are wishing to cover; finished edge on the top side. Pull the sweater taut until the ribbing starts to curve in {as shown in the picture - You want this to fit snug} Pin in place. {3} Sew a straight seam {very easy, just a straight line - backstitching at each end} Flip right side out. {4} Slide over your container, hot glue the bottom edge down and trim off any excess fabric on the bottom.
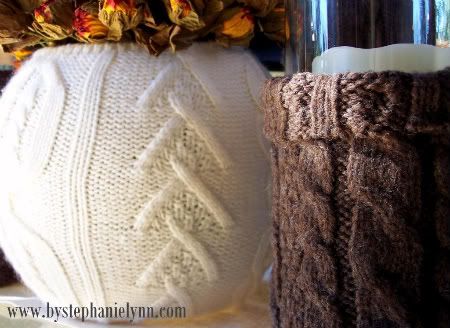
The left over sections of sleeve that are too short to cover a full vase can simply be slid over a tall glass vase and folded at the top, leaving half of the vase exposed.
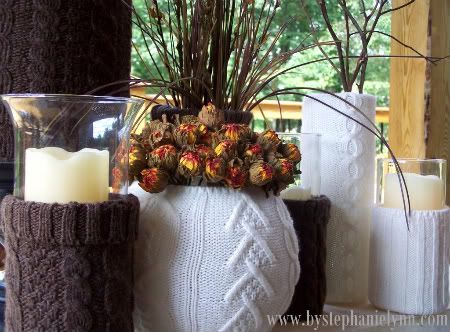
I used a few flameless candles to fill these vessels, as the candle light is so pretty shining through the cable knits.
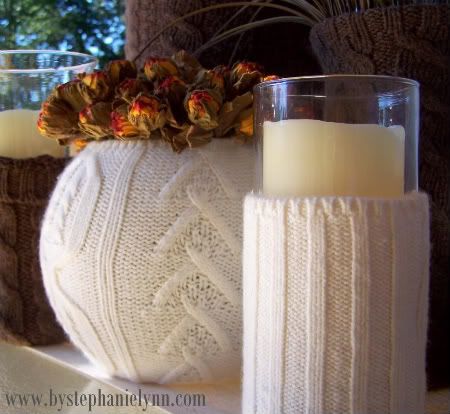
The round vase looks like a challenge but it is just as easy as the rest.

Round Vase How to:
{1} Cut a single piece of sweater to fit around the desired round container. {2} Hot glue the finished edge of the sweater around the top of the vessel. {3} Work your way around the entire top, until you reach the beginning; leave the edges hang. {4} Flip the container over and begin to hot glue the bottom in small sections. {See the March tutorial {here} for tips} Be sure to keep the bottom as flat as possible.

{5} Work your way around the bottom leaving the 'open' seam section undone. {6} Using hot glue, glue one of the 'open' sides down. Trim the other sweater side so you have a nice clean edge. {This is super easy to achieve with cable knit as the guide lines are already there}. {7} Pulling the sweater taut, start to hot glue the remaining side; overlap to make sure you have the container completely covered. {8} Finish the bottom as shown in the March tutorial {here}.

I really like the unique round shape...and of course the variety of adding different cable knits.

Using these simple covering techniques you can instantly transform any type or sized container into warm and cozy fall decor.

I think I have found a start to my fall centerpiece.