Showing posts with label recycled. Show all posts

Monday, November 5, 2012

DIY: Monogram Mugs

Design Mom's blog has taken the look of the Anthropologie mugs and shifted them into a homemade tutorial that looks just gorgeous!  Who doesn't enjoy the idea of taking an expensive item that they want and making it into a cheap DIY!  Whoo!
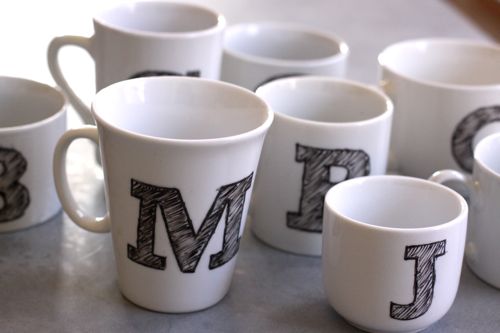
DIY monogram mug

It’s a very doable project. Inexpensive. Eco-friendly. And family-friendly too — these mugs are dishwasher safe. I can’t wait to tell you all about it.

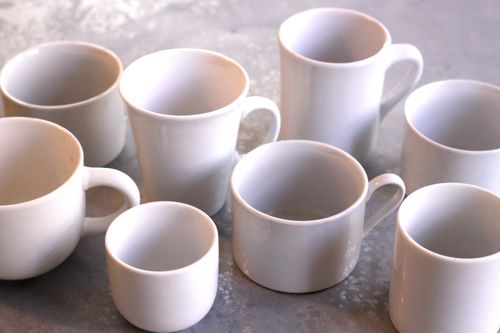
1) We started with a trip to Goodwill, where we collected 8 plain white mugs. Enough for the entire family. There was even a little one without a handle that we thought would be perfect for baby food for June. Mugs were 50 cents each and we had dozens and dozens to choose from.
DIY monogram mug
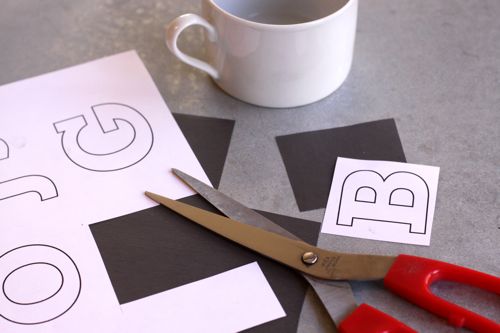
2) Then we gathered supplies. Scissors, pen, tape, graphite transfer paper, Black Pebeo Porcelaine Pen in Fine Point ($4 at Michaels, also available here) and a print out with the family’s initials.
For the font, I had something very specific in mind. I love the look of this Sketch Block Font and had it mentally filed away as the sort of thing a kid could replicate well — because it’s inherently imperfect. For this project, it worked like a charm! Since we were adding our own sketchiness, I started with a similar, but non-sketchy Rockwell font. Look for any slab-serif font (with names like Egyptian or Glypha) and they should work equally well.

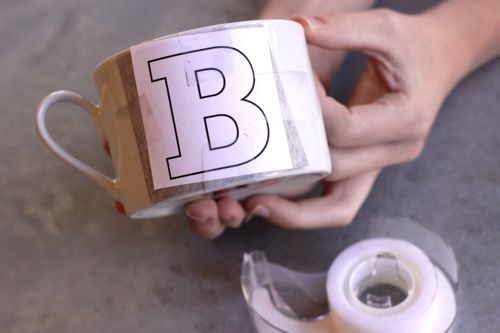
3) Cut out an initial and a piece of transfer paper. Tape the initial and the transfer paper (dark side down) to the mug.
DIY monogram mugDIY monogram mug
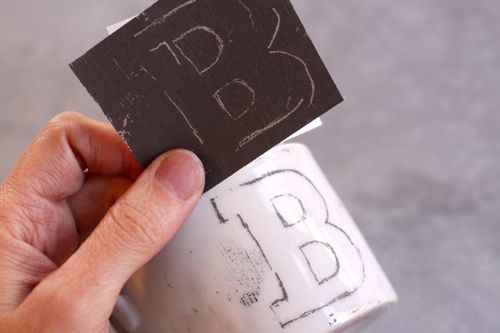
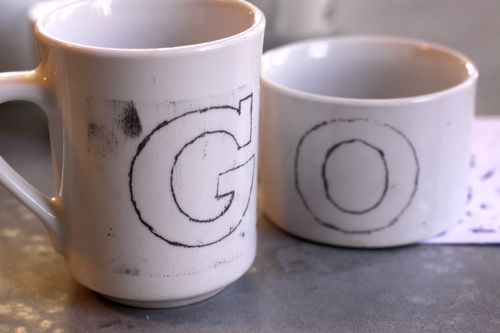
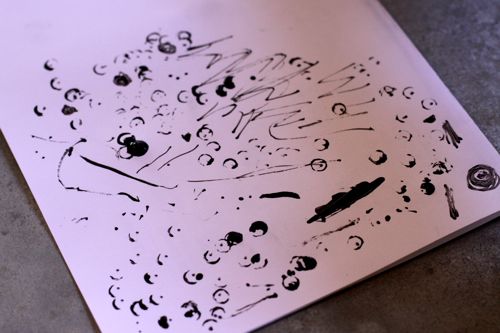
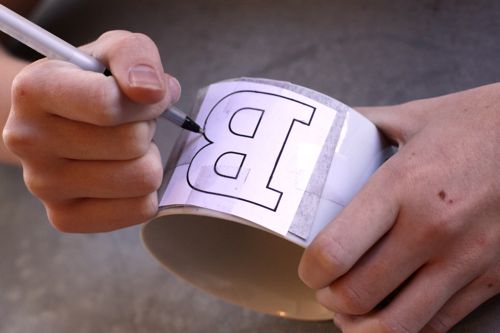
4) Trace the initial. Any pen or pencil will work and you’ll want to experiment with different pressures to see what’s best. You’ll just need a light outline. If you want, you can make your own transfer paper by rubbing a graphite pencil all over a sheet of plain paper.
DIY monogram mugDIY monogram mugDIY monogram mug
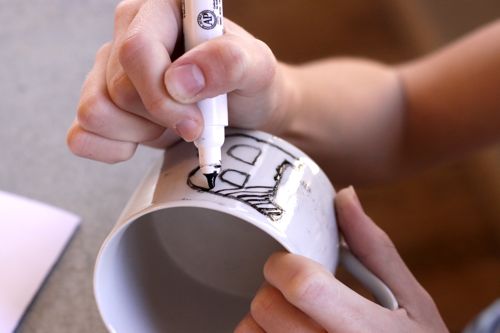
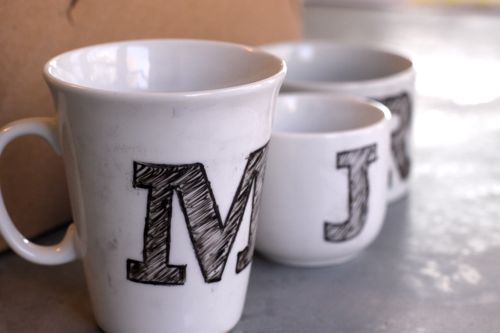
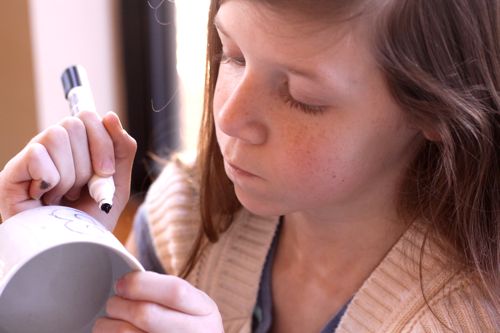
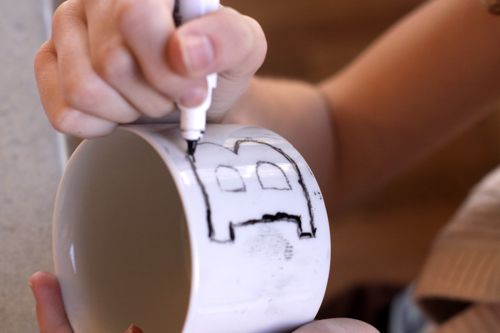
5) Take your Porcelaine pen and trace over the lines of the initial. Get the edges nice and thick then fill in with diagonal sketchy strokes. A few notes:
- The sketchy strokes look best if they’re all one direction.
- The pen didn’t produce very smooth lines for us — which was fine because of the sketchy nature of the lettering. But later, I tried a red Porcelaine pen and produced very smooth strokes. So, I’m thinking my black pen was an old, dried out one. Who knows? This was my first experience with Porcelaine, so I’m not sure.
- It helped to have a blank paper handy where we could test the paint pen.
- We definitely got better at it as we practiced. So plan on it. Until it’s baked, the paint will scrub right off in soap and water. We redid mugs at least 4 times.
DIY monogram mugDIY monogram mug
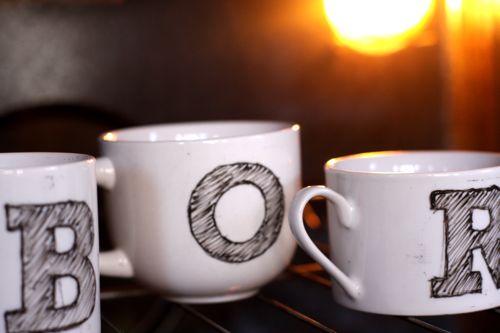
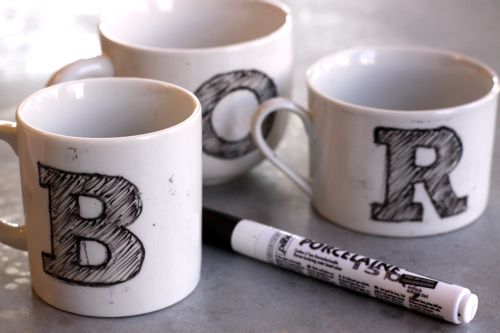
6) Once the lettering is done, let the mugs sit for 24 hours. Then bake them at 300 degrees for 35 minutes. It’s fine to bake them with graphite residue. The graphite will wipe right off even after they’re done baking.
DIY monogram mugDIY monogram mugDIY monogram mug
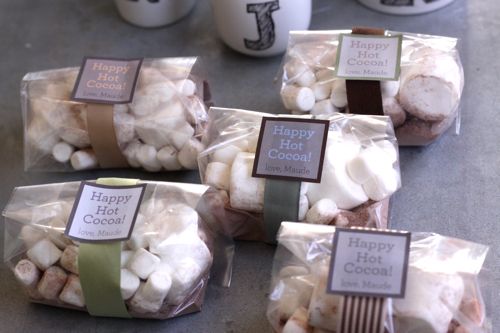
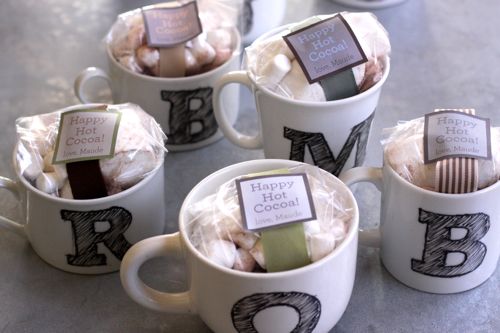
7) And that’s it! Once they’re baked, they’re done. We pulled them from the oven, wiped them up and they were ready to go. For fun, we filled cellophane bags with hot cocoa mix and marshmallows and put them in the mugs.
DIY monogram mug hot cocoa packagingDIY monogram mug

Wednesday, October 10, 2012

DIY: Upcycled Watermark T-Shirt

U Create's blog has a great DIY that we honestly never would have thought of - who knew that just using some glue could make a t-shirt look so much more fun!

Check out their blog for more DIY!!

What I love about this project is that it's completely customizable. I used favorite quotes to decorate my shirt but you could also use song lyrics, bible verses, favorite book excerpts, etc. You can also choose whatever color you like. I think it would be a very kid-friendly project as well. There are so many possibilities!
 Materials:

Elmer's Blue Gel Glue (it must be the blue gel, white won't work)

Fabric Dye (RIT is my tried and true brand)

A white cotton Tee, Tank, Dress etc.
 Tutorial:

If you're unfamiliar with Batiking, it's a method of dyeing fabric in which you create a design with a dye- resist. When you dye your garment in cold water, all will be colored except where you've placed your dye resist. In traditional batiking, you would use wax as a resist. I tried this out and found it to be messy and difficult to control. Using store bought glue is much more convenient and very easy to control.

Step 1: Prepare
Wet your tee with cool water and place a water resistant board between the layers of fabric. I used the lid of a bin.


Step 2: Design
I'm not much of an artist, so what worked best for me was writing favorite quotes right across the front of the shirt.


This quote was found via Pinterest
Source
You could also try drawing a simple design like my very amateur sailboat:
Let dry completely. This will take several hours.

Step 3: Dye 
Your dye bath should be prepared using cool water. Experiment with different amounts of dye until you find the right concentration. Keep in mind that the color that comes out of the dye bath will be a couple of shades darker than the dry, finished garment.

When you get the color you want, lay your tee flat to dry.


Step 4: Wash
When your tee is dry (to let the dye set) soak it in cool, soapy water for about 15 minutes. This soak washes the extra glue out. Throw it in the washer and dry as you would normally.


Step 5: Wear and Enjoy!

Thursday, September 27, 2012

DIY: Autumn Garland

Dollar Store Mom continues our trend of finding wonderful DIYs that are all about dollar store re-purposing! We love when we can go to the dollar store and keep things cheap, but cute and fun.

Be sure to check out her blog for even more fun DIY!

 
This Autumn Garland cost less than $0.50 in supplies!
Though I actually spent $5 for the supplies used in this project, I used less than 1/5 of them, leaving me with more than enough for quite a few more projects from these same ingredients.

  • Paper doilies in various colors/shapes- $1 per pack of 32
  • Bag of cranberry-like “container filler”- $1 (this project used less than 1/8 of the bag)
  • glue- on hand
  • twine or string- on hand

 I wrote each letter on the doilies using glue, then had my daughter add the tiny cranberries. Let this dry for a few hours. If you’d like to just make this yourself, or if you’ve got older kids, hot glue is a better option.


I strung each doily on to some basic twine that I had on hand, and hung my garland across my piano. Tomorrow you’ll see what else I created from my dollar store finds to add to this cute display!

Saturday, September 22, 2012

DIY: Pine Cone Garland

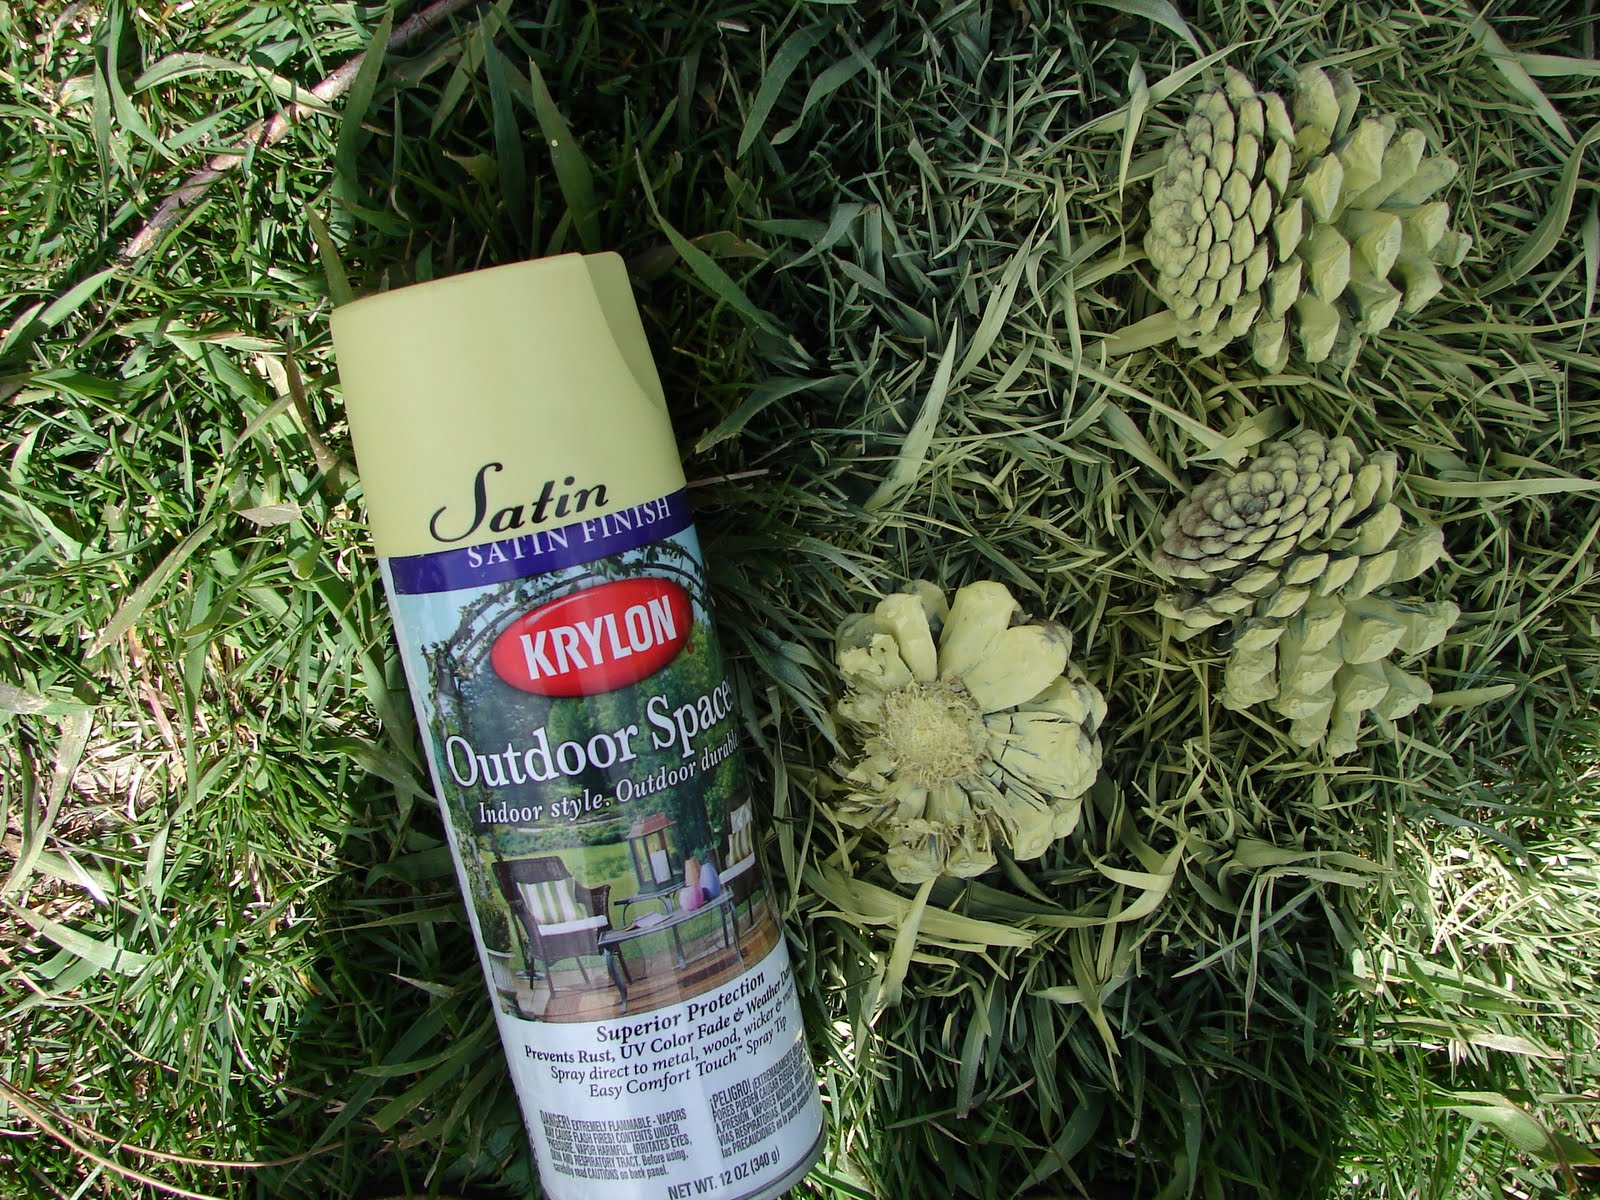
Following on the dove tails from yesterday's blog (Pine Cone Candle Holders) we are showcasing A Girl and A Glue Gun's Pine Cone Garland today!  We see a party theme between these two things!

and it was such an easy fast project and i LOVE it....

just some spray paint....


and some twine.....
and you tie a few knots and tie it up and done....


Sunday, September 16, 2012

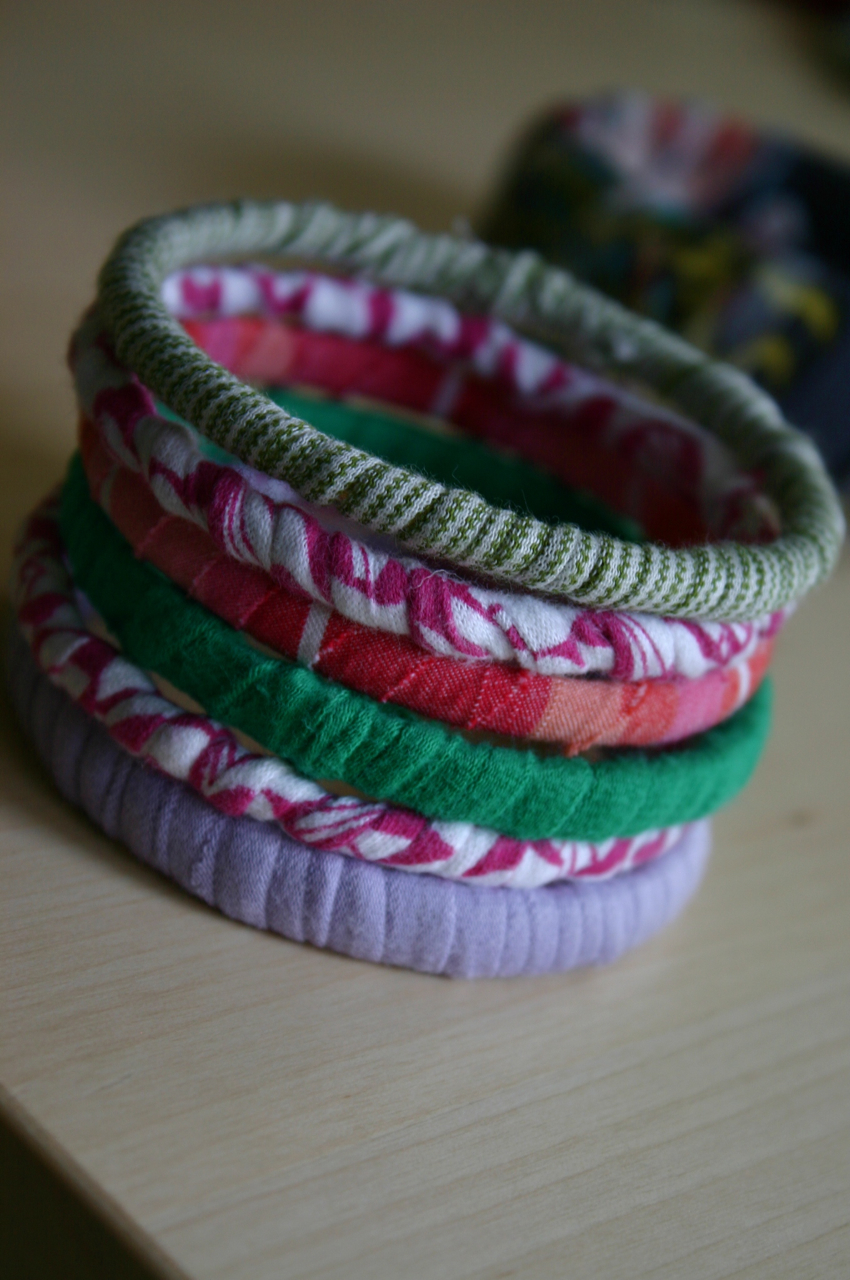
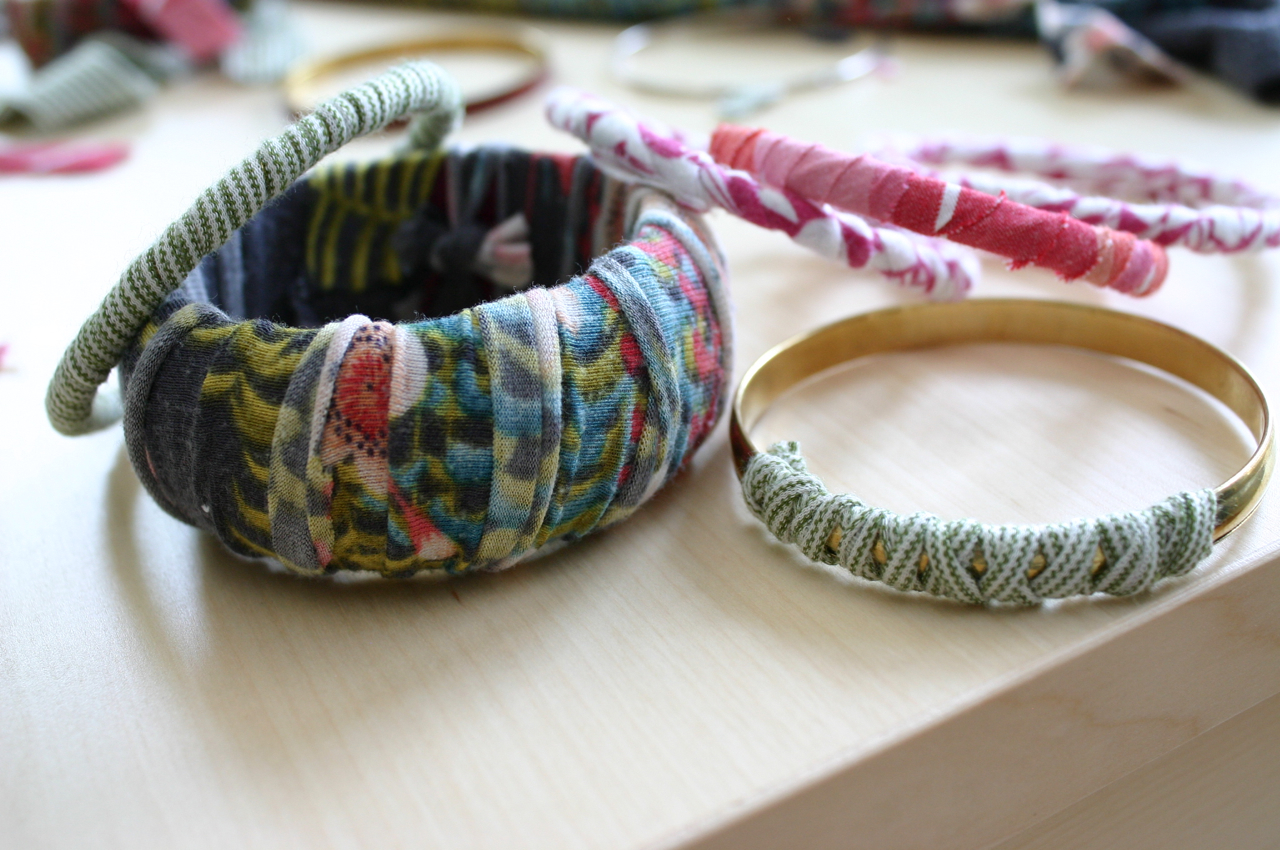
DIY: T-Shirt Bracelet Makeover

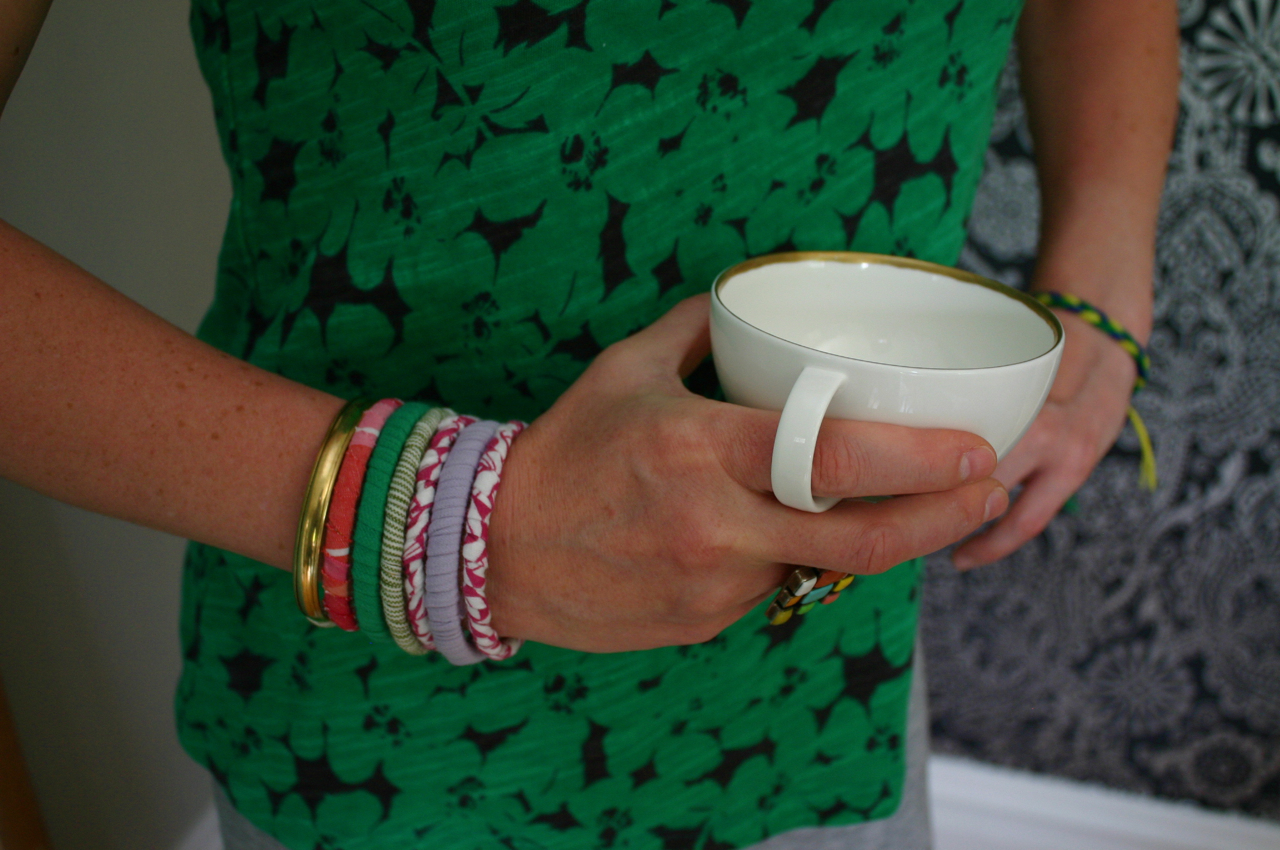
Here is another option for t-shirt upcycling into jewelry that we think just couldn't be easier to do.  This is from Family Chic's blog and there are plenty more tutorials on there, so be sure to pop over and check 'em out!  

These would be great bracelets to make out of the sleeves of your t-shirts that you may have used for other DIY t-shirt projects...


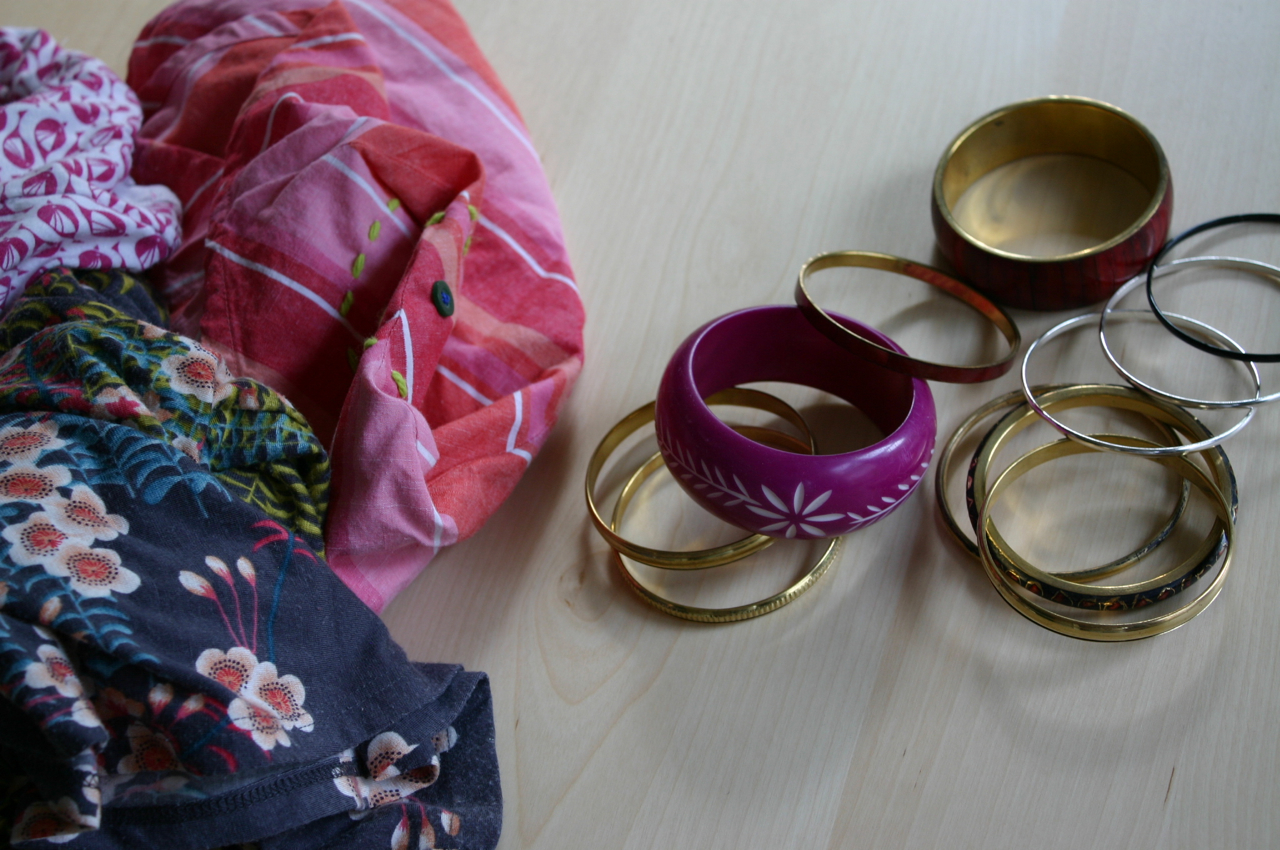
For this project you will need some old t-shirts and a bunch of bangle bracelets. Try using old bangles that you already own, check thrift stores or pick up some up for a few dollars at Target, Walmart – or even the sale bins at Old Navy.

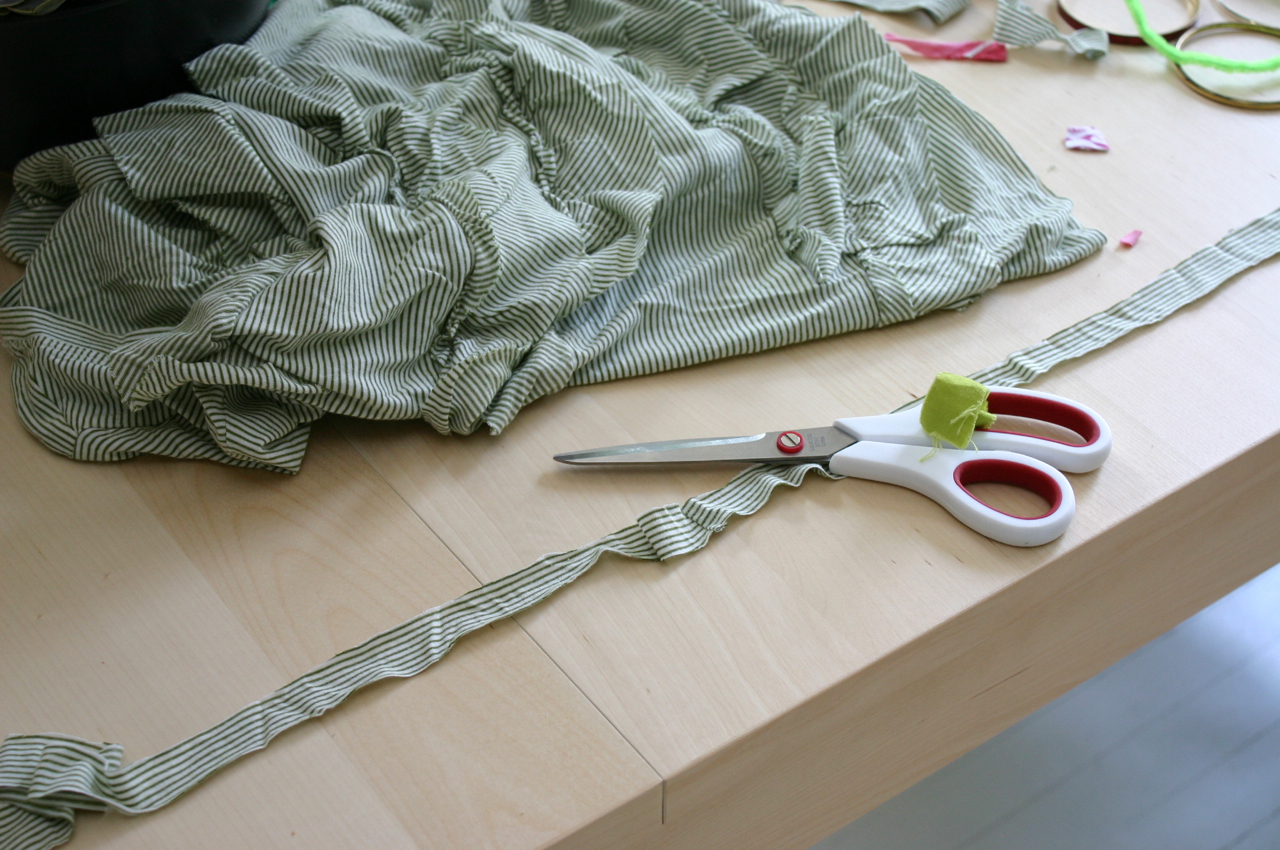
Cut t-shirt in 1/2" to 1" wide strips. Depending on the thickness of the bangle – a thick bracelet will need thicker strips.

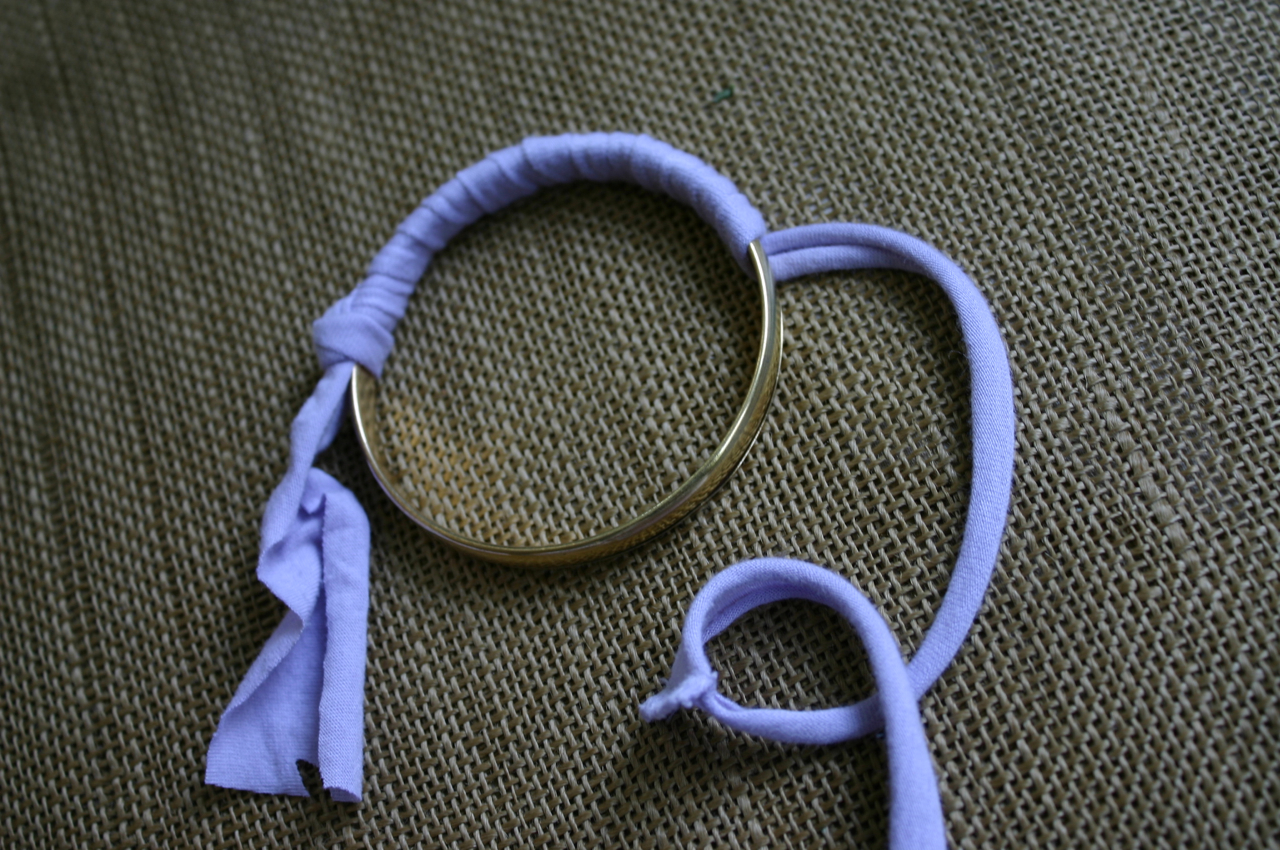
Loosely tie one end of the t-shirt strip to the bangle and start wrapping fabric around bracelet – the tighter the better.

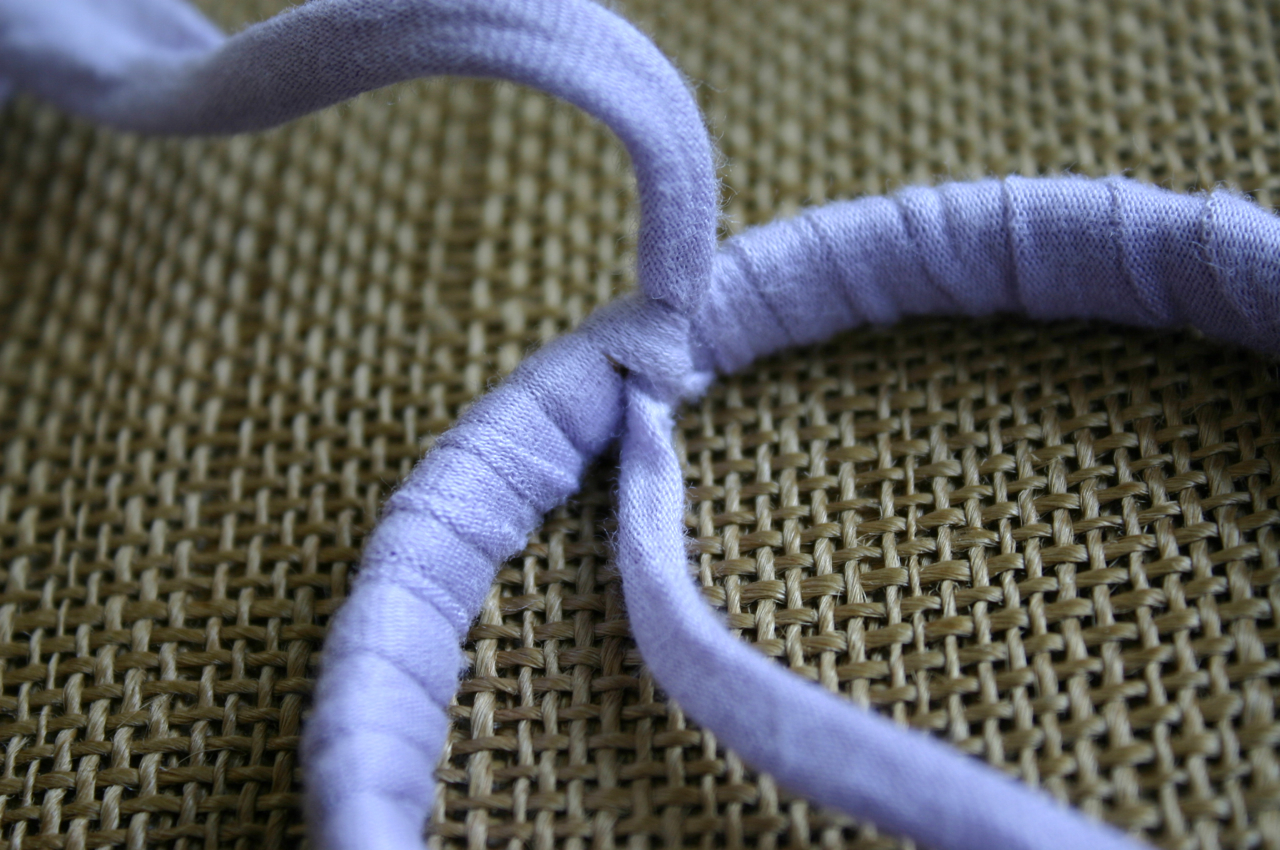
Wrap fabric all the way around until you meet the first knot – untie the knot and tie both ends together to close. Make a double knot, pull it tight and make sure the knot is positioned on the inside of the bracelet. Trim ends with scissors.

I found this technique worked well for us – but you could also use a glue gun to secure ends.