Zomoc.com has a wonderfully easy DIY - there aren't really any instructions, but these look pretty self explanatory! We could see us whipping up a few of these wonderful gifts for far less than what Anthropologie is charging for them....

 Kaboose's blog has these adorable (and crazy easy to make) Santa belt napkin rings that would be ideal for your holiday table! Wouldn't you just love to sit down to these cuties at your table? We think that they are very whimsical and fun!
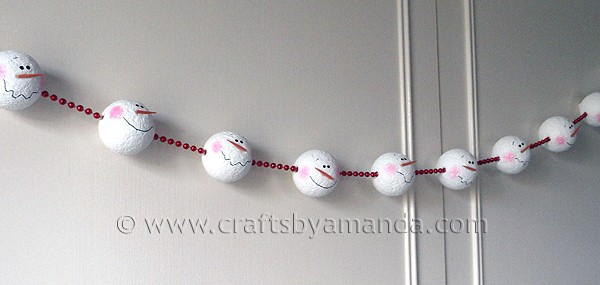
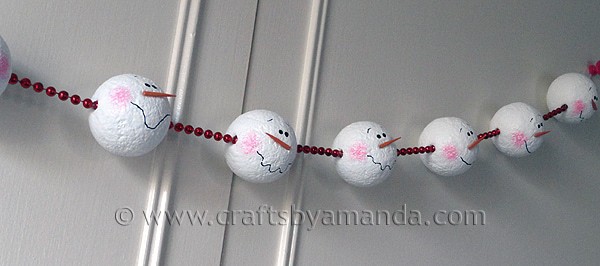
  Well hello there November! We would like to welcome you into 2012 by featuring a snowman tutorial. These festive favor cups are wonderful and CUTE! Take these into work filled with hot cocoa packets and you'll be the hit of the office - or take them into school filled with candy treats for your children's friends and you'll be the hit of the class (maybe bring them at the end of the day so the teacher doesn't hate you for it). ;)


 Then
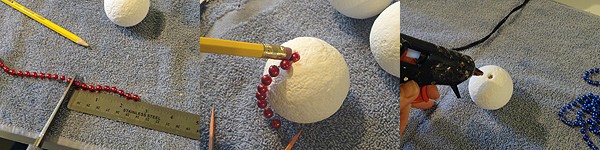
I was able to easily press the end bead back into the hole. I did this
for all of the balls. When done with each individual ball, I connected
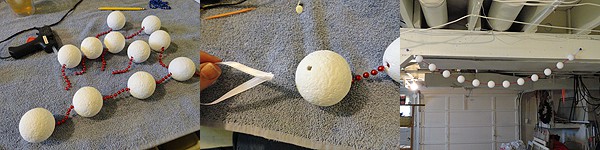
them all to each other using the same method. Then I looped some ribbon
and inserted them into the end heads to create the hangers. To make sure
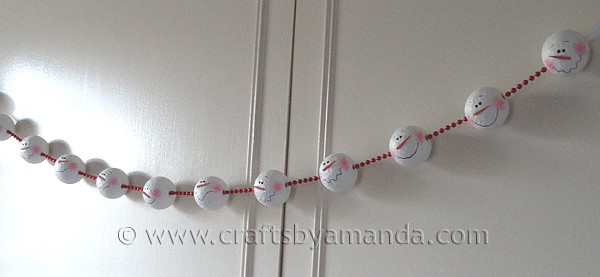
that the faces were all facing the same way, I hung the garland up
temporarily.
Then
I was able to easily press the end bead back into the hole. I did this
for all of the balls. When done with each individual ball, I connected
them all to each other using the same method. Then I looped some ribbon
and inserted them into the end heads to create the hangers. To make sure
that the faces were all facing the same way, I hung the garland up
temporarily.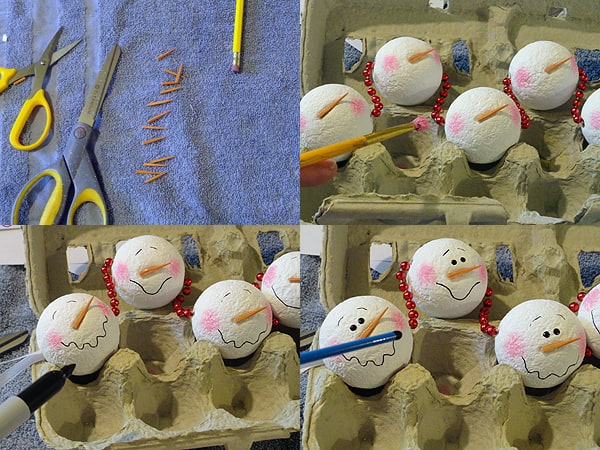 Next
I cut orange toothpicks in half (I have several boxes of colored
toothpicks, not sure if you can get them anymore, but you could always paint
plain ones.) then trimmed them down a bit to get them to the size that I
wanted. While the garland was hanging up I hot glued the noses on. Then
I took the garland down to finish decorating. I applied pressure to the
noses to create an indent and sink them into the ball a bit. Then I
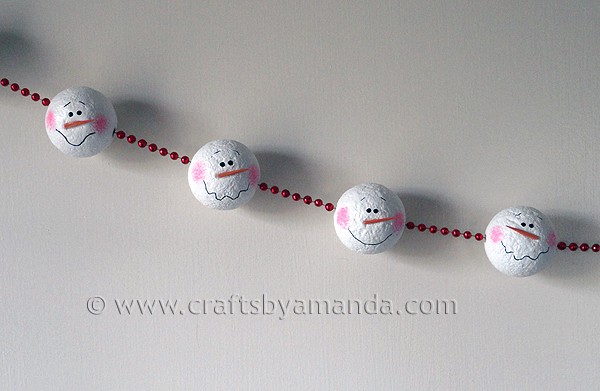
used a scruffy brush and Americana Pink Bubblegum paint to add the cheeks. I used a fine point Sharpie to add the mouths and eyebrows and the handle end of a paintbrush dipped in black paint for the eyes.
Next
I cut orange toothpicks in half (I have several boxes of colored
toothpicks, not sure if you can get them anymore, but you could always paint
plain ones.) then trimmed them down a bit to get them to the size that I
wanted. While the garland was hanging up I hot glued the noses on. Then
I took the garland down to finish decorating. I applied pressure to the
noses to create an indent and sink them into the ball a bit. Then I
used a scruffy brush and Americana Pink Bubblegum paint to add the cheeks. I used a fine point Sharpie to add the mouths and eyebrows and the handle end of a paintbrush dipped in black paint for the eyes.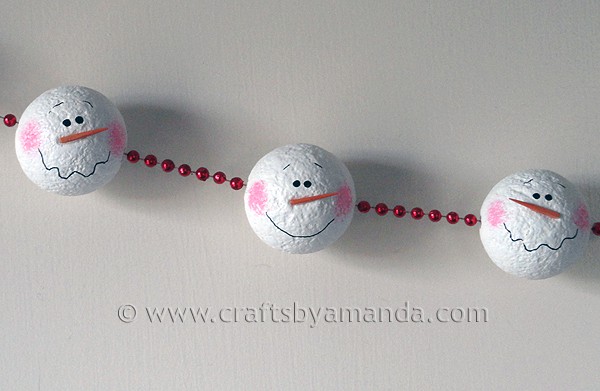 That’s it. Once they were dry I hung it up again and sprayed two coats (dried in between) of acrylic matte sealer.