Showing posts with label goodwill. Show all posts

Tuesday, December 4, 2012

DIY: Upcycled Felted Ornaments

Here is another wonderful tutorial from Dollar Store Crafts blog!  We love them - you absolutely need to check them out...now.  Go on, you won't regret it.  Then come back here and enjoy the felt ornaments.

I made these tree ornaments from a felted/fulled wool sweater last year and gave them to my family members for their handmade gifts (we try to exchange primarily handmade). You can find wool sweaters by the dozens at thrift stores (although, I admit, they are probably not commonly represented at dollar stores!). Wash in hot water and dry in the dryer to shrink them into fabric that can be cut and sewn and won't unravel. These cute trees are a great way to show off your button stash, too!
Handmade ornaments are also a great gift for co-workers or people who you need to give a token gift to, but who you don't want to spend a lot of money on.

Project Estimate:
  • Wool sweater, $3-5 at thrift store
  • Assorted buttons, on hand
  • Embroidery floss or ribbon for hanging, $1
Total cost: $4 for about a hundred ornaments (if you use the whole sweater to make them)!
To make:
  1. Wash and dry wool sweater to felt it. Repeat if necessary.
  2. Cut tree shapes (triangles) and trunk shapes. I used the contrasting cuff cut in strips for the tree trunks. Use two matching triangles and one trunk piece for each tree.
  3. Sew buttons as desired on front tree triangle piece.
  4. Sandwich tree trunk piece at bottom between front and back tree pieces, and ribbon for hanging at top. Triangle pieces should be placed with right sides facing out. Sew around perimeter of triangle.

Monday, November 5, 2012

DIY: Monogram Mugs

Design Mom's blog has taken the look of the Anthropologie mugs and shifted them into a homemade tutorial that looks just gorgeous!  Who doesn't enjoy the idea of taking an expensive item that they want and making it into a cheap DIY!  Whoo!

DIY monogram mug

It’s a very doable project. Inexpensive. Eco-friendly. And family-friendly too — these mugs are dishwasher safe. I can’t wait to tell you all about it.

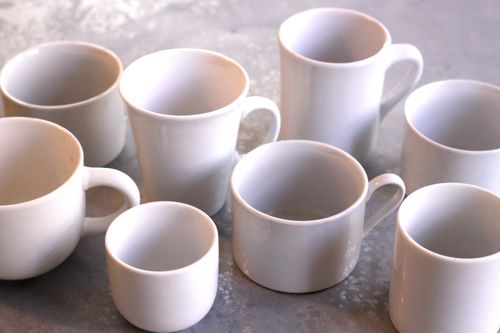
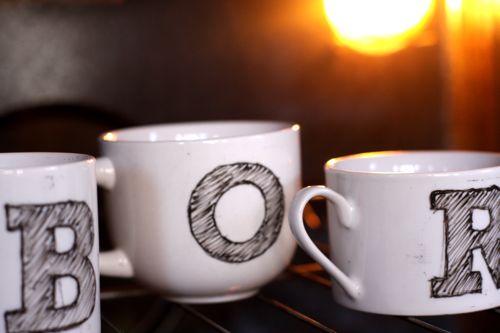
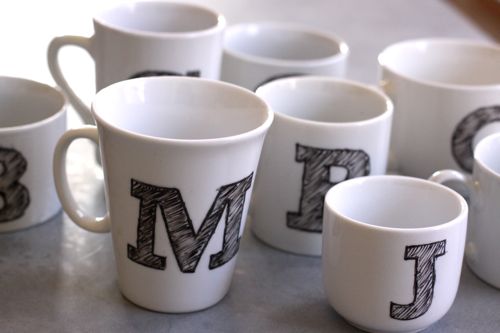
1) We started with a trip to Goodwill, where we collected 8 plain white mugs. Enough for the entire family. There was even a little one without a handle that we thought would be perfect for baby food for June. Mugs were 50 cents each and we had dozens and dozens to choose from.
DIY monogram mug
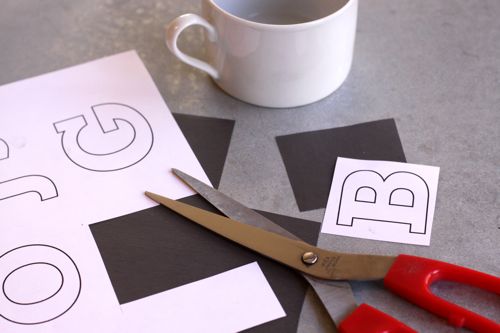
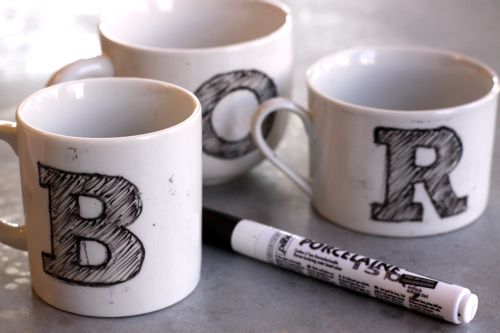
2) Then we gathered supplies. Scissors, pen, tape, graphite transfer paper, Black Pebeo Porcelaine Pen in Fine Point ($4 at Michaels, also available here) and a print out with the family’s initials.
For the font, I had something very specific in mind. I love the look of this Sketch Block Font and had it mentally filed away as the sort of thing a kid could replicate well — because it’s inherently imperfect. For this project, it worked like a charm! Since we were adding our own sketchiness, I started with a similar, but non-sketchy Rockwell font. Look for any slab-serif font (with names like Egyptian or Glypha) and they should work equally well.

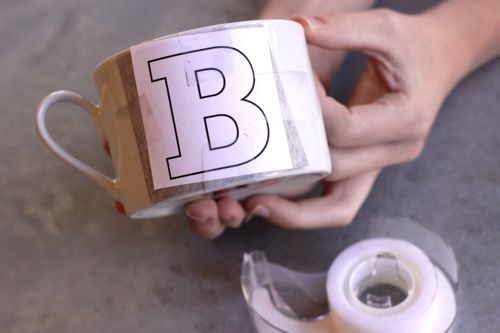
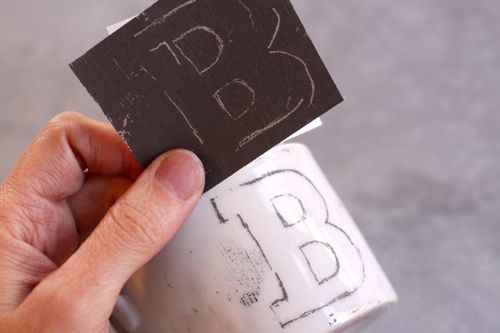
3) Cut out an initial and a piece of transfer paper. Tape the initial and the transfer paper (dark side down) to the mug.
DIY monogram mugDIY monogram mug
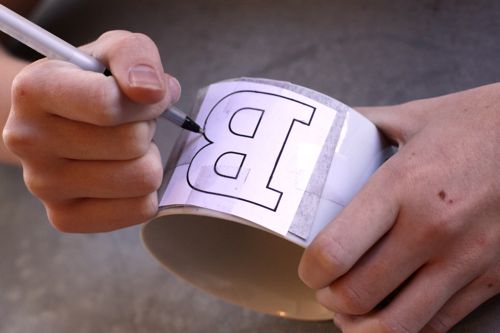
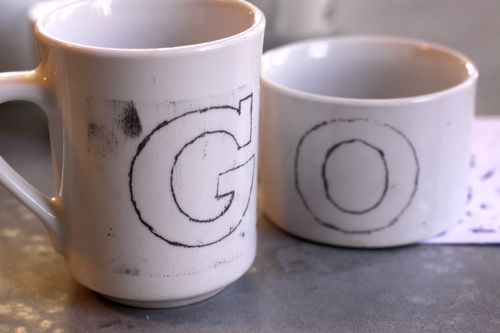
4) Trace the initial. Any pen or pencil will work and you’ll want to experiment with different pressures to see what’s best. You’ll just need a light outline. If you want, you can make your own transfer paper by rubbing a graphite pencil all over a sheet of plain paper.
DIY monogram mugDIY monogram mugDIY monogram mug
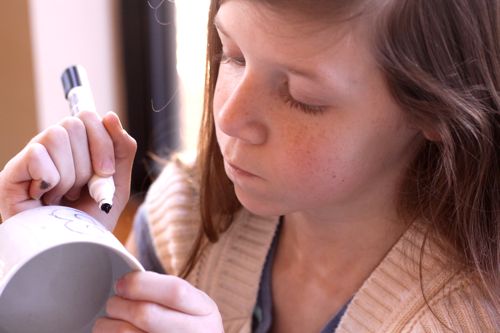
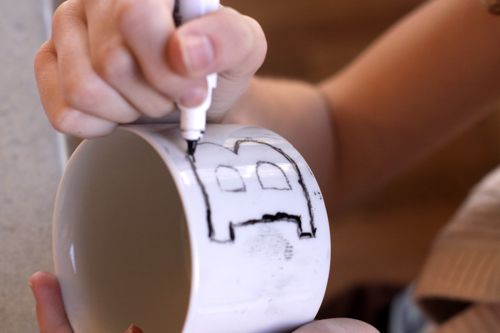
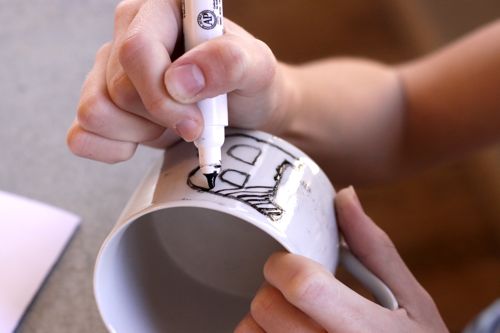
5) Take your Porcelaine pen and trace over the lines of the initial. Get the edges nice and thick then fill in with diagonal sketchy strokes. A few notes:
- The sketchy strokes look best if they’re all one direction.
- The pen didn’t produce very smooth lines for us — which was fine because of the sketchy nature of the lettering. But later, I tried a red Porcelaine pen and produced very smooth strokes. So, I’m thinking my black pen was an old, dried out one. Who knows? This was my first experience with Porcelaine, so I’m not sure.
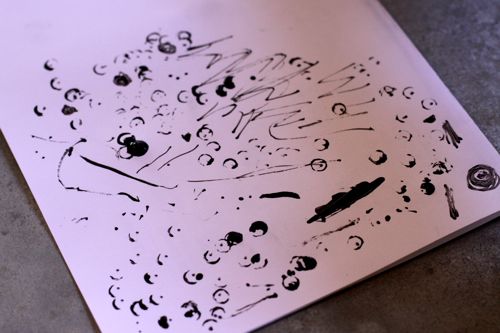
- It helped to have a blank paper handy where we could test the paint pen.
- We definitely got better at it as we practiced. So plan on it. Until it’s baked, the paint will scrub right off in soap and water. We redid mugs at least 4 times.

DIY monogram mugDIY monogram mug
6) Once the lettering is done, let the mugs sit for 24 hours. Then bake them at 300 degrees for 35 minutes. It’s fine to bake them with graphite residue. The graphite will wipe right off even after they’re done baking.
DIY monogram mugDIY monogram mugDIY monogram mug
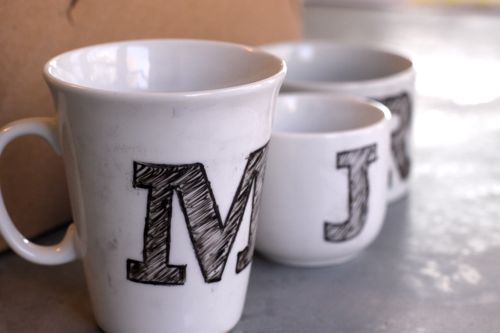
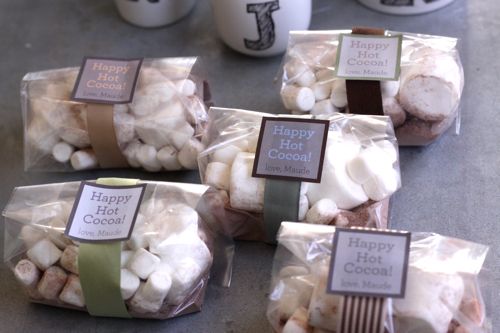
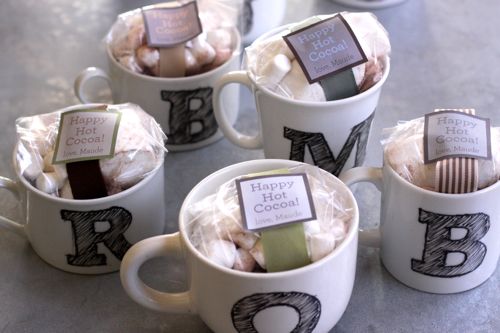
7) And that’s it! Once they’re baked, they’re done. We pulled them from the oven, wiped them up and they were ready to go. For fun, we filled cellophane bags with hot cocoa mix and marshmallows and put them in the mugs.
DIY monogram mug hot cocoa packagingDIY monogram mug

Tuesday, October 30, 2012

DIY: No Sew Legwarmers

La Vie en Rose apparently knows us all too well.  We are obsessed with our glue gun, and not really big on having to sew things together.  So, thanks to them, we are able to have toasty leg warmers - no sewing required.  Yay!

Glue gun lovers, this one is for you!!
Instead of sewing them, I decided to glue it up this time around so those of you without the desire to stitch can still participate. Of course, you're welcome to sew them if you prefer.
(1) Start it. Cut the sleeves off of an old sweater with a thick ribbed knit, so that it doesn't unravel. I cut these off of John's sweater *months* ago when I did the first post about legwarmers and they still haven't unraveled so I'd say it's safe. The end of the sleeve will be at the top of your knee and the underarm end will go down by your feet.
(2) Cut it. Put them on and see if they're too long. If they are, mark down the right length and cut the excess off. Slit each one down the middle from top to bottom. If you *don't* want your legwarmers to be tapered and instead want them to be straight legged then fold them in half with the two cut ends together and cut the taper off from the TOP to BOTTOM so that they are now straight. 
(3) Ribbon it. Cut ribbon 2 inches longer than the legwarmer and in sections (so the glue doesn't dry), glue the ribbon on using fabric glue sticks in your gun (1/2 inch in from the edge). Tuck the ends over the other side and glue down at each end. 
(4) Connect it. Next, glue the ends back together. Put your glue down on the inside of the ribbon between the ribbon's edge and the edge of your legwarmer slit. Section by section, glue down the other edge. 
(5) Button it. Place your buttons out into the exact way you'd like them and then one at a time, pick them up and glue them on. I like to apply the glue to the edges of the button so that it doesn't show through in the button holes. Be sure that the legwarmers match each other- you don't want one to have buttons going down much further than the other!
(6) Wear it! I liked leaving my ends tapered. I think it looks interesting and different than regular legwarmers when worn with flats. It creates a flare shape. You can also wear them with boots, as pictured below. Forget expensive boot socks!