Hill City Bride has a wonderful DIY that incorporates plantable paper and Valentine's Day tags / cards! We love the eco-friendliness of this idea and also how adorable these little hearts are - so head on over to their blog for more!!
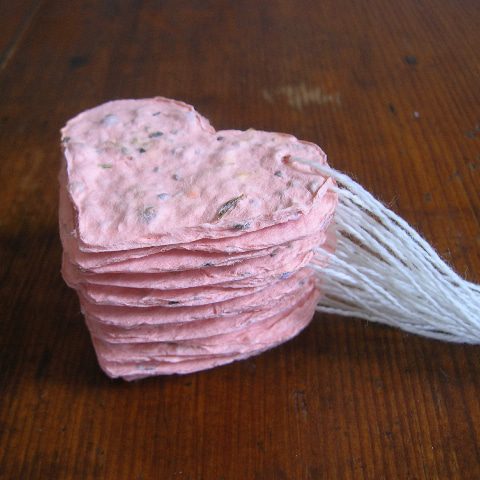
To make your paper, gather everything
you will need: a blender, a packet of seeds, a heart-shaped cookie
cutter, paper scraps and a mold. A mold is a piece of professional
papermaking equipment: a screen is pulled very taught across a wooden
frame. You can make your own with an old picture frame without the glass
and some screen from the hardware store (you can find directions on the
internet) or you can buy them through papermaking suppliers. A mold
must have a very tight screen so that there are no sags where water
might puddle and create uneven thickness in your handmade paper.

Begin by tearing your paper scraps into
small pieces. Make sure to remove any staples, plastic windows from
envelopes and any other non-paper materials. Soak them briefly in water
to soften the paper so that your blender motor doesn’t have to work too
hard. (Make sure to use a blender that is dedicated to papermaking.
Because paper is made with chemicals, you will want to buy an
inexpensive blender at a yard sale that will never be used for food
preparation.) Toss the scraps into a blender with some water and
pulverize. You can make a fine pulp or keep the paper in smaller chunks.
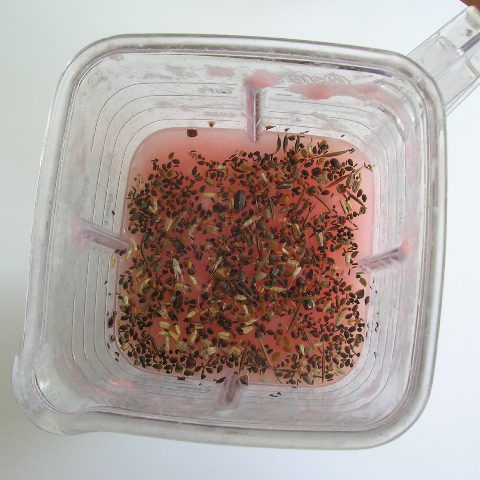
Once you are happy with the consistency, add a handful of seeds to the
blender, and give it a quick pulse to blend the seeds throughout.
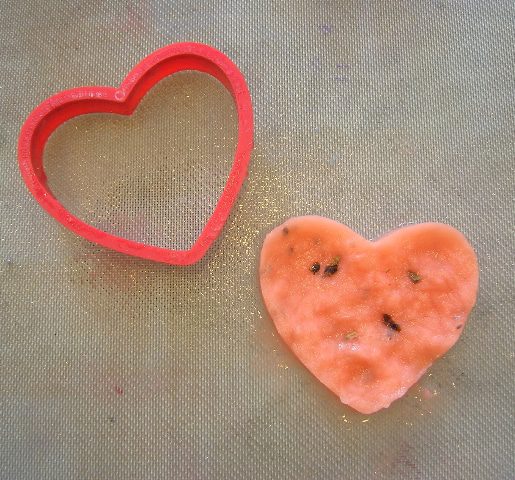
Place your cookie cutter on top of the
screen, and place in a sink. Slowly pour the pulp into the cookie
cutter, using your finger to push the pulp into an even layer as the
water drains into the sink. When most of the water has drained off, lift
the cookie cutter, move to another part of the screen and repeat. When
your screen is full, place the screen in a warm place or outside in the
sun until dry. As the paper dries, the individual fibers will start to
lock together and get stronger. To dry the paper more quickly and make a
stronger paper, put another piece of screen on top of the heart and
press the water out with a sponge. Once dry, lift the paper off the
screen, punch a hole in it and thread a piece of string through the
hole.
Remember to give your guests directions
on how to plant their paper: place the paper into raked ground, cover
with a quarter inch of soil then water and keep moist until germination,
about 6 to 8 weeks. Take a look at the last photo to see seedlings
popping out of some white plantable paper!
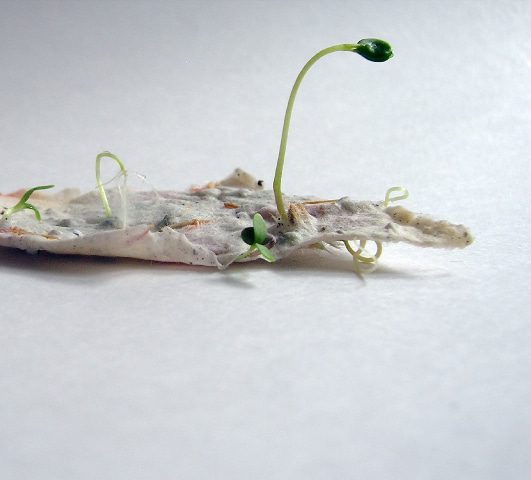
I love this idea, and the little seedlings
bursting through with life convince me that this indeed is a darling
little project. If you love the thought of doing something “green” for
your wedding, but you do not want to tackle a project, be sure to visit Pulp Art and check out what have for your wedding day! They make place cards and rectangle hang tags in addition to the heart shaped ones featured today. Thank you again, Pulp Art, for inspiring us to make some plantable paper of our own!


