Showing posts with label edible. Show all posts

Monday, December 31, 2012

DIY: Three Easy New Year's Eve Party Favors

Free People's Blog has three wonderful last minute party favor ideas for those of you procrastinators out there (like me).  These look fun and easy to make and definitely have the ability to be ready to go in a short amount of time.  
Post image for 3 Easy New Year’s Eve Party Favors 
 Confetti Cones
diy new year's eve party favors
This gold acrylic paint is my jam – it looks like liquid gold! It’s made by Reeves and I can’t get enough of it.
diy new year's eve party favors
I painted a piece of card stock with the gold paint, and to make the confetti I did it the old fashioned way – I used a hole punch and a stack of multicolored post-it notes!
diy new year's eve party favors
Roll the gold paper into a cone, fill it with confetti, and voila! An adorable confetti cone. Make a bunch of them and place them on a table for your guests to pick up and toss at midnight!
Mustache Photo Props
diy new year's eve party favors
I also love the idea of making little props for photos – especially if you have a photo booth at your party! I used my mustache stamp from a while back and stamped a few on card stock and then just cut them out and glued them to coffee stirrers!
diy new year's eve party favors
Party Hats
diy new year's eve party favors
You can also use the gold-painted card stock to make party hats! I added some gold glitter to the bottom for some extra sparkle. Roll your hat into a cone shape and attach a string so it can be worn.
diy new year's eve party favors
Stick a confetti cone and mustache in a diy glitter champagne flute and you’ve got some seriously adorable New Year’s Eve party favors!

Saturday, October 20, 2012

DIY: Cookie Cutters from Soda Cans

"Making do with the not so new and other frugal things I do" blog is fantastic.  We love the nothing is really trash approach.  Why not use the things you've already paid for / used / loved for another purpose!

Check out their blog for the instruction on how to make the goldfish with a recipe!

First, I sliced one in half with a knife and then cut a strip with my heavy duty scissors all the way around.

Then I evened up the edges by cutting them as straight as possible.

Then I worked with the strip to create the fish shape. Don't bend too often or you will crack it. I did it on my third try. Sorry that this picture is missing the last bend back to make the flat edge of the tail, but after three tries, I lost count of what photos I had taken!

Then I sneaked my stapler in the back and stapled it together. I cut off the mismatched edges.

And there you have a fish cookie cutter. I have to admit it isn't the most comfortable to use, I am thinking about putting some duct tape along the top edge because pressing the piece down with no handle hurt just a teensy bit after awhile. It is probably 6 times larger than an actual goldfish cracker, but it's a fish!

Monday, October 1, 2012

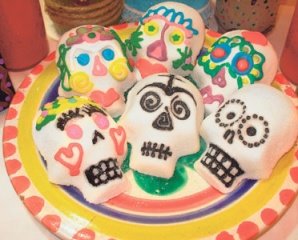
DIY: Edible Sugar Skulls

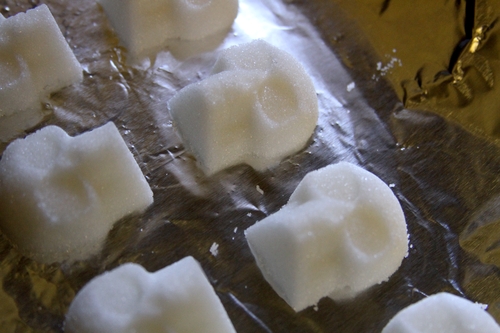
Let's kick off the beginning October with a great DIY for Edible Sugar Skulls from Dollar Store Crafts.  We are hoping that we can find this ice cube skull tray at the Dollar Tree or perhaps, Target!  Head to Dollar Store Craft's blog for a video tutorial on this one as well!

 Making edible skulls is cheap, and so easy even a preschooler can do it. I made a batch of them, and after I was done, my 4 year-old used leftover sugar mixture to make a skull all by himself with no help from me. 

This project works with any mold, so think beyond the skulls!
Project Materials:
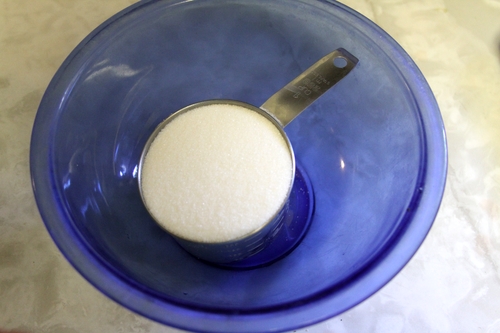
  • 1 cup granulated white sugar, on hand
  • 2 teaspoons water, on hand
  • Silicone ice cube mold (skull shaped), $1
  • Piece of cardboard or cookie sheet, on hand
Total: $1
Put 1 cup of granulated white sugar in a mixing bowl. Make an indentation in the middle of the sugar and add 2 teaspoons (yes, the itty bitty ones!) of water to it. Squish the mixture with your fingers for about one minute until completely incorporated. Make sure there are no lumps of dry sugar. When it's mixed, it should feel like wet sand.
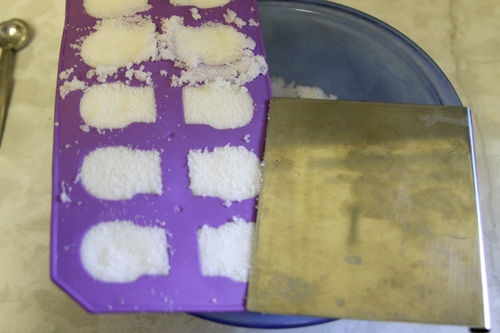
Fill the molds with sugar and pack tightly. Level top off with a flat spatula or scraper.
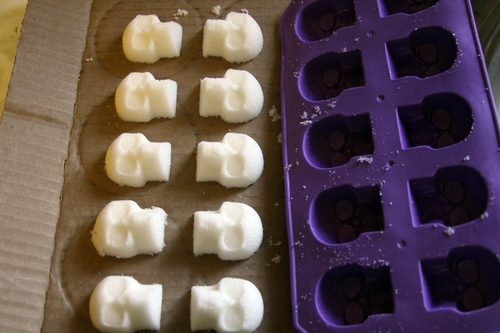
Put a cookie sheet or piece of cardboard on top of the mold, then turn over and unmold the skulls immediately.
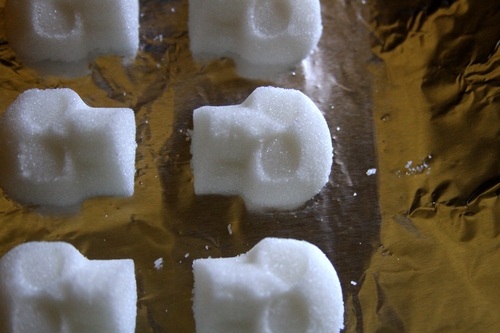
Let the skulls dry 5 hours or overnight, or put them in a 200° F oven for 5-10 minutes to help them dry more quickly. When they're dry, you can decorate them.