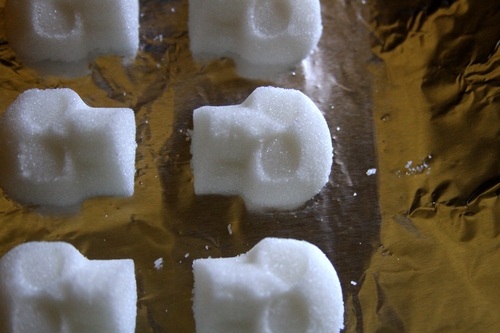
Let's kick off the beginning October with a great DIY for Edible Sugar Skulls from Dollar Store Crafts. We are hoping that we can find this ice cube skull tray at the Dollar Tree or perhaps, Target! Head to Dollar Store Craft's blog for a video tutorial on this one as well!
Making edible skulls is cheap, and so easy even a
preschooler can do it. I made a batch of them, and after I was done, my 4
year-old used leftover sugar mixture to make a skull all by himself
with no help from me.
This project works with any mold, so think beyond the skulls!
Project Materials:
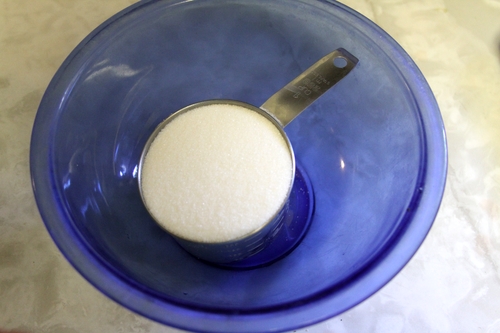
- 1 cup granulated white sugar, on hand
- 2 teaspoons water, on hand
- Silicone ice cube mold (skull shaped), $1
- Piece of cardboard or cookie sheet, on hand
Total: $1
Put 1 cup of granulated white sugar in a mixing bowl. Make an
indentation in the middle of the sugar and add 2 teaspoons (yes, the
itty bitty ones!) of water to it. Squish the mixture with your fingers
for about one minute until completely incorporated. Make sure there are
no lumps of dry sugar. When it's mixed, it should feel like wet sand.
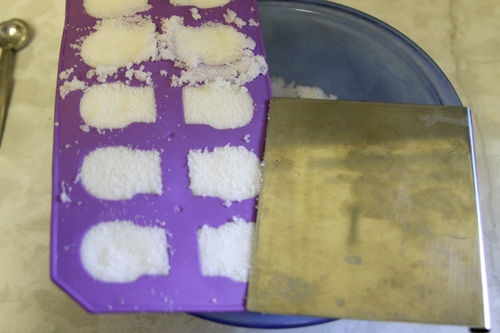
Fill the molds with sugar and pack tightly. Level top off with a flat spatula or scraper.
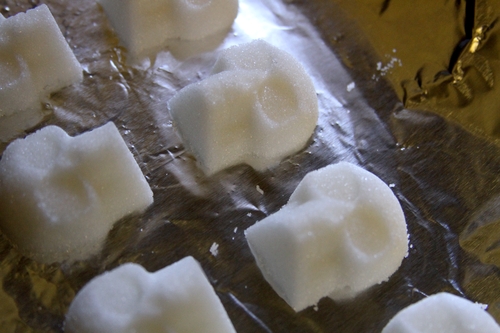
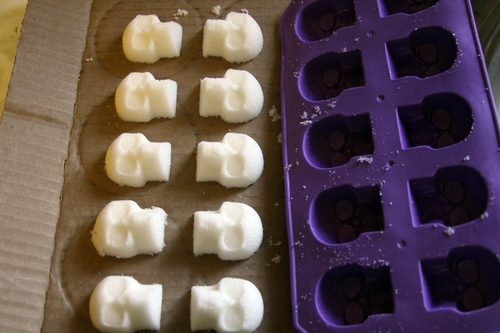
Put a cookie sheet or piece of cardboard on top of the mold, then turn over and unmold the skulls immediately.
Let the skulls dry 5 hours or overnight, or put them in a 200° F oven for 5-10 minutes to help them dry more quickly. When they're dry, you can decorate them.