Showing posts with label foodie. Show all posts

Sunday, December 30, 2012

DIY: Eggnog Cupcakes with Spiced Rum

Baker's Royale has made a picture look so delicious we wish we could eat two dimensional objects!!  These look unreal.  We know that our frosting will not look this amazing, but if they taste anything remotely like they look we couldn't be happier...
 Eggnog Cupcakes Bakers Royale Eggnog Cupcakes with Spiced Rum  

Makes 24 cupcakes | Preparation: Heat oven to 350 degrees F. Line 2 muffins tins with cupcake liners.
Ingredients:
Cupcakes:
  • 1 1/2 cups self-rising flour
  • 1 1/4 cups all-purpose flour
  • 1 cup (2 sticks) unsalted butter, softened
  • 2 cups sugar
  • 4 large eggs, at room temperature
  • ¾ cup eggnog
  • ¼ cup milk
  • 1 teaspoon vanilla extract
Spice Rum Buttercream:
  • 5 large egg whites
  • 11/2 cup sugar
  • 4 sticks unsalted butter, diced and softened
  • 1/4 teaspoon salt
  • ½ cup spiced rum
Instructions:
To make cupcake:
  1. Measure out flour and set aside.
  2. Add sugar and butter in a bowl and cream on medium speed until fluffy, about 3 minutes. Add eggs in 1 at a time, beating well after each addition. Add the dry ingredients in 3 parts, alternating with the eggnog and vanilla to start. Mix after addition until incorporated-do not overbeat.
  3. Fill cupcake liners about 3/4 full and bake for 20 to 25 minutes. Transfer cupcakes from tins to cooling rack. Allow cupcakes to cool completely before frosting.
To make Spice Rum Buttercream:
  1. Combine egg whites and sugar in a bowl placed over simmering water. Bring mixture to 160 degrees F while whisking constantly.
  2. Transfer mixture to stand mixer bowl, fitted with a whisk attachment and beat on medium  high speed (speed 8 on a KitchenAid stand mixer) until mixture cools and doubles in volume and forms stiff peaks; about 10-12 minutes).
  3. Add butter in one piece at a time, mixing to incorporate after each addition. The mixture may appear clumpy and almost curdled looking at first-this is normal. Keep mixing and it will become even and smooth again.
  4. Add salt and spiced rum and mix to combine.


Monday, October 1, 2012

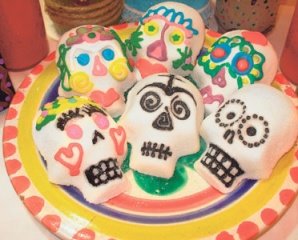
DIY: Edible Sugar Skulls

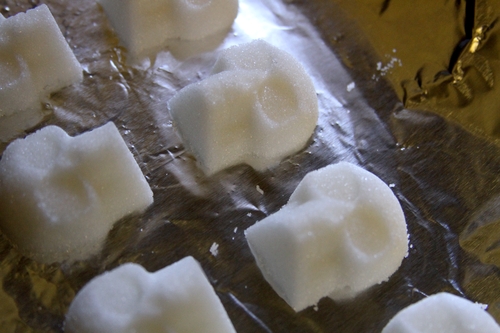
Let's kick off the beginning October with a great DIY for Edible Sugar Skulls from Dollar Store Crafts.  We are hoping that we can find this ice cube skull tray at the Dollar Tree or perhaps, Target!  Head to Dollar Store Craft's blog for a video tutorial on this one as well!

 Making edible skulls is cheap, and so easy even a preschooler can do it. I made a batch of them, and after I was done, my 4 year-old used leftover sugar mixture to make a skull all by himself with no help from me. 

This project works with any mold, so think beyond the skulls!
Project Materials:
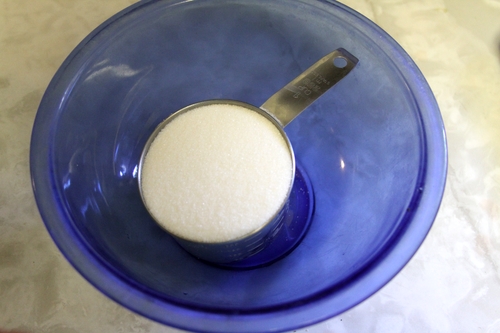
  • 1 cup granulated white sugar, on hand
  • 2 teaspoons water, on hand
  • Silicone ice cube mold (skull shaped), $1
  • Piece of cardboard or cookie sheet, on hand
Total: $1
Put 1 cup of granulated white sugar in a mixing bowl. Make an indentation in the middle of the sugar and add 2 teaspoons (yes, the itty bitty ones!) of water to it. Squish the mixture with your fingers for about one minute until completely incorporated. Make sure there are no lumps of dry sugar. When it's mixed, it should feel like wet sand.
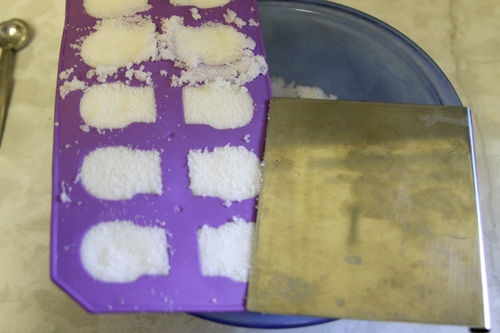
Fill the molds with sugar and pack tightly. Level top off with a flat spatula or scraper.
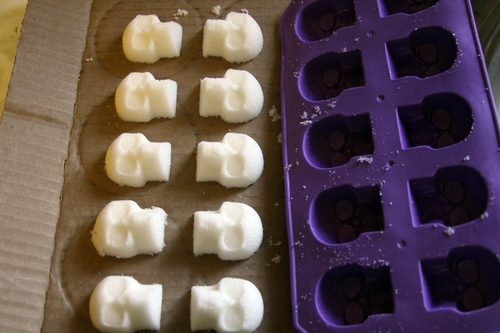
Put a cookie sheet or piece of cardboard on top of the mold, then turn over and unmold the skulls immediately.
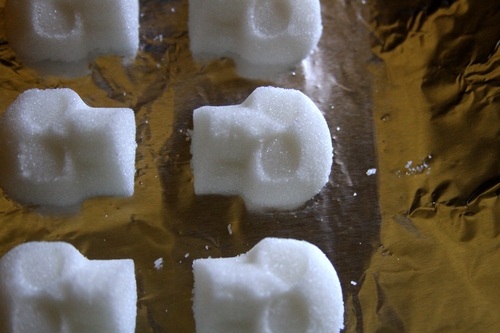
Let the skulls dry 5 hours or overnight, or put them in a 200° F oven for 5-10 minutes to help them dry more quickly. When they're dry, you can decorate them.

Saturday, June 30, 2012

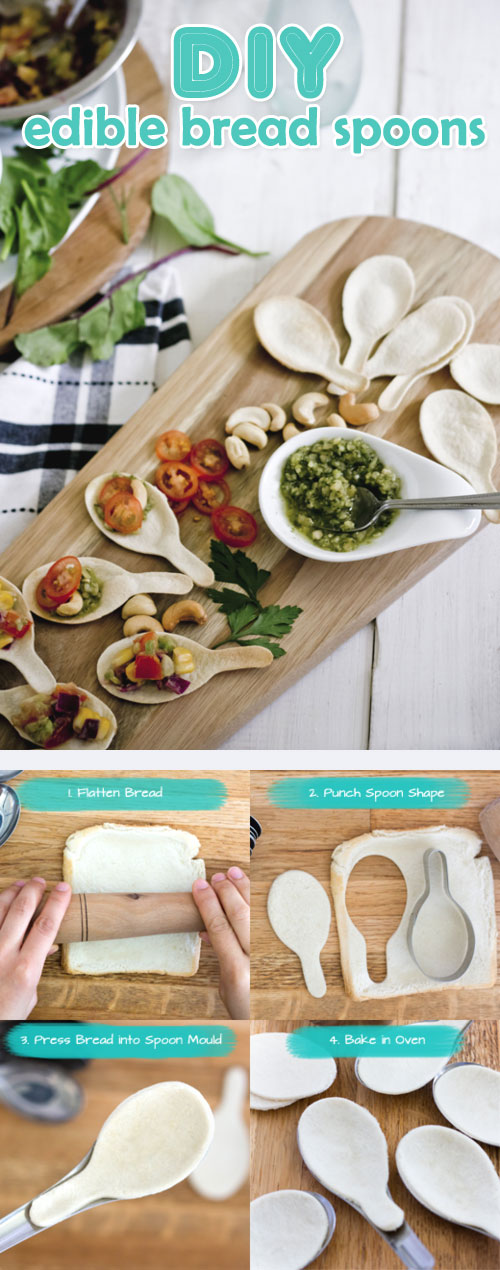
DIY – learn to make edible spoons

 Great idea from Zomoc.com - wonderful for parties! Quick, easy, and to the point!

DIY - learn to make edible spoons