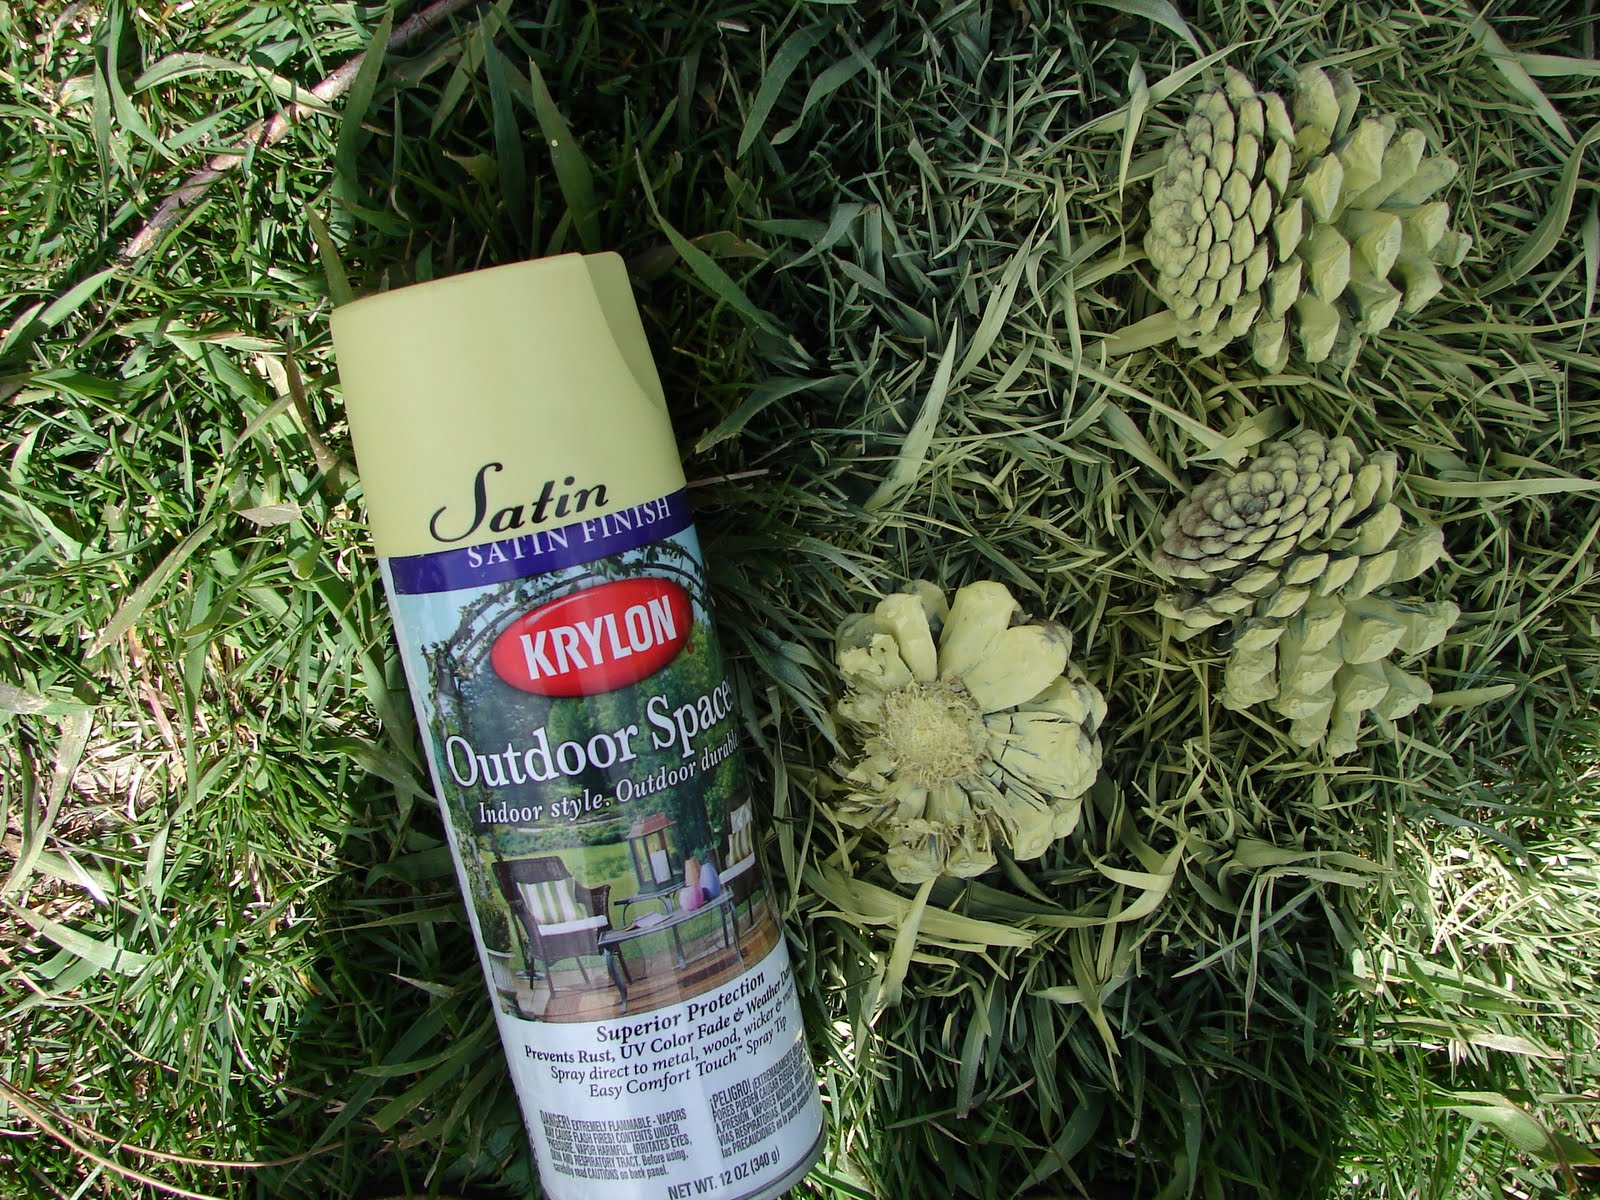
Twig & Thistle's blog has a great DIY that has a simple but elegant look. I love the way that it has a natural look but really brings the holidays into the home.


Also, I spotted this door decoration
that uses the same materials that would make a lovely companion to the
garland. Instead of stringing the pine cones to the ribbon simply tie a
ribbon to each hook then tie all the ribbons at the top and hang!


What You’ll Need:
Pine Cones
Ribbon
Screw Hooks
Hole Punch
Scissors
Pine Cones
Ribbon
Screw Hooks
Hole Punch
Scissors
Instructions:
1. Begin by measuring your mantel or space that you’d like to hang your garland and cut your ribbon. Remember to leave extra for hanging. Once you’ve determined the length, space your pine cones out as you like on a flat surface. The pine cones I used were fairly large so I kept about 4 inches between each one. On the back of the ribbon discreetly mark where each pine cone will go, then punch a hole with a small craft punch. I used an 1/8″ round circle punch like this one.
1. Begin by measuring your mantel or space that you’d like to hang your garland and cut your ribbon. Remember to leave extra for hanging. Once you’ve determined the length, space your pine cones out as you like on a flat surface. The pine cones I used were fairly large so I kept about 4 inches between each one. On the back of the ribbon discreetly mark where each pine cone will go, then punch a hole with a small craft punch. I used an 1/8″ round circle punch like this one.
2. Once you know how many
pine cones you’ll need, screw in one screw hook into the top of each
pine cone. This takes a little practice and you may need a little elbow
grease but once you get the hang of it it goes pretty quickly.
3. Poke each hook through
the hole you’ve made in the ribbon and hang! Easy as pie and something
that will last for seasons to come!