Showing posts with label december. Show all posts

Sunday, December 23, 2012

DIY: Marbled Glass Ornaments

Has the panic mode set in with Christmas only two days away?  Having a holiday party and need a few more ornaments to make everything perfect?  We have just the tutorial for you!  These wonderful marbled ornaments are so easy you can whip them up in a few minutes and in any color theme you want!  This tutorial comes from Save On Crafts and we can't wait to give them a shot.

DIY  Paint Clear Glass Ornament  Balls
How to make Marvelous Hand Painted Ornaments with Clear Glass Balls.

Create Marvelous Ornaments™ with Delta Ceramcoat® Acrylic Paints!
It's hard to believe that these luxuriant ornaments are so very easy to create. All ages can enjoy the fun of making elegant swirls of Ceramcoat Acrylic Paints inside of clear ornament balls. Just pour in your favorite colors and swirl away. metallic!
MATERIALS

Delta Ceramcoat® Acrylic Paints
  • 3 or 4 colors
Other Supplies:
  • Paper cups or empty egg cartons
INSTRUCTIONS

  1. Remove hanger and cap from the ornament. Rinse inside of ornament with alcohol. Let dry thoroughly. Start with one color of Ceramcoat® paint. Squeeze just a small amount of the first color into the ornament so it runs down the side (see photo A). Rotate the ornament and squeeze a little more paint down the side in another area until you've added about three or four lines of paint with only a dime-size amount of paint pooling at the bottom of the ornament.
  2. Add the next color, squeezing out a small amount of paint in between the places where you added the first color (see photo B). Continue to add one or two more colors in the same fashion.
  3. Rest the ornament on its side for approximately five minutes. (Place it to rest in the ornament box it came in, an egg carton or a paper cup for easy handling.) Rotate and tilt the ornament a quarter turn every five to ten minutes until the paint covers the entire inside of the ornament. Pour out excess paint. Then continue to rotate it every few hours over the next day. This helps the paint to coat the ornament evenly. The color will continue to move and change with each turn. When the desired effect has been achieved, drain out any remaining excess paint. It may take up to four days to dry completely (a hair dryer will speed drying time). Replace hanger and cap when dry. If desired, decorate with ribbon and hang on tree.
Other creative variations:
  • For horizontal marbling: coat ornament with your choice of colors and let the ornament dry on its side, rotating one side to another, avoiding an upright position.
  • For vertical marbling: coat ornament with your choice of colors as in steps 1 and 2 and prop ball upside down in a paper cup to drain. Let dry.
  • For variegated, irregular marbling: drop in one color of paint, swirl, then add another color. Continue adding or repeating colors and swirling until the entire ball is coated on the inside. Follow step 3.
Important Notes:
Use Ceramcoat paint only-other brands of paint may not be compatible! Also, if paint pulls away from glass, add more paint after original paint dries.
All you need are
Clear Glass Ornaments and Acrylic Paints!
 
Here's what you need to do:
1. Remove hanger and cap from the ornament. Rinse inside of ornament with a mixture of 1 part vinegar, 3 parts water before adding paint. Let dry. Start with one color of Ceramcoat paint. Squeeze just a small amount of the first color into the ornament so it runs down the side. Rotate the ornament and squeeze a little more paint down the side in another area until you've added about three or four lines of paint with only a dime-size amount of paint pooling at the bottom of the ornament.
2. Add the next color, squeezing out a small amount of paint in between the places where you added the first color. Continue to add one or two more colors in the same fashion.
3. Rest the ornament on its side for approximately five minutes. (Place it to rest in the ornament box it came in, an egg carton or a paper cup for easy handling.) Rotate and tilt the ornament a quarter turn every five to ten minutes until the paint covers the entire inside of the ornament. Pour out excess paint. Then continue to rotate it every few hours over the next day. This helps the paint to coat the ornament evenly. Drain out any remaining excess paint. It may take up to four days to dry completely.

Wednesday, December 12, 2012

DIY: Ornament Party!

So, now that we have done several DIY Ornament Tutorials, you can have an Ornament Party!  We can't wait to get together with friends and sit at the table and make ornaments!  Ring in the holidays with your own craft party.

Here is a the link to all of these fantastic DIY Ornaments below - and be sure to check out all of our DIY ornaments from earlier this month!  We will definitely be doing more, but this should be more than enough inspiration to get you moving in the holiday direction.

boxwood kissing ball finalwhite glitter starblue peace ornamentblue glass on branchesterrarium

Thursday, December 6, 2012

DIY: Yarn and Candy Cane Ornaments

Hostess with the Mostest is our featured DIY Ornament tutorial for today!  We love how fun these candy cane and yarn ornaments look.  They seem super easy also, which is a bonus.

DIY: Yarn & Candy Cane Ornaments
Ready for some super easy holiday DIY? These cute Yarn & Candy Cane Ornaments are a breeze to whip up!
This was a happy accident that occurred when I was trying to figure out how to make regular yarn ball flowers look more “holiday-ish” for a Christmas table centerpiece. I’m still planning to make some sort of “bouquet” from these, but am also loving how they look on the their own – either as hanging ornaments or just as “sitting” decor for the table or tree!
DIY: Yarn & Candy Cane Ornaments
*****
YARN & CANDY CANE ORNAMENTS
You’ll Need:
- 2″ styrofoam balls
- yarn in your favorite colors
- mini candy canes
- hot glue gun

Directions:
1.
Insert 5 mini candy canes in a circle around the ball. Try to space them out somewhat evenly, but it doesn’t need to be perfect!
2. One at a time, remove each candy cane from it’s styrofoam hole, add a little hot glue to the hole, then stick the candy cane back in… this will ensure that the candy canes stay put.
3. Start wrapping yarn randomly around the ball, weaving in between the candy canes until the entire ball is covered. Trim the yarn and secure the end with a small dab of hot glue.
That’s it! Add a ribbon loop if you want to use these as hanging ornaments. You can also try this idea with regular sized candy canes and 4″ styrofoam balls to create GIANT ornaments!
*****
DIY: Yarn & Candy Cane Ornaments


Wednesday, December 5, 2012

DIY: Reusable Felt Christmas Gift Bags!

Blueberry Junkie has a great idea for keeping down the amount of wrapping paper thrown away this holiday season.  We love that these bags are so cute and completely reusable!  It's like putting a gift inside of a gift.  Check out their blog for more DIY.

Eco friendly alternative to wrapping with paper

It’s that gift giving time of year again, which means a lot of wrapping. Last year, tired of all the waste in packaging during the Holidays, I decided to stop using wrapping paper, boxes, and other materials that get discarded. Instead, I decided to sew several simple felt bags to present my gifts in. Yes, this requires some work, but these gift bags are extremely easy and quick to make, you will have several in no time. The best part, once you make them, you can keep reusing them year after year.  They make a great environmentally friendly alternative to paper wrapping.
Felt is a great material to work with, as it doesn’t fray, therefore, it requires minimal sewing. This tutorial is for a bag that measures 8.5 x 11in (you can use a regular printer paper as a template) but you can make it as bit or as small as you need to.

Materials and Tools
- red felt 2 (8×11.5 in), scrap of off white felt and pink felt
- embroidery floss in black and pink
- embroidery thread
- scissors, pins, ruler, chalk pencil
- sewing machine
- ribbon

Gather all your supplies and materials. The sewing machine is optional, as you can easily do this entire project by hand. I like to use it to save time.
How-To
1. measure carefully and cut two pieces measuring 8.5 x 11in out of the red felt. If you want to skip the measuring, just grab a sheet of paper (printer paper will do the trick), pin it onto the red felt and cut around it.  Put the red felt aside for now.
2. Take your cookie cutter shape (I chose a star for this project) and trace it onto the off-white felt.  Cut it.
3. Pin the star felt shape into place on the lower part one of your 8.5 x 11 piece of red felt. I chose to use my sewing machine to stitch on the star, but this can easily be done by hand using a running stitch.
4. Once the star has been stitched on, it is time to add some details. With embroidery thread and an embroidery needle I added eyes and a mouth.
5. Cut 2 small circles out of pink felt and using a running stitch them, secure them onto the star.  Almost done.
6. Take your 2 pieces of red felt, align them carefully and pin the edges. Using your sewing machine (you can also do this by hand), stitch around the sides and the bottom edges. Leave the bottom edge open.  Voila! your reusable felt gift back is ready.
All that is left to do now is insert your present, add a pretty ribbon to close the bag and you are done.  Customization options are only limited by your imagination. Instead of a star, try monogramming it with the recipient’s initial.  You can also make bags in other colors to match you Christmas color scheme.

green alternative to wrapping with paper


Saturday, December 1, 2012

DIY: Beach Themed Ornaments

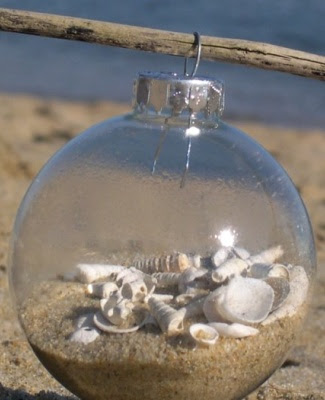
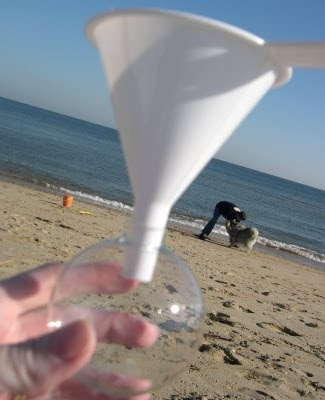
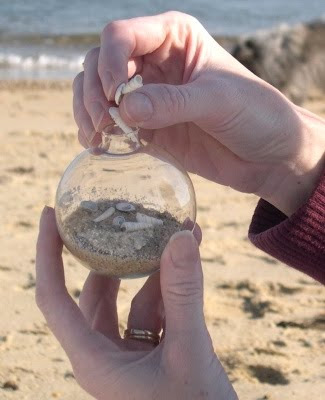
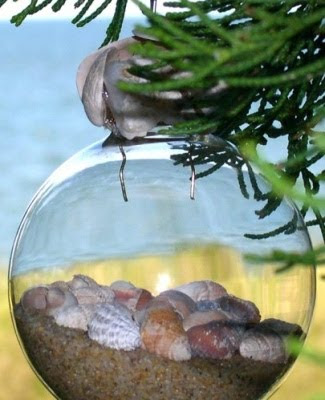
Beach OrnamentSince it's the beginning of December and the real count down to Christmas time - we decided to do TWO DIYs today.  Earlier we did Glitter Trees, which are awesome, so check them out.  And now, we bring you a DIY from Completely Coastal showing a step by step for beachy ornaments!  Why not bring the beach feel into the cold weather season?

fill glass ornament on beach

fill glass ornaments

It's super easy.

Beach Ornament

Thursday, November 29, 2012

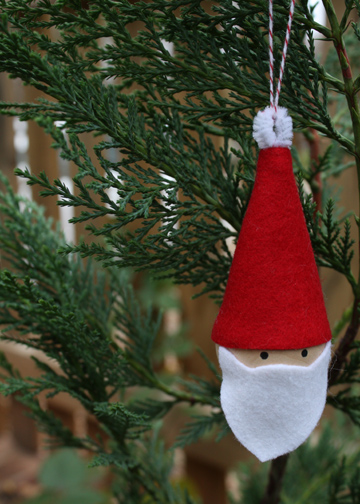
DIY: 10 Minute Santa Ornament

The Long Thread's blog is helping us keep to our overall theme of simple projects that are quick and wonderful!  Be sure to check out their blog.

santa-ornament
Ten minutes. Really. This is sort of a variation on the elf skittles that I posted about last week. But even easier. I think these would make cute additions to gifts for family, friends or teachers. The kids can help make these if you skip the glue gun and use regular school glue. You  could sign them on the back and add the year.  You could use even smaller wooden balls to make teeny tiny Santas. Or you can take it a step further and make a little body with chenille stems, a larger ball for the belly and beads for the arms and legs.
Supplies:
  • wooden ball (1 1/2″ diameter)
  • red and white felt scraps
  • black acrylic paint
  • white chenille stem (cut to 2″)
  • twine
  • glue gun
santa-ornament-instructions
  1. Cut out the hat and beard from felt according to this template.
  2. Bend the end of your chenille stem and cut to 2″.
  3. Insert the chenille stem in the top of the hat felt and sew, right sides together, using a scant 1/4″ seam allowance. Turn right sides out and poke out the tip with a blunt tool.
  4. Place a couple of drops of glue on the inside rim of the hat and fit onto the wooden ball. Glue the beard on as well, just meeting the hat at the corners.
  5. Draw eyes with a pencil and then paint them on with black acrylic paint.
  6. Loop twine through the chenille stem and tie in a knot. Trim off the ends and put a tiny drop of glue to hold the knot in place just at the chenille stem. All done!

Tuesday, November 20, 2012

DIY: Wax Paper and Crayon Fall Leaves

V and Co.'s Crayon Wax Leaves are wonderful.  They make the perfect window accessory and we can even see a wreath being made with these wonders!

these leaves were made just like you used to make those stain glass windows with wax paper and crayon shavings.

you can hang them, you can place them prettily to dress up any surface, and well you can just place them on your windows as well.
WHAT YOU WILL NEED:

*wax paper.
*scissors
*iron
*towels (so that you don't ruin your ironing board)
*paper towels (so you don't ruin your iron)


*fall colored crayons that have seen better days

*leaf template (right click hit save as and then print off. make sure you make them fit your picture screen so it doesn't cut off any of the leaf. i made mine as a 4 by 7 picture)


cut out wax paper approx letter paper size. with scissors start shaving your crayon onto the wax paper. not too much we want it to be a pretty thin layer of crayon melt.
i mixed two colors:
*brown and orange
*yellow and magenta
*orange and yellow
my favorite ones turned out to be the yellow and magenta ones.

when you have your two colors shaved on, place the second piece of wax paper on top making a sandwich.

with an iron set on a warm setting, place a towel first down onto your ironing board. then your wax paper and crayon sandwich. then place a paper towel in between your iron and the wax paper sandwich.

slowly melt your crayon shavings. and push the "liquid crayon" around so it's thin and covers a larger area. (be careful of spilling the wax! don't push it too far out or it will seep out the corners of your wax paper sandwich!)
once they are cool take your print out leaf, and your wax paper creation.
place underneath, it should be clear enough for you to be able to see your lines.
with a pencil trace your leaves.

cut out your leaves.


admire your pretty leaves, that surprisingly are making you feel a little better about fall coming.
now if you would like to hang them, i just got a needle and thread and made a big knot at the end of my thread. i hung them in front of our window, i hung them above our dinging room table, but in the end they ended up taped up...

enjoy!

Friday, November 16, 2012

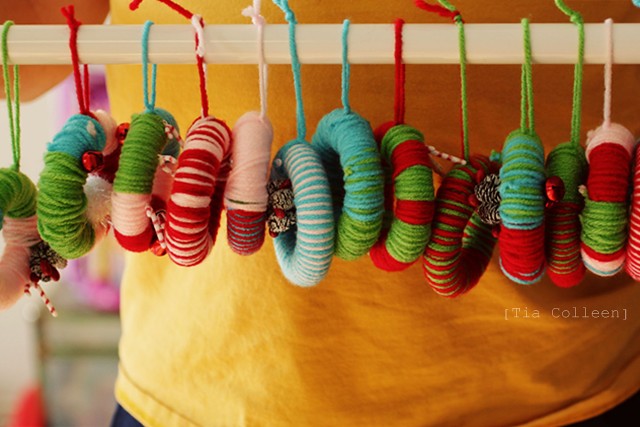
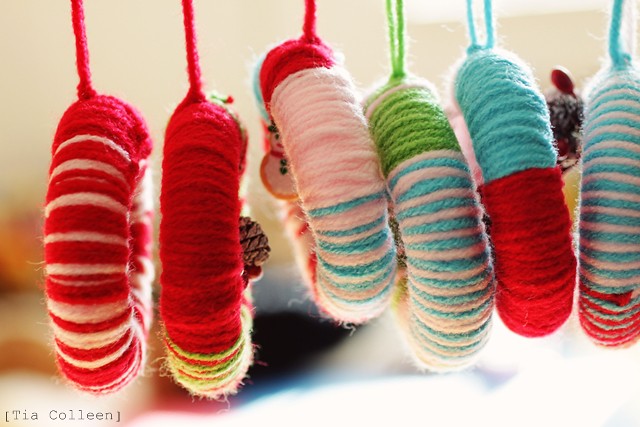
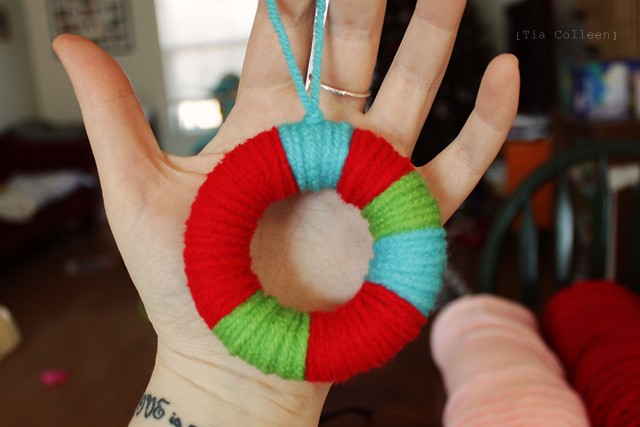
DIY: Yarn Wreath Ornaments

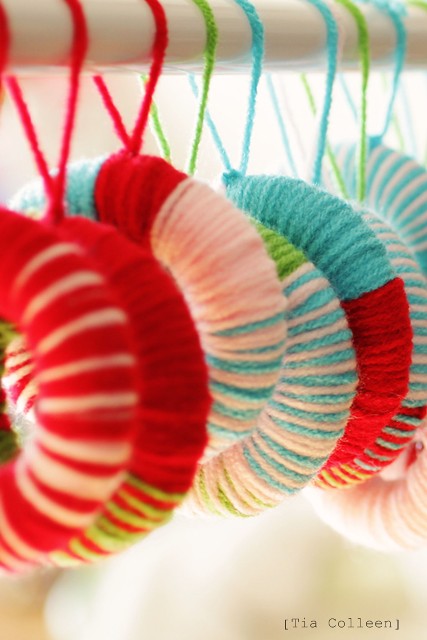
We found this archived ornament tutorial that is so easy it's kind of ridiculous!  We love love love it.  Christopher & Tia have these step by step direction on this budget friendly ornament tutorial.  Be sure to check out their blog for more.


What you will need:


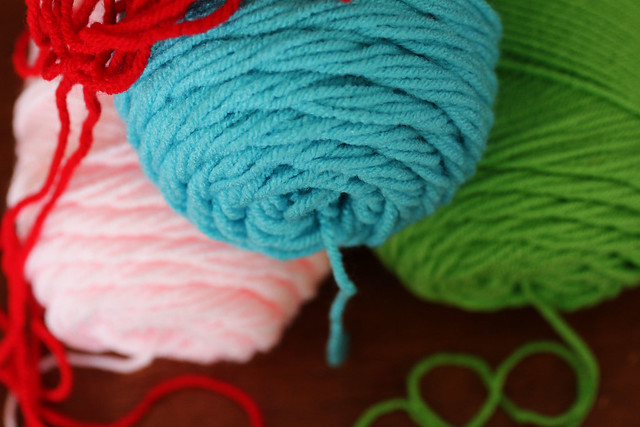
I went to Hobby Lobby and picked out 4 Christmas-ish colors that I thought would be fun to mismatch on all 30-something of my ornaments.


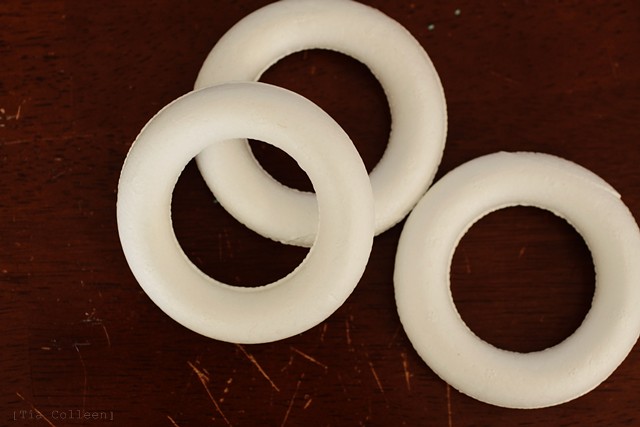
I ordered mine from here. I had looked at both Hobby Lobby and Michaels, but didn't find any that were nearly as affordable. Plus I like ordering things and then getting mail as a result :)


...ok those are totally optional. I did some with, and some without. The ones that I did without, were easier to wrap and send off, and took much less time to make, because- have you ever tried stringing up a jingle bell onto a piece of yarn (ya know how the end of yarn frays and is all puffy and stuff)? It wasn't my favorite part of the craft project, I'll tell ya that much.

Ok now heres how you do it...
Well actually, I'm going to show you how to do two different styles. The "candy cane" style, and then a regular multi color style. Lets start with candy cane...


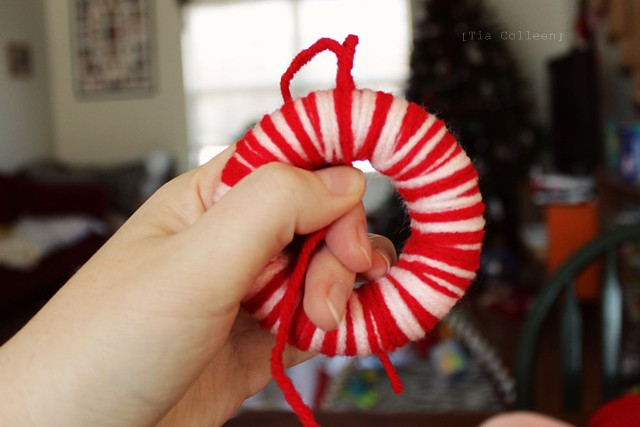
Start with 2 different colors of yarn. I chose pink and red, because together I think they look a little bit like a candy cane swirl.
So- take two different colors of yarn, put the ends together, and give the strings a good yank. About 4 arms length pulls should do it. And then cut them.

Remember, these are no-glue ornaments. I know that a lot of yarn wreaths are made using hot glue or whatever, but I'm making these with my kids- so the easier, the better.

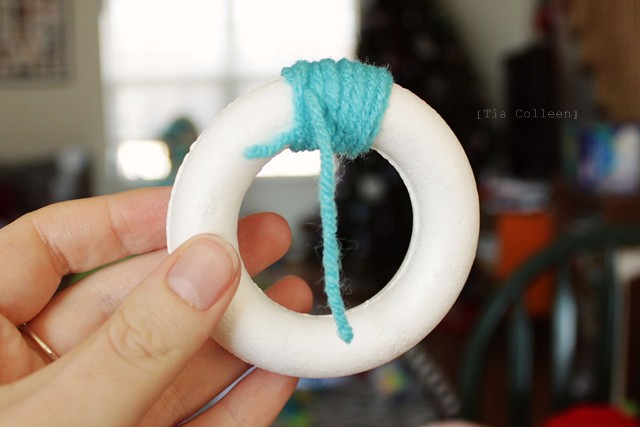
-Wrap your yarn around your styrofoam.

-Tie a knot.

Simple.

-Pull the short end of the excess string off to one side.

-Now start looping the long end of the yarn around the wreath, going in the direction that your loose ends are facing. Does that make sense?

Here, kind of like this...


See what I mean? If not, then I'm sure you can figure it out as you go. Really, all you're doing is wrapping yarn in a loop over and over again- theres really no way to mess it up.

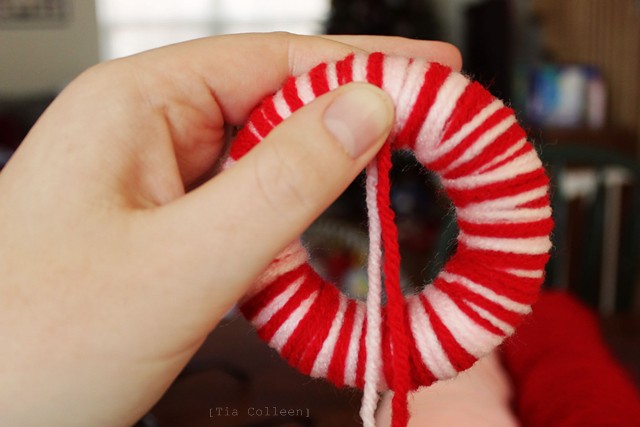
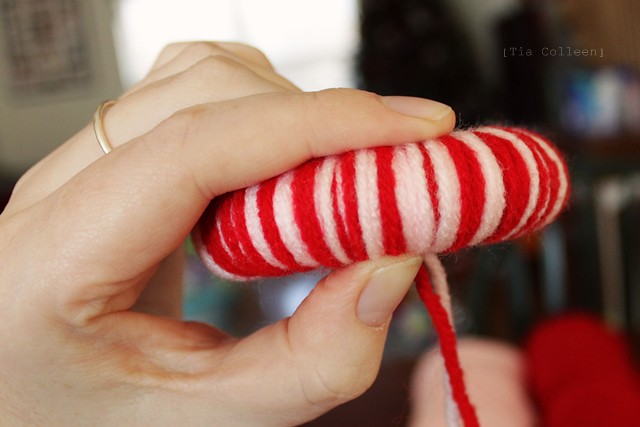
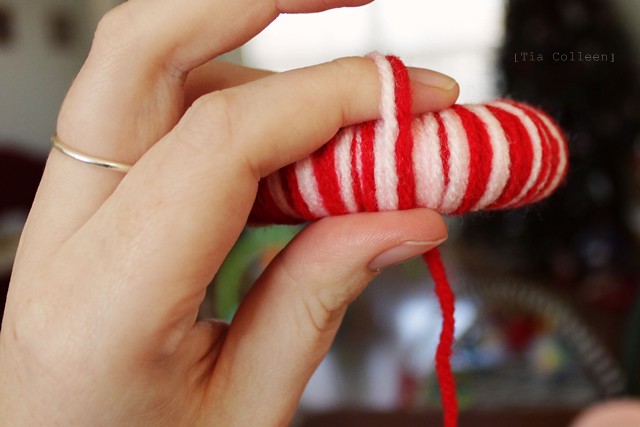
-So keep wrapping your yarn around your styrofoam. You can do a tight wrap, doing just a single layer of yarn. Or you can do a sort of messy wrap, doing layer over layer. I like the messy look, I think it looks more handmade, and its brighter and bolder from farther away.


After you get all the way around, your wreath should look something like that.

-Now tie it off.

Heres how you do that...
(even though its sort of self explanatory)


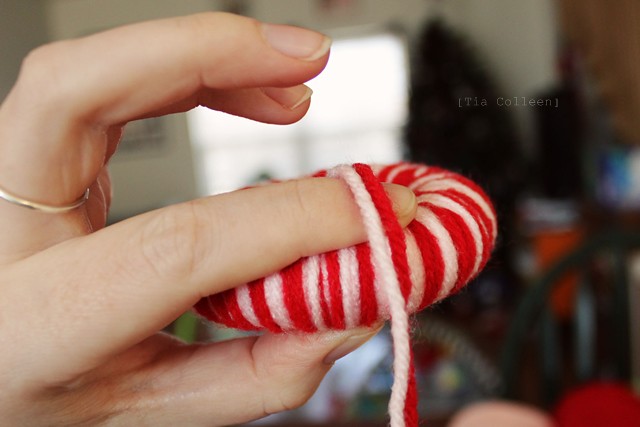
-Wherever you decide to end your wrapping, put your thumb down on the yarn, and let the excess hang down.


-Put your index finger on the back.

-With your other hand, wrap the string that was hanging down around again, up and over your index finger that you were holding in place.


-Now take that piece of string that you just wrapped around, and put your thumb on it, like in the above picture.

-Wrap the excess string around again, and then pull your index finger away(we're tying a knot here).

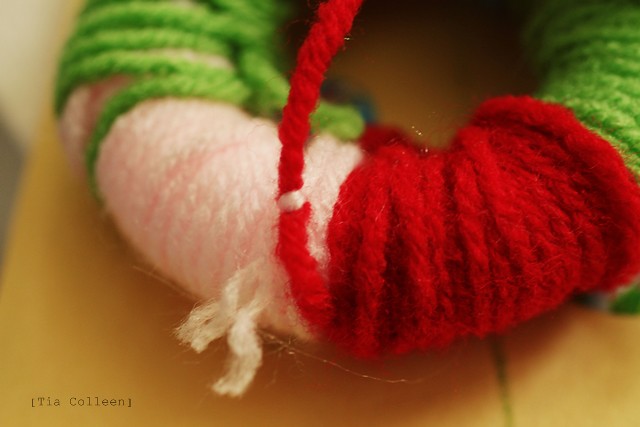
-Pull the excess through the loop. Pull it tight. Make sure you're doing this on the "back side" of the wreath (the side that you weren't looking at, when wrapping).


See, like that.
-Now cut off the excess string with a little bit to spare, and tie those pieces in a knot.
Picture on the way...


It should look something like that.

Now you need a way to hang it up!


-Cut another piece of yarn. Fold it in half. Tie a knot.


-Now tie that, around your wreath (and when you do, make sure that your knot is on the back, so you can't see it). Cut the ends-

And voila!
...Okay, I realize that I could have just said "tie a knot", rather than posting 8 billion pictures describing how to do so, but... that wouldn't make for a very interesting tutorial, now would it? Haha.

But now that you get the point, I'll just post pictures for the single strand style? I'm sure you'll get the idea.


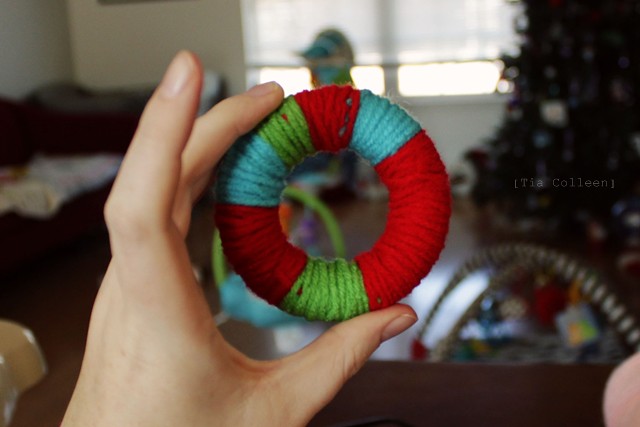
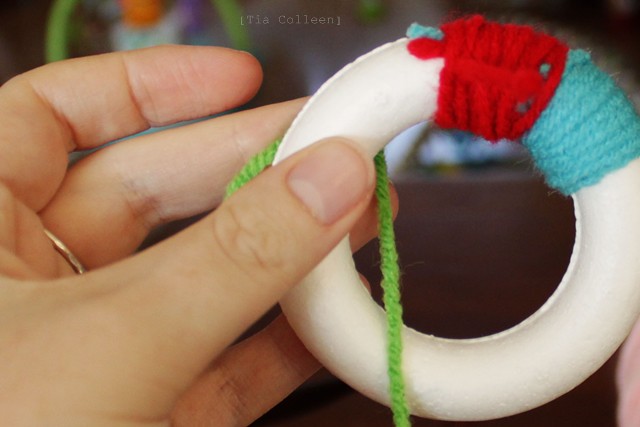
You start with one color, tie it onto the wreath, wrap the yarn to cover the area that you want covered, tie it off.

Lather rinse, repeat.

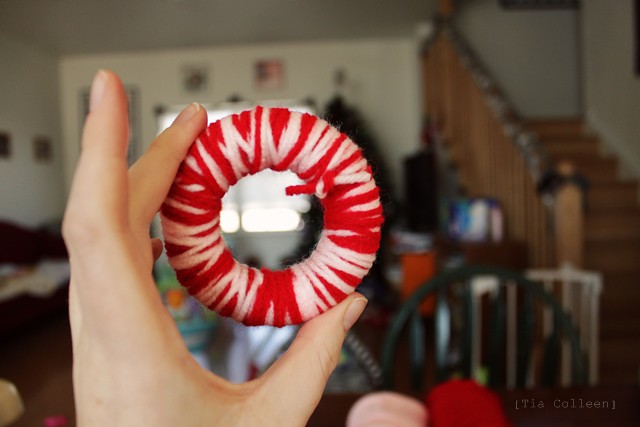
The back will look messy like this...


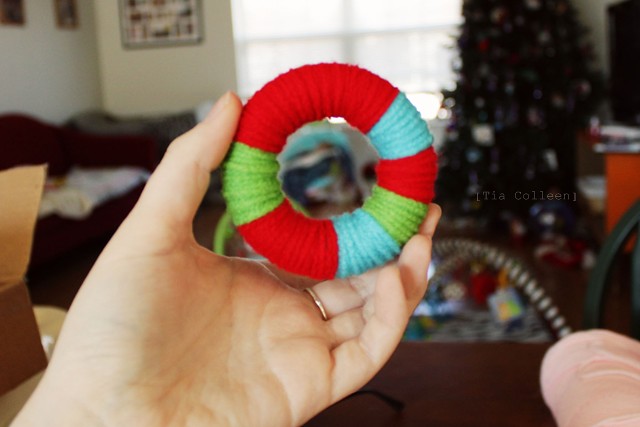
But the front should look a little more tidy, like this...


Tie a string on, the way that I showed you up there with the candy cane style, and-

Another one done!
Yarn!
Styrofoam wreaths!

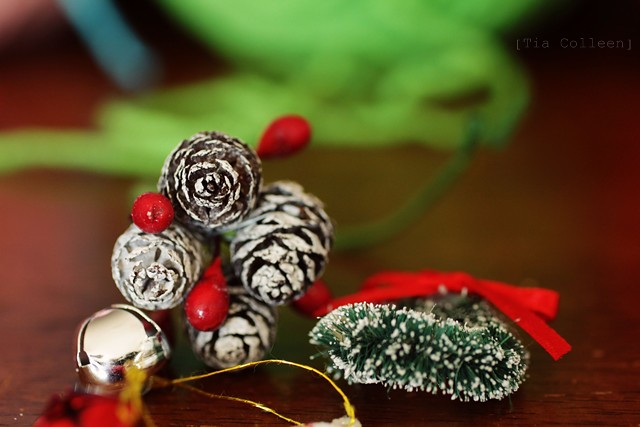
Little decorations and charms!


Wrap wrap wrap, wrap wrap wrap.