Sorry I have been MIA for a few months. We moved across the country and it's been a tad hectic! On that note - today's post is a nod to the coming of AUTUMN! I absolutely love this time of year. The warmth of colors and the depth of beauty in the changing of the leaves and the way the cool breeze starts to calm the hot summer nights...breathtaking!

This craft idea comes from the amazing creators of Midwest Living and it's all about making decorations for the autumn holiday. They have 32 awesome ideas that are easy and cheap to do!
This is our favorite of the bunch - ghostly gourds! How adorable are these guys??? Great for the little ones, too!
Grab some fun looking gourds from the grocery store, some white and black paint, and perhaps some twine for hanging these bad boys (or set them on your mantel - no twine required)!
You have the idea - so go and do! Send me pics of your ghostly adventures! I plan to do this tutorial on my YouTube channel, so if you want to watch head on over that way here in the next week or so and the video should be up and running.


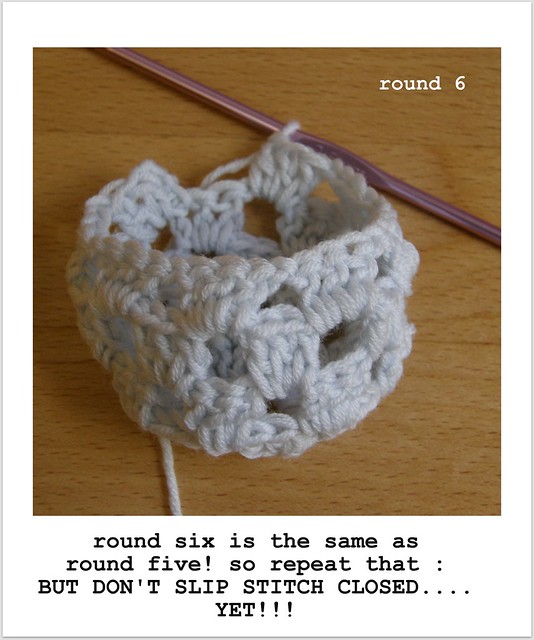

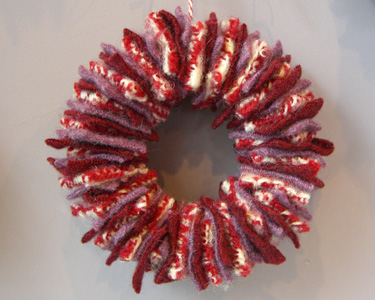
 Credit: Alison Czarnecki
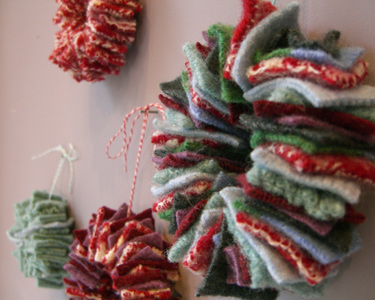
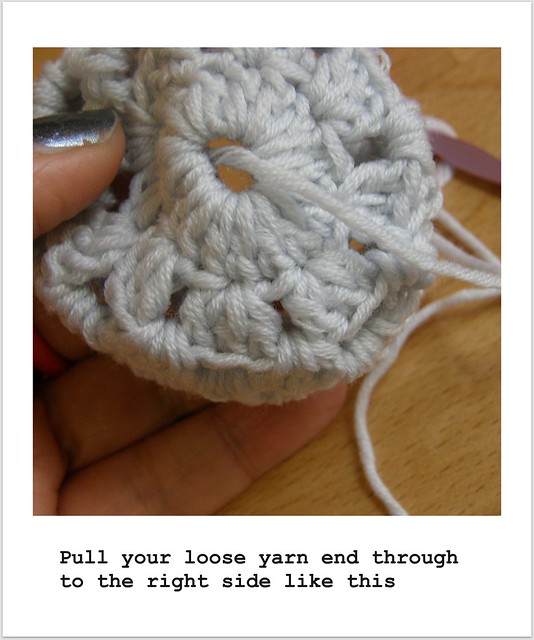
 Credit: Allison Czarnecki
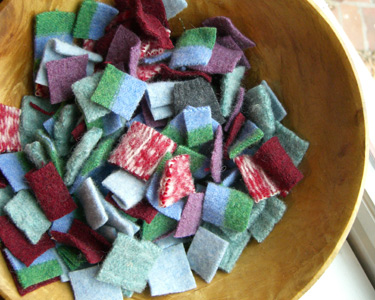
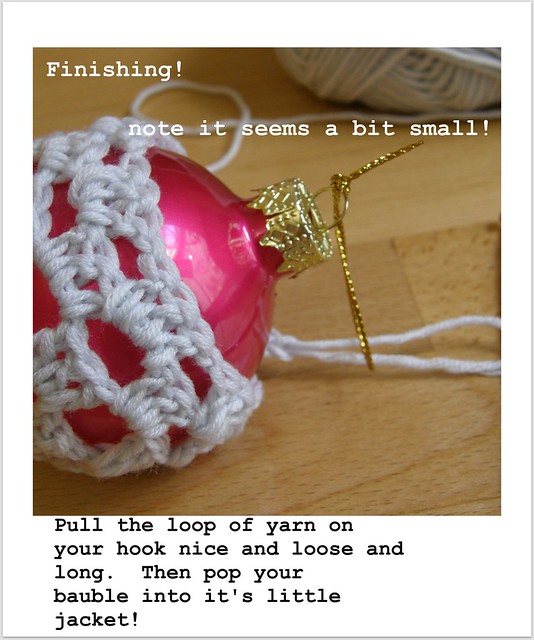
 Credit: Allison Czarnecki
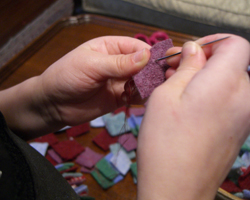
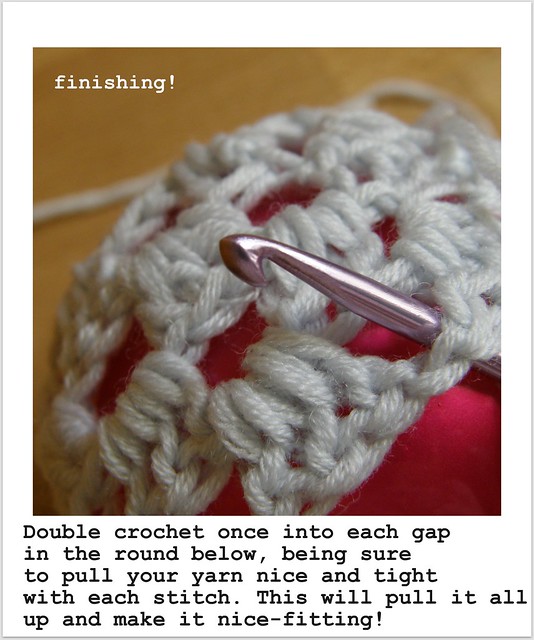
 Credit: Allison Czarnecki
 Credit: Allison Czarnecki