We may explode from the excitement brought on by this tutorial from Alphamom's blog. It's Christmas themed, it's upcycling, and it's easy! The trifecta.

It’s all about doing more with less this holiday season. So deck the halls with these miniature wreath ornaments made from cast-off wool sweaters. Felted sweaters are a thrifty and eco-friendly way to use recycled materials. Your old moth-eaten or thrifted sweaters can be made into plush toys, mittens, patchwork blankets, skirts, purses, scarves, laptop covers or anything else that you can imagine. The possibilities are endless. To felt a sweater, you must wash it in hot water and run it through the dryer. Keep in mind that your sweaters must be 100% wool in order to felt properly.
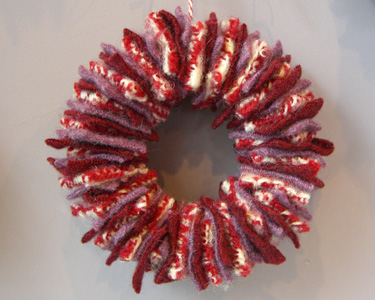
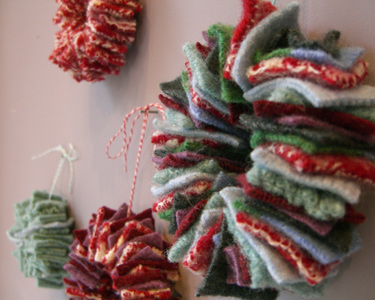
I used tapestry needles for this project because they are easy for young kids to handle and have a blunt tip. You could make these ornaments as large as you want, but if you get any bigger than 5″ in diameter you might need to use wire to keep the circular shape.
Supplies:
· Felted sweaters
· Tapestry needle
· Heavy-duty coated cotton thread
· Twine or ribbon
Instructions:
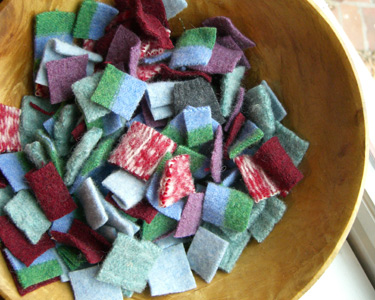
Once felted, you’ll need to cut your sweaters into 1″ squares. Older kids can do this, but I find that my young kids are frustrated when trying to cut any type of fabric. After I cut the sweaters, I put the squares in a bowl for the kids and let them choose their colors. You’ll need about 50 squares for each ornament. This may seem like a lot but once you get going, it moves along quickly.
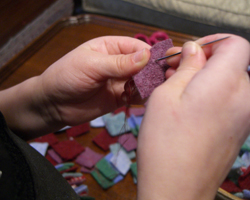
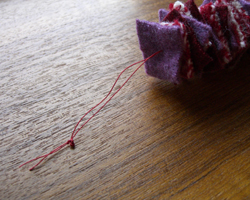
Then cut a length of thread at least 30″ long. Thread the needle and tie the ends of the thread into a knot, forming a loop. You’ll want to make a couple of knots so that it won’t slip through the loose fibers of the sweater. Older children can practice their knot tying skills. I have found that a loop is easier for children to sew with as the needle won’t come un-threaded.
The kids can string the felt pieces by simply poking the needle through the center of each square. Once the thread is close to full (with a few inches on either end), you’ll want to make sure that it will form a nice loop. You can see that my kids ran out of patience on a couple of these. Then you can pull your knot down a bit to make room to tie the two ends together a couple of times. An adult or older child will need to do this as the thread needs to be pulled tightly. Then add some twine or ribbon for hanging and you’re done.
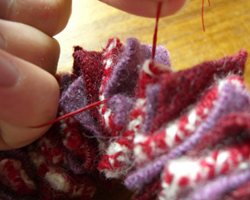
When crafting with younger kids, it’s essential to have all of your supplies prepared and ready to go. My four-year-old stayed focused on this project for about 15 minutes, which was long enough to make one full ornament. My older daughter (almost six) made four of them! I think these little ornaments would make great teacher or neighbor gifts. Remember that these are made of wool, so be sure to store them in an airtight container to keep the moths away.


