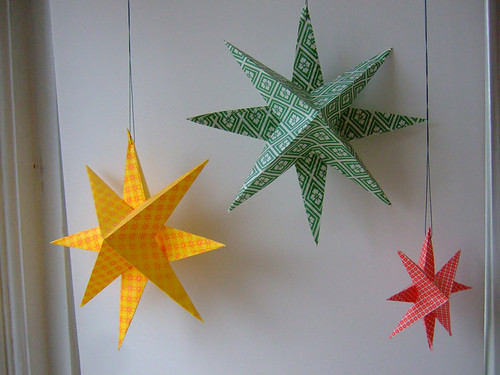
Cherished Bliss' blog tutorial on chrysanthemum paper flowers that we plan to try the minute we get home. We love paper flowers in every variety. Just think - you can make them whatever color / pattern you want, you can change them anytime, and they never die! We love making them out of recycled paper as well!

Don’t you just love these colors? This is pretty easy
to make. Your kids might even love to make this with you, it’s pretty
easy!

{What you need}
- 2 pieces of scrapbook paper
- scissors
- glue
- paper circle cut out
- scissors
- glue
- paper circle cut out
{Steps}


one.
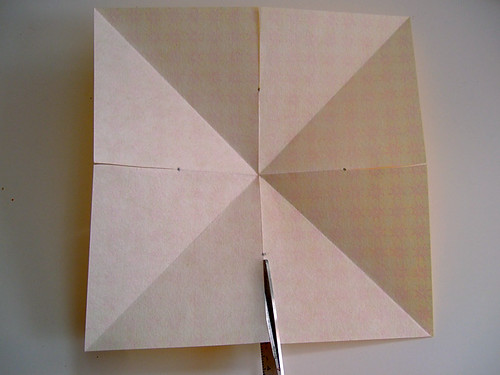
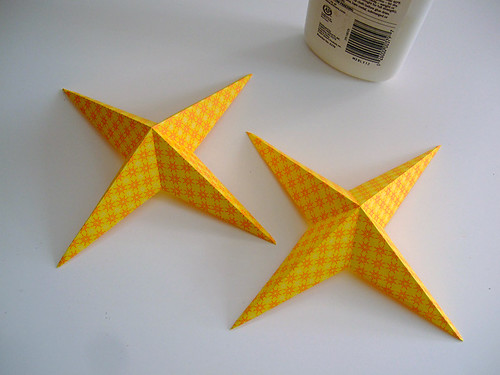
cut out a bunch of strips I started with the bottom yellow layer of
strips at 3 1/2” x 1/2” but this depends on the size of the flower you
want. Then fold it in half and glue the ends together. The first layer
of pink strips are 3” long and the inner pink strips are 2 1/2” long.
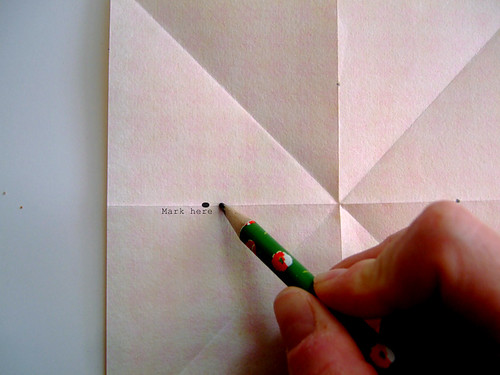
two. Start gluing your paper strips around your paper circle cut out. Mine was approx. 1 1/2” in diameter.
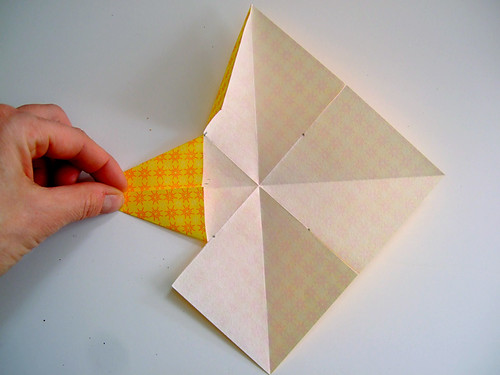
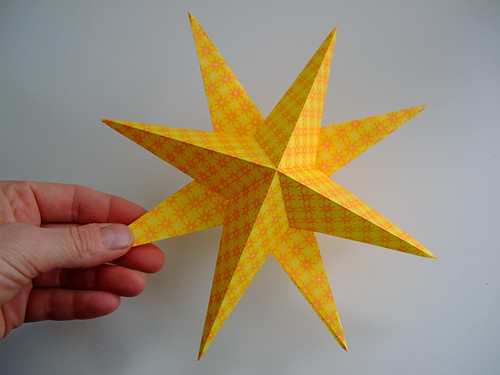
three.
Keep going around with your different layers by filling the next layer
in the spaces of the previous layer. I did two layers of the yellow, two
layers of the pink, and then I filled in a few gaps with the pink in a
3rd layer of the pink (but this is only necessary if you fill you have a
few gaps).
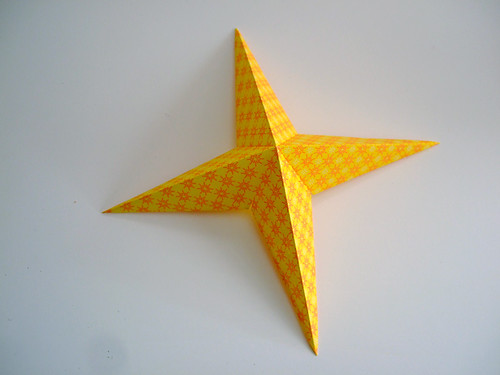
four.
Add your center. For my center I took another 1 1/2” circle and cut it
into a spiral then wrapped it around tight and glued it down in the
center. You could also add buttons, rhinestone, or whatever suits your
project
There you have it. A beautiful paper flower for embellishing all kind of projects!