U Create's blog has a great DIY that we honestly never would have thought of - who knew that just using some glue could make a t-shirt look so much more fun!
Check out their blog for more DIY!!
What I love about this project is that it's completely customizable. I
used favorite quotes to decorate my shirt but you could also use song
lyrics, bible verses, favorite book excerpts, etc. You can also choose
whatever color you like. I think it would be a very kid-friendly project
as well. There are so many possibilities!
Materials:
Elmer's Blue Gel Glue (it must be the blue gel, white won't work)
Fabric Dye (RIT is my tried and true brand)
A white cotton Tee, Tank, Dress etc.
Tutorial:
If
you're unfamiliar with Batiking, it's a method of dyeing fabric in
which you create a design with a dye- resist. When you dye your garment
in cold water, all will be colored except where you've placed your dye
resist. In traditional batiking, you would use wax as a resist. I tried
this out and found it to be messy and difficult to control. Using store
bought glue is much more convenient and very easy to control.
Step 1: Prepare
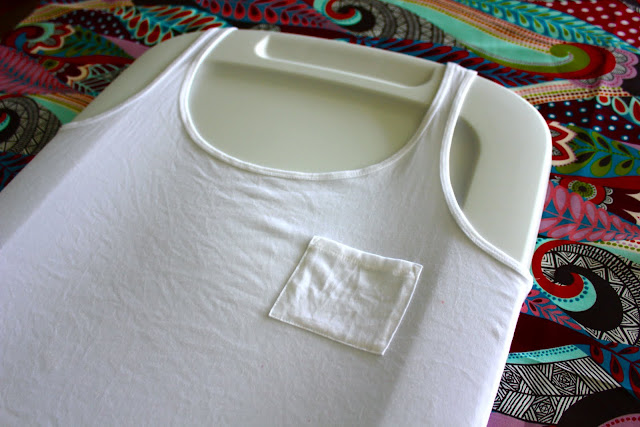
Wet your tee with cool water and place a water resistant board between the layers of fabric. I used the lid of a bin.
Step 2: Design
I'm not much of an artist, so what worked best for me was writing favorite quotes right across the front of the shirt.
This quote was found via Pinterest
 |
| Source |
You could also try drawing a simple design like my very amateur sailboat:
Let dry completely. This will take several hours.
Step 3: Dye
Your
dye bath should be prepared using cool water. Experiment with different
amounts of dye until you find the right concentration. Keep in mind
that the color that comes out of the dye bath will be a couple of shades
darker than the dry, finished garment.
When you get the color you want, lay your tee flat to dry.
Step 4: Wash
When
your tee is dry (to let the dye set) soak it in cool, soapy water for
about 15 minutes. This soak washes the extra glue out. Throw it in the
washer and dry as you would normally.
Step 5: Wear and Enjoy!


No comments:
Post a Comment